Compostelle 2023 – Jour 01 à 10
6

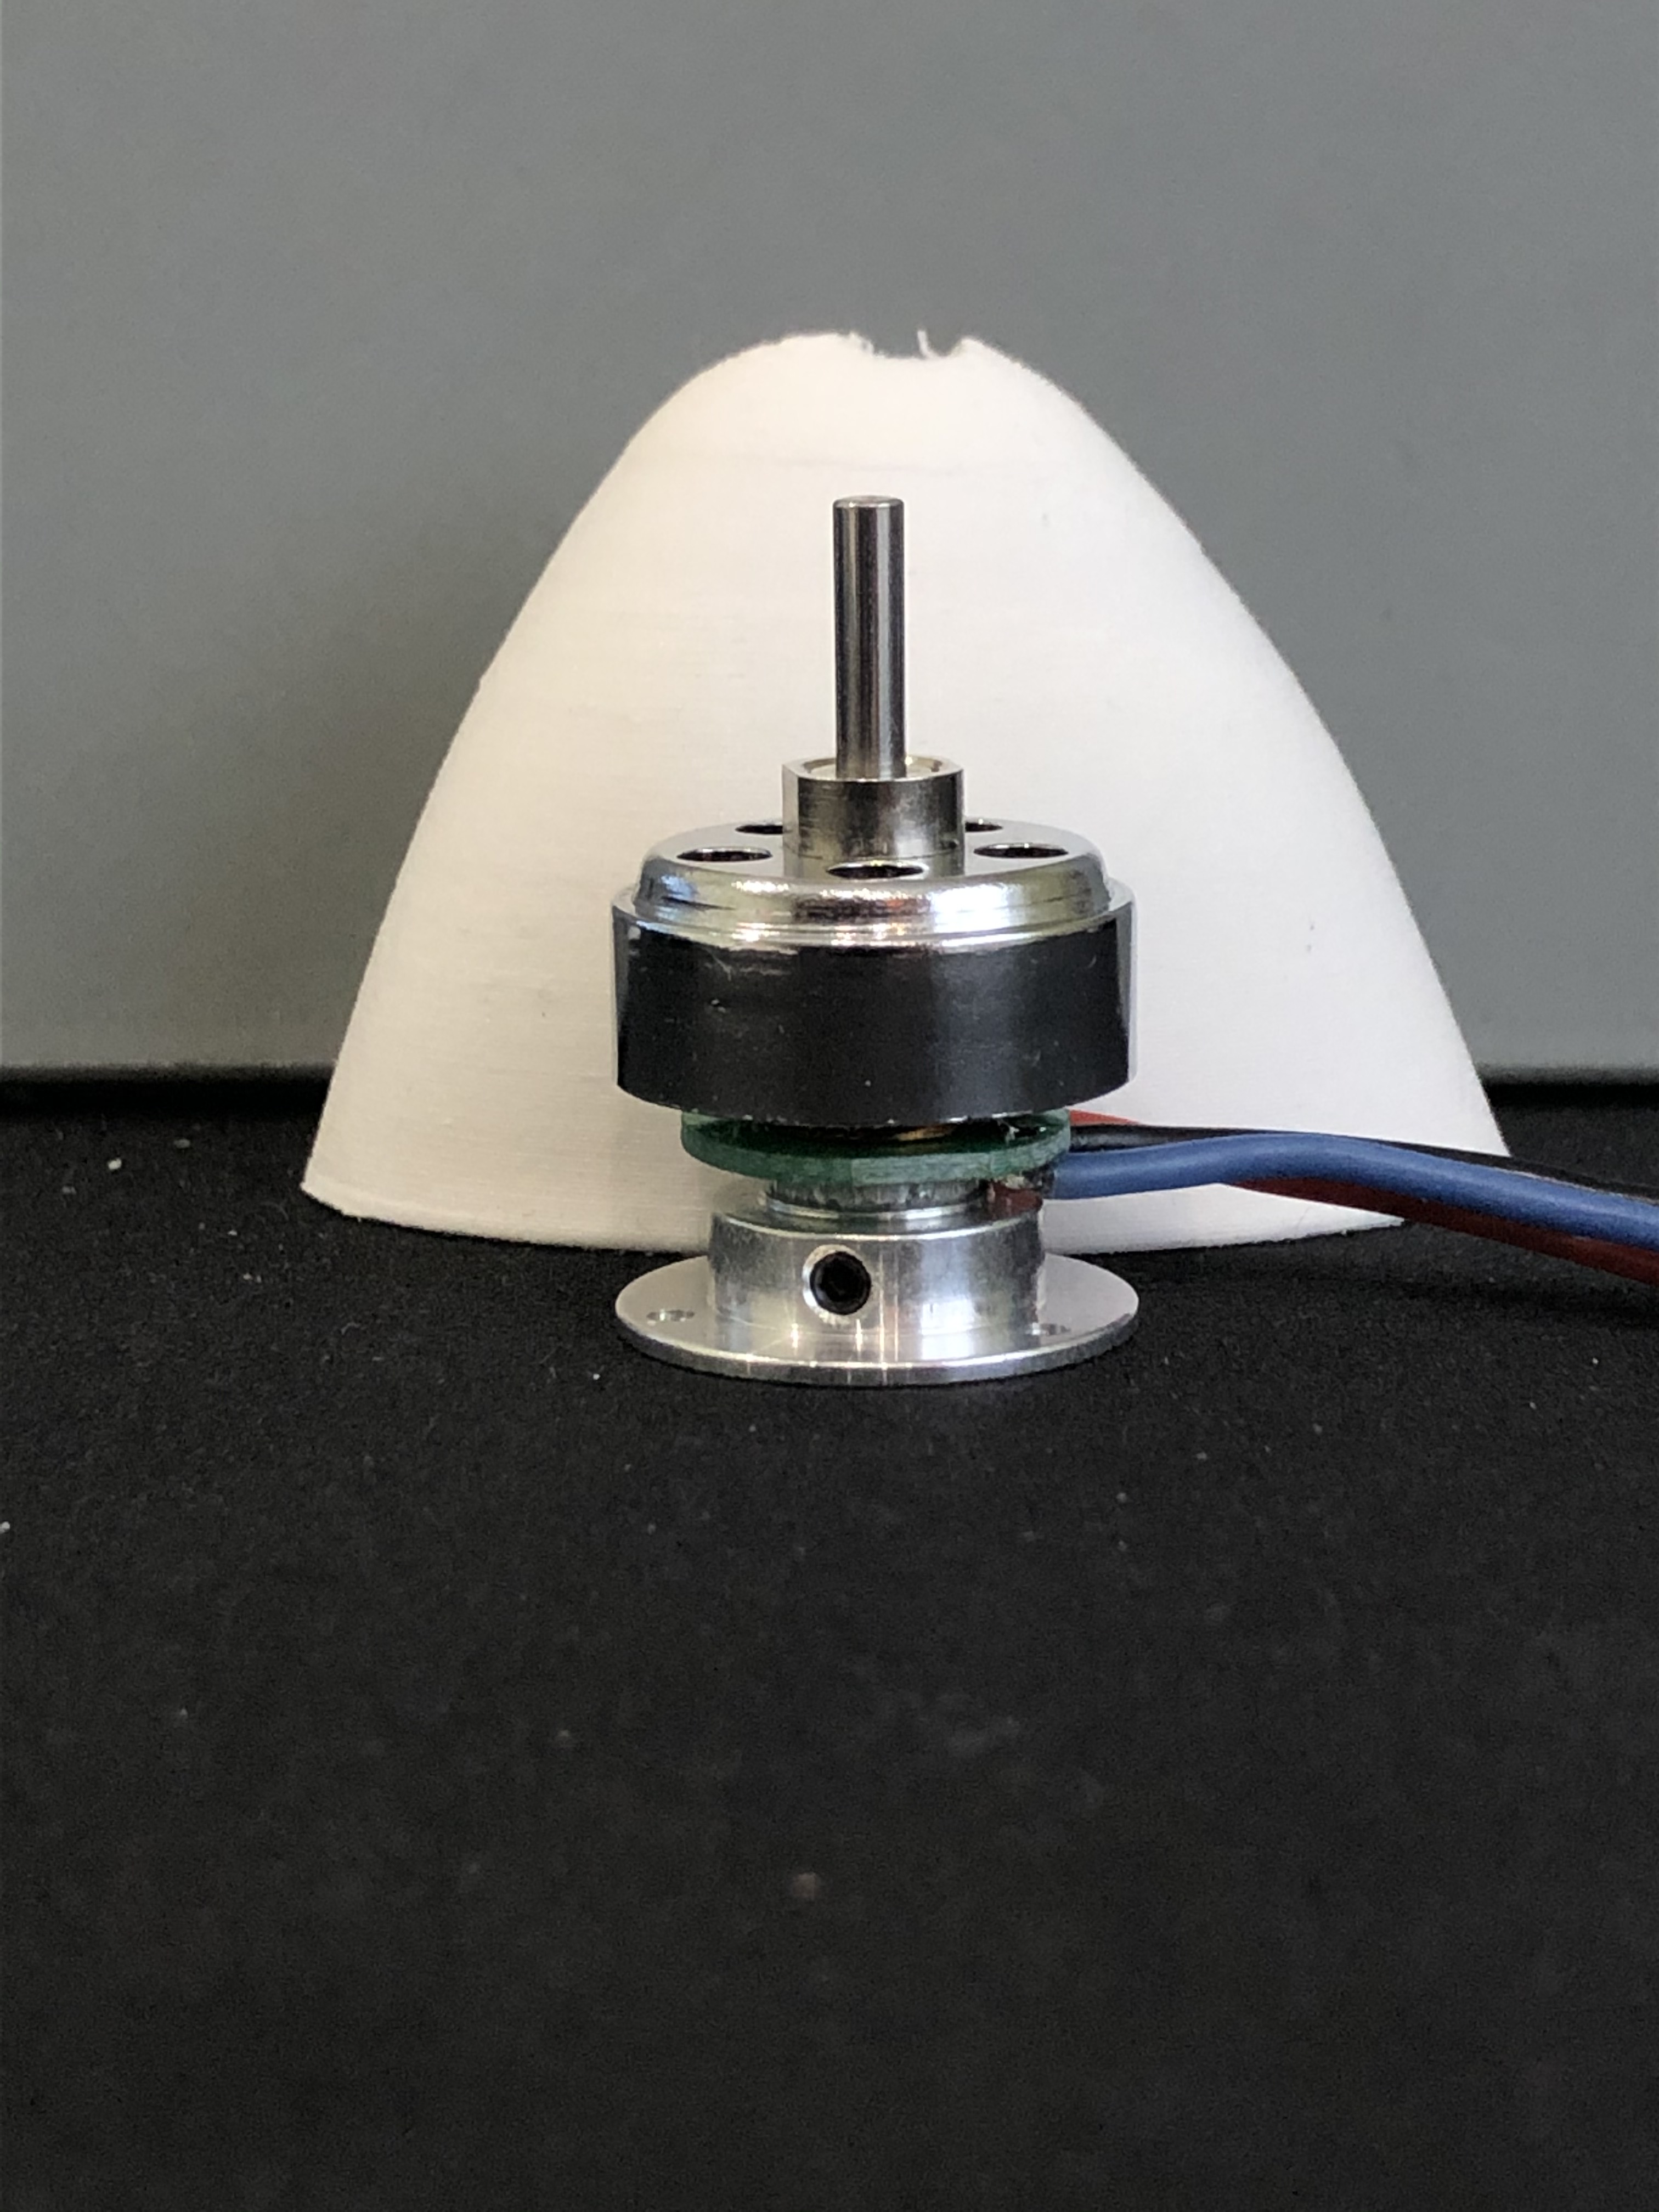
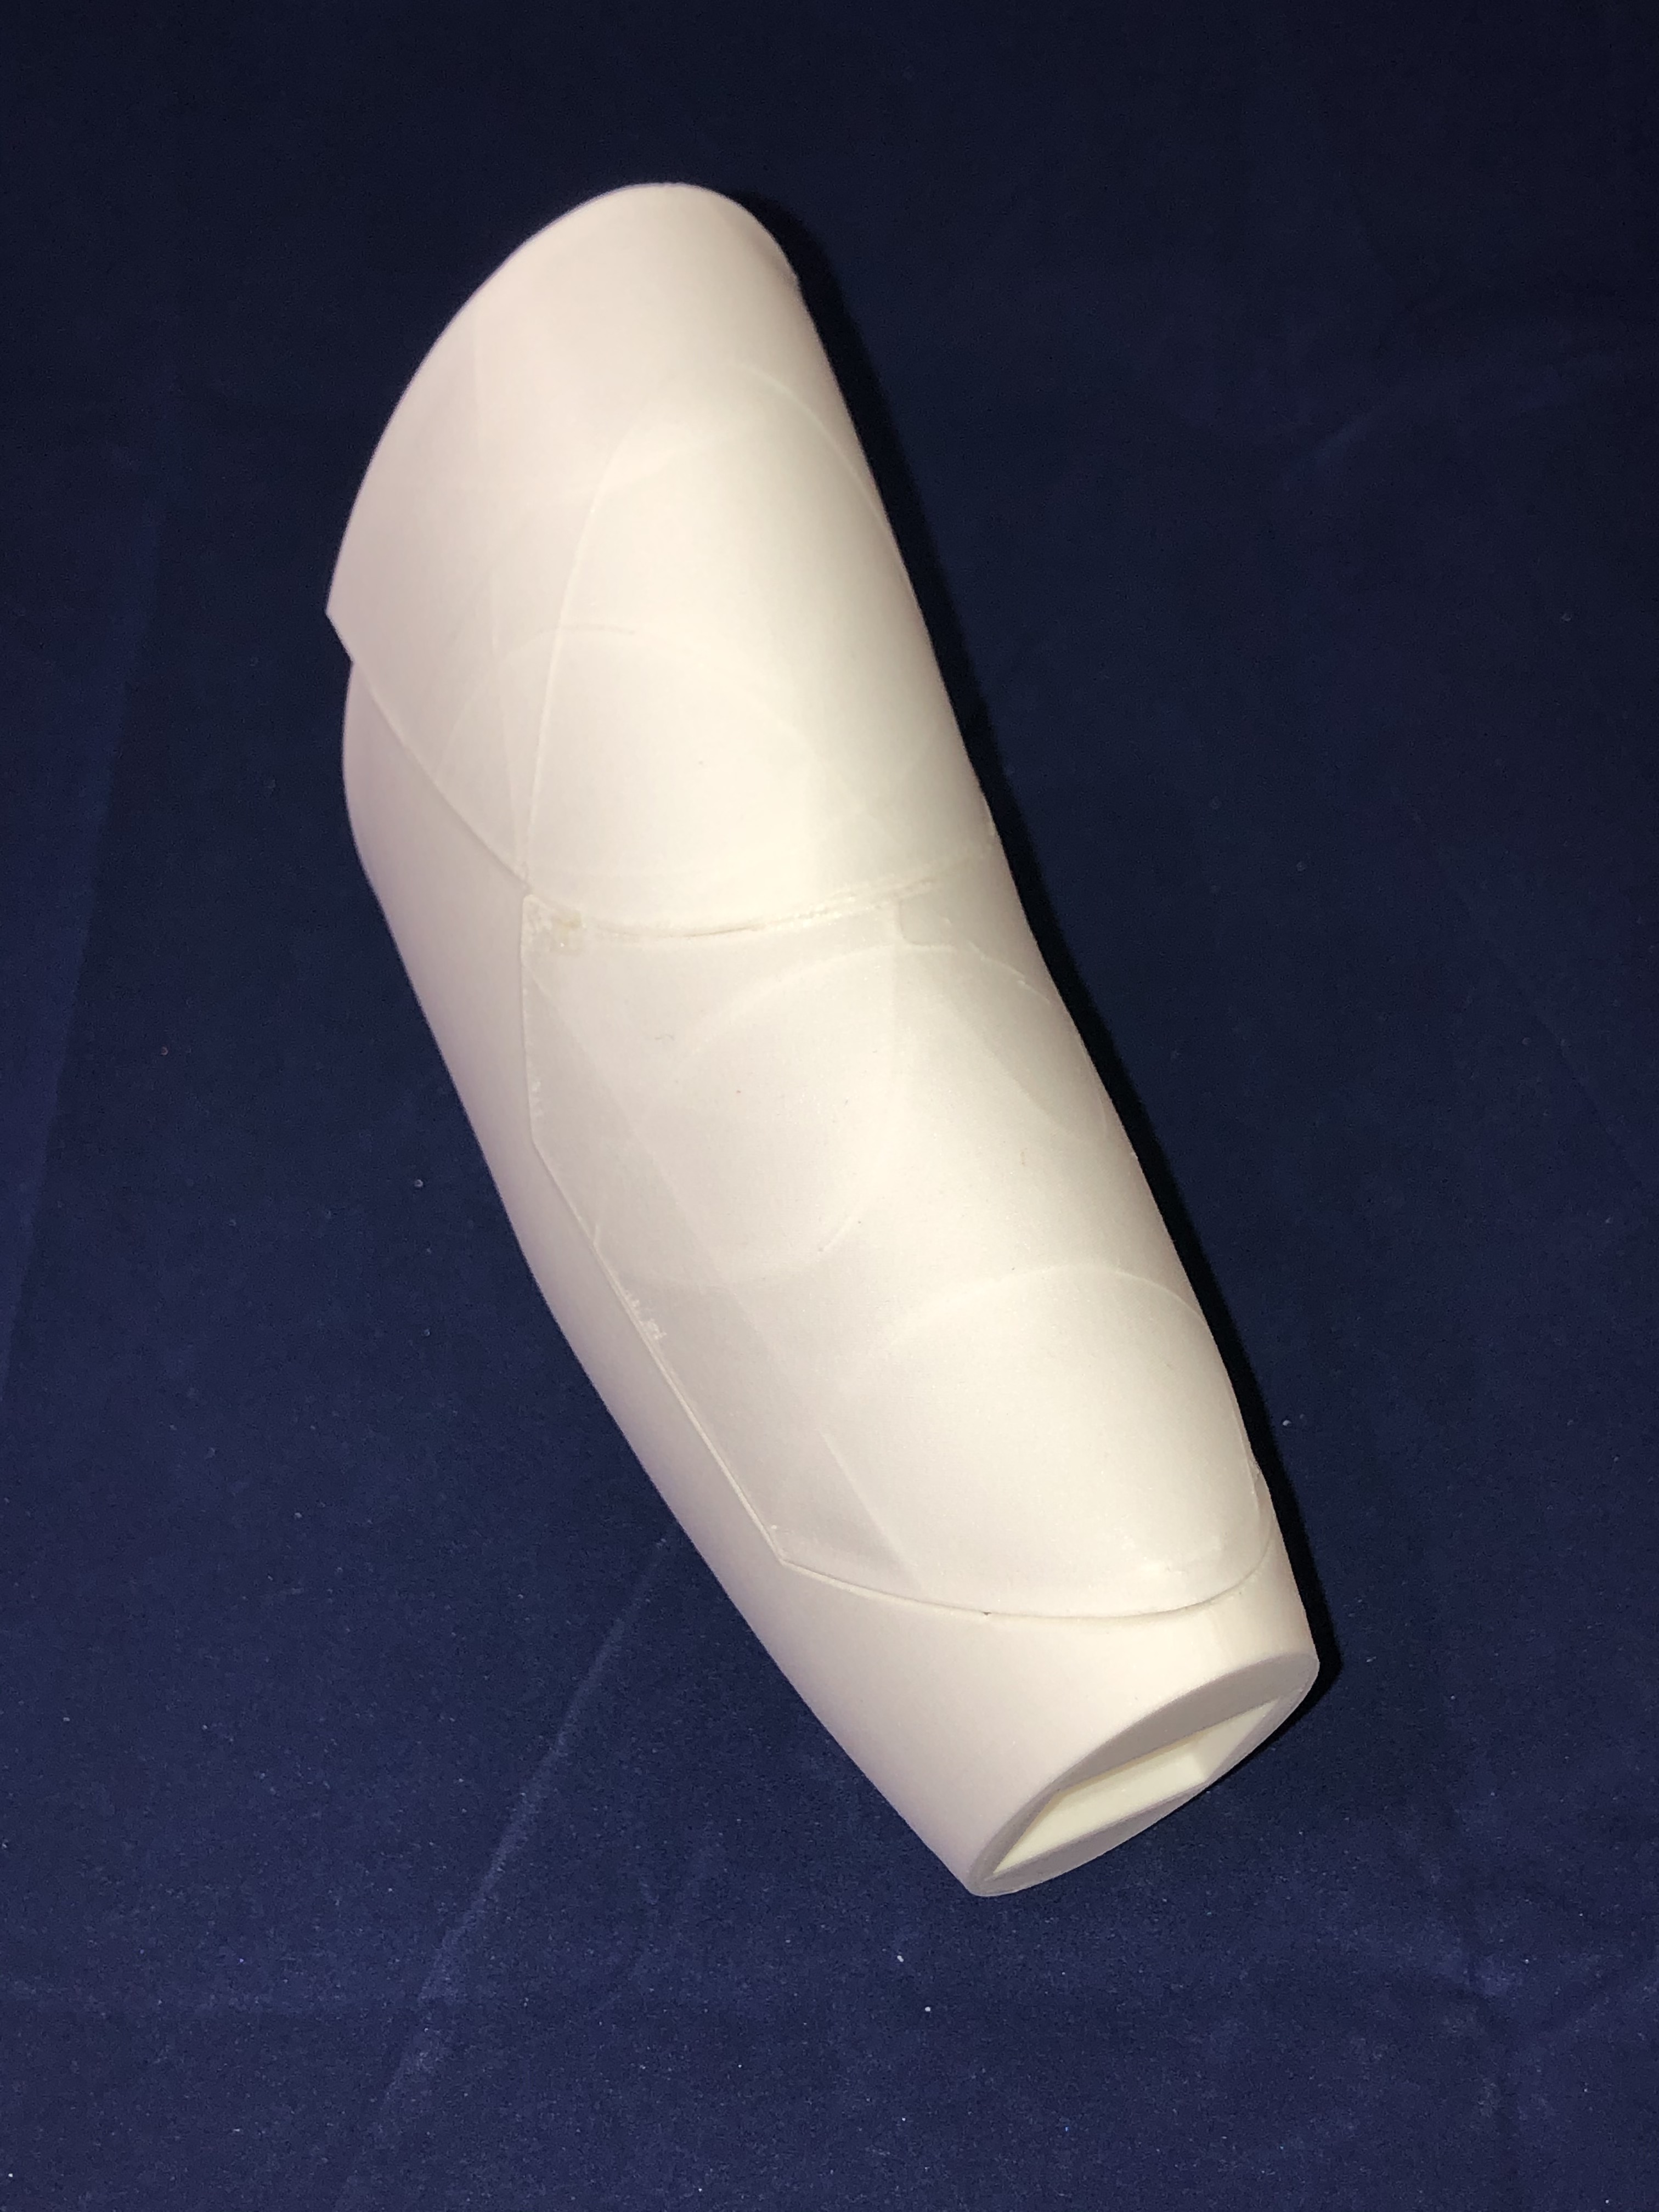
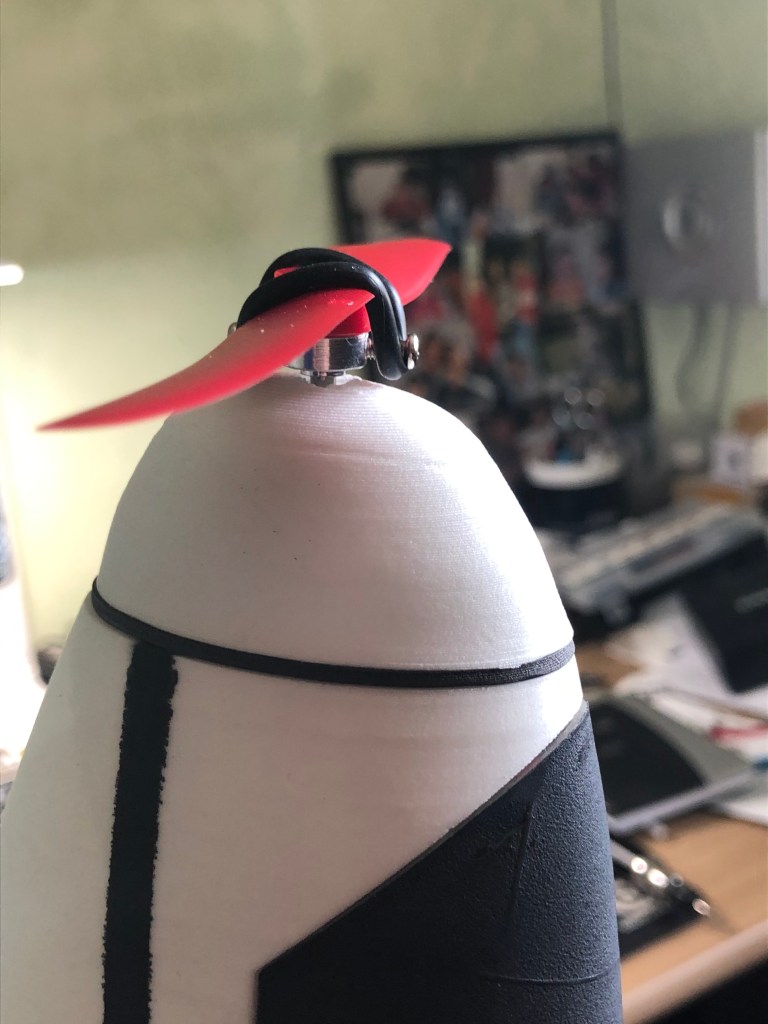
Now that i have all parts it is time to install the motor and finalize the project. I had one samll motor that could fit into the nose and provide enough thrust for this model from hobbyking https://hobbyking.com/fr_fr/ax-1806n-2100kv-brushless-micro-motor-19g.html . A light weight motor, 19g, for 337g of thrust while the glider is for the moment less than 350g.
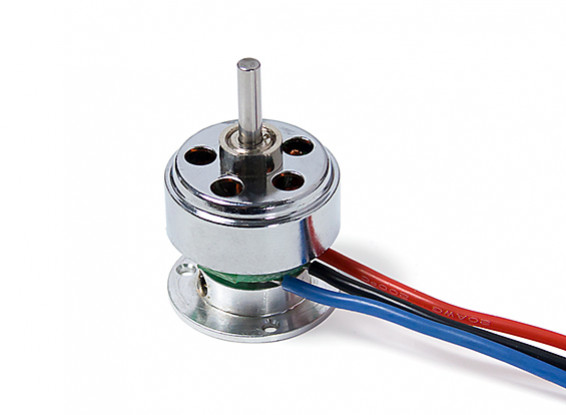
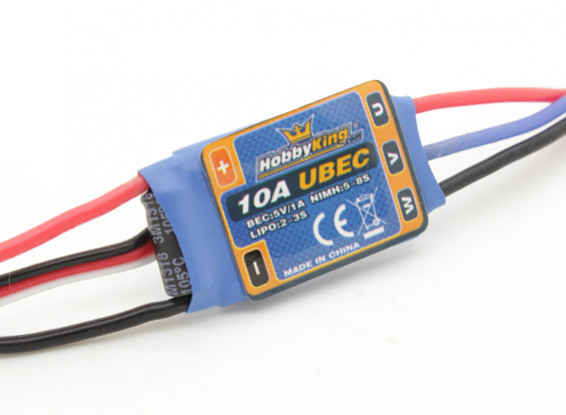
With this motor i choose a 10A ESC also from Hobbyking https://hobbyking.com/fr_fr/hobbyking-10a-2-3s-esc-1a-ubec.html
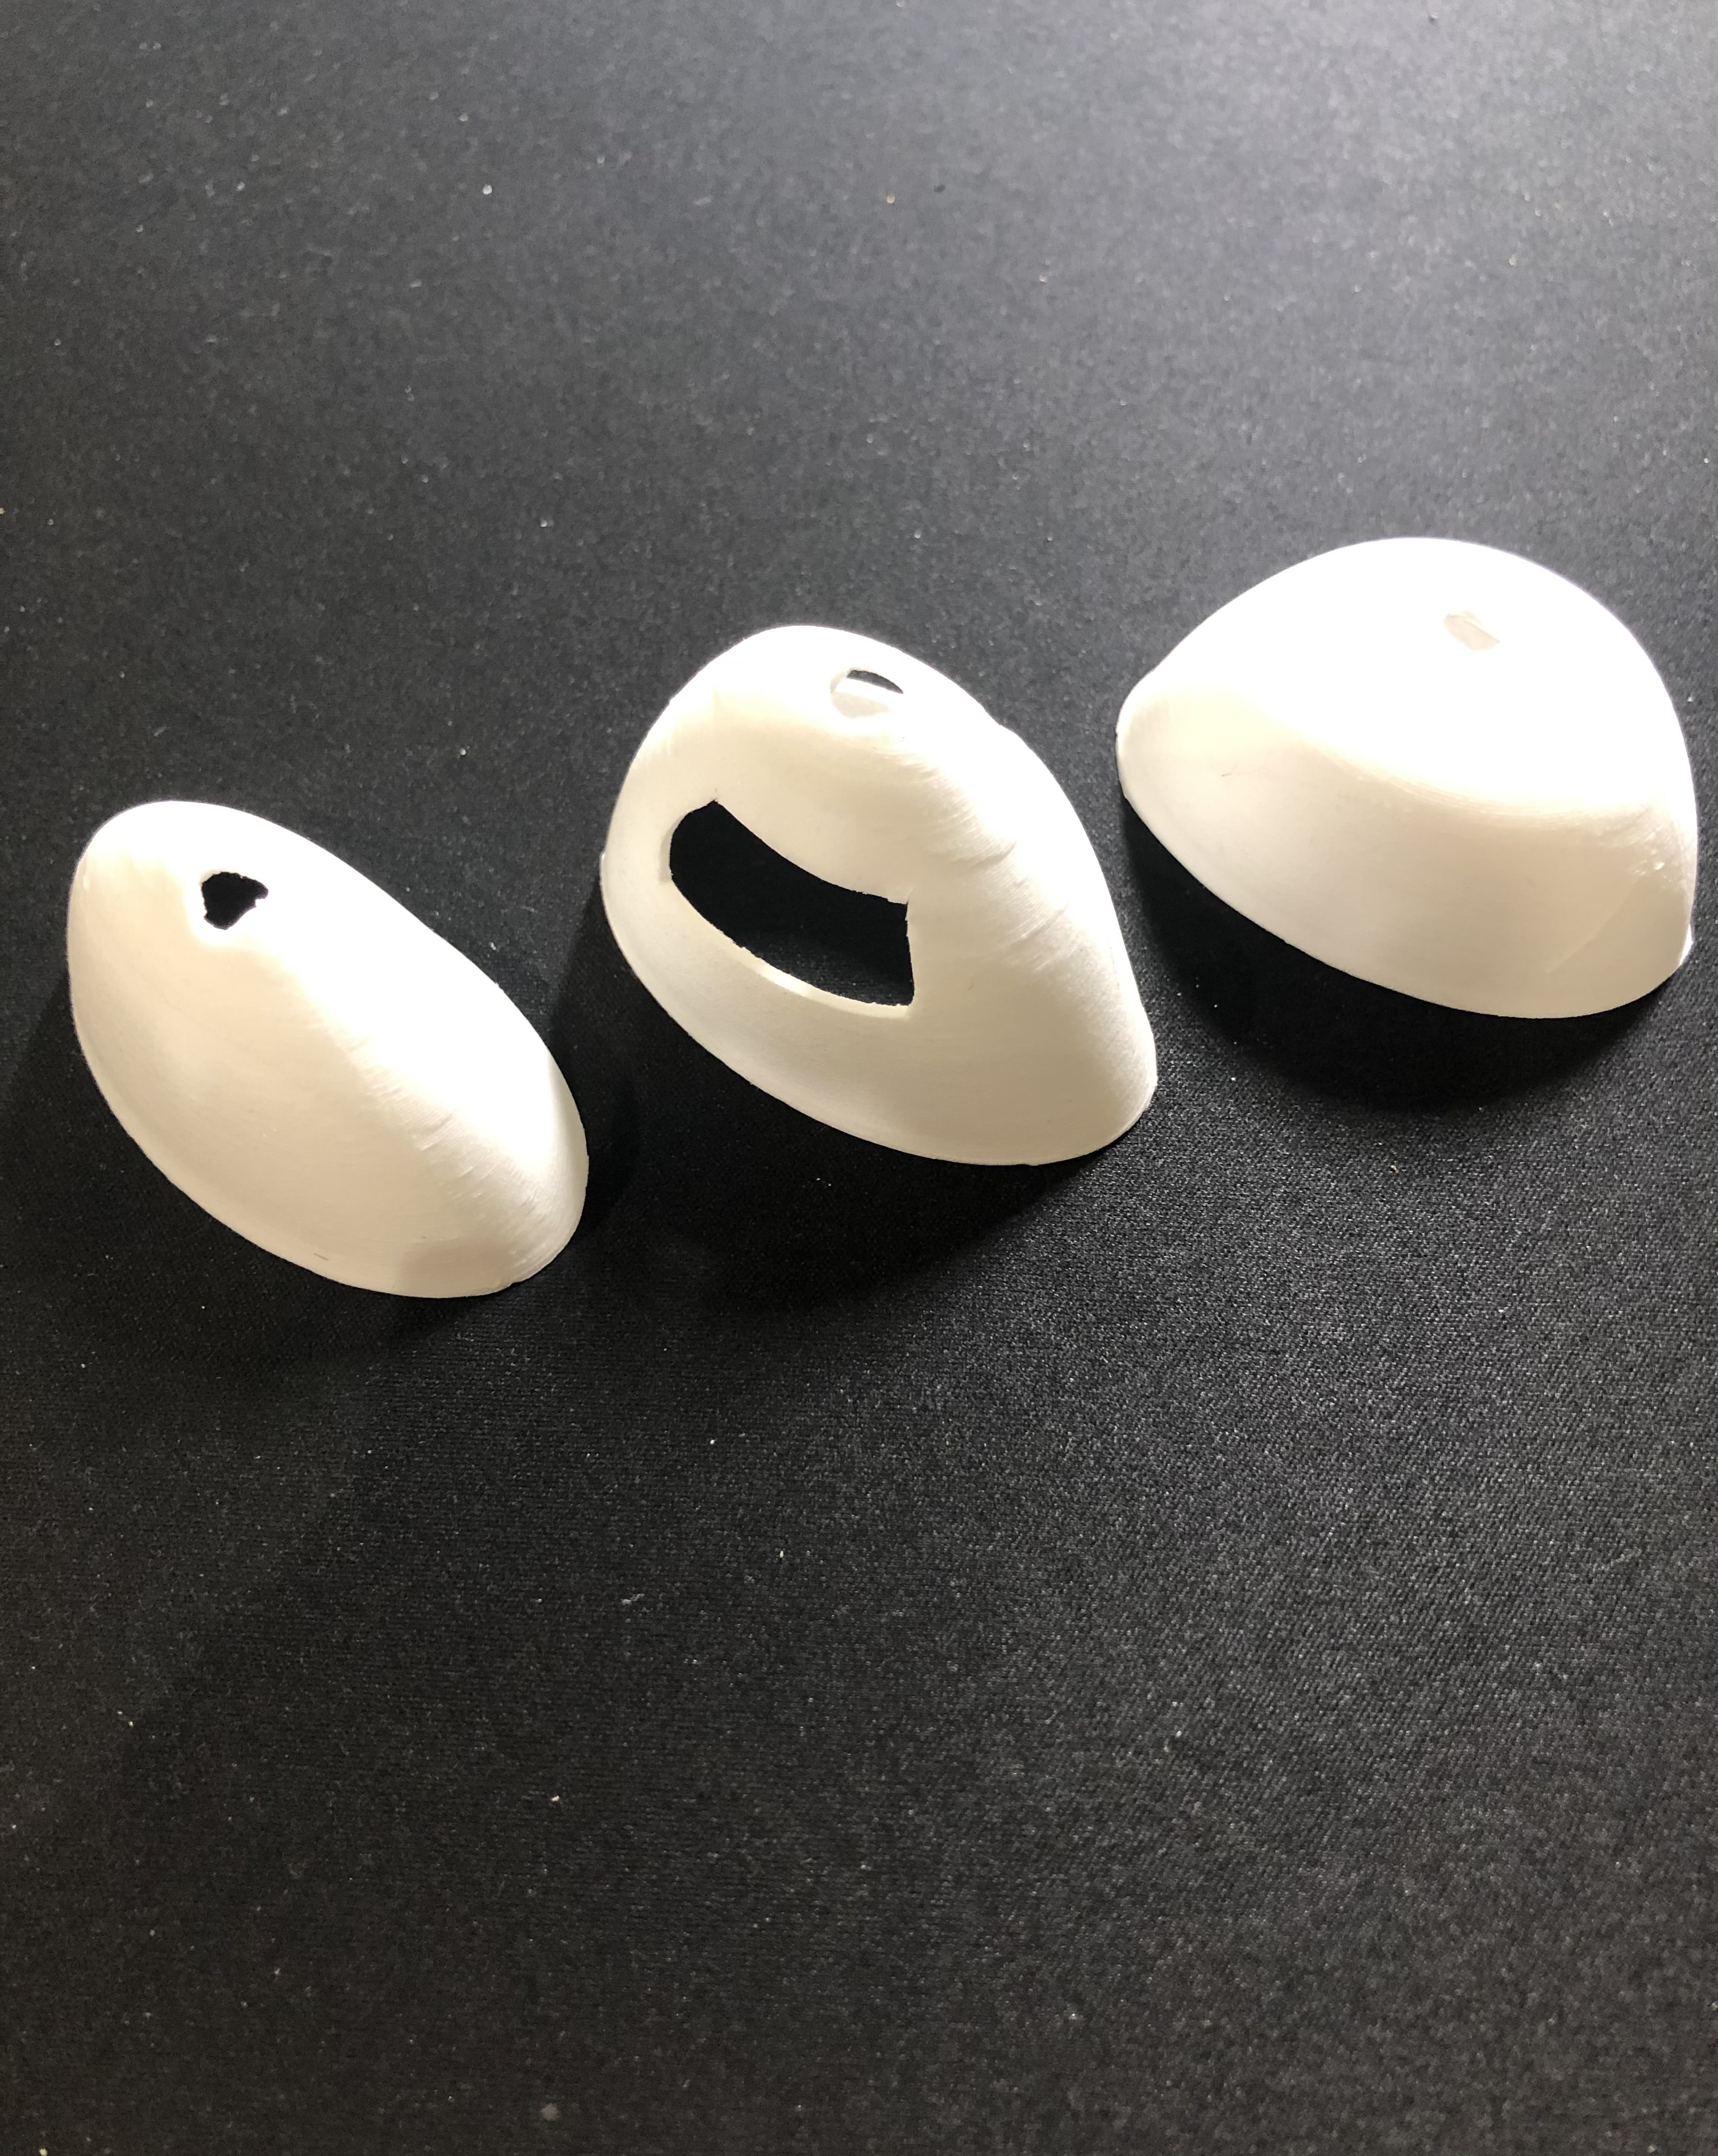
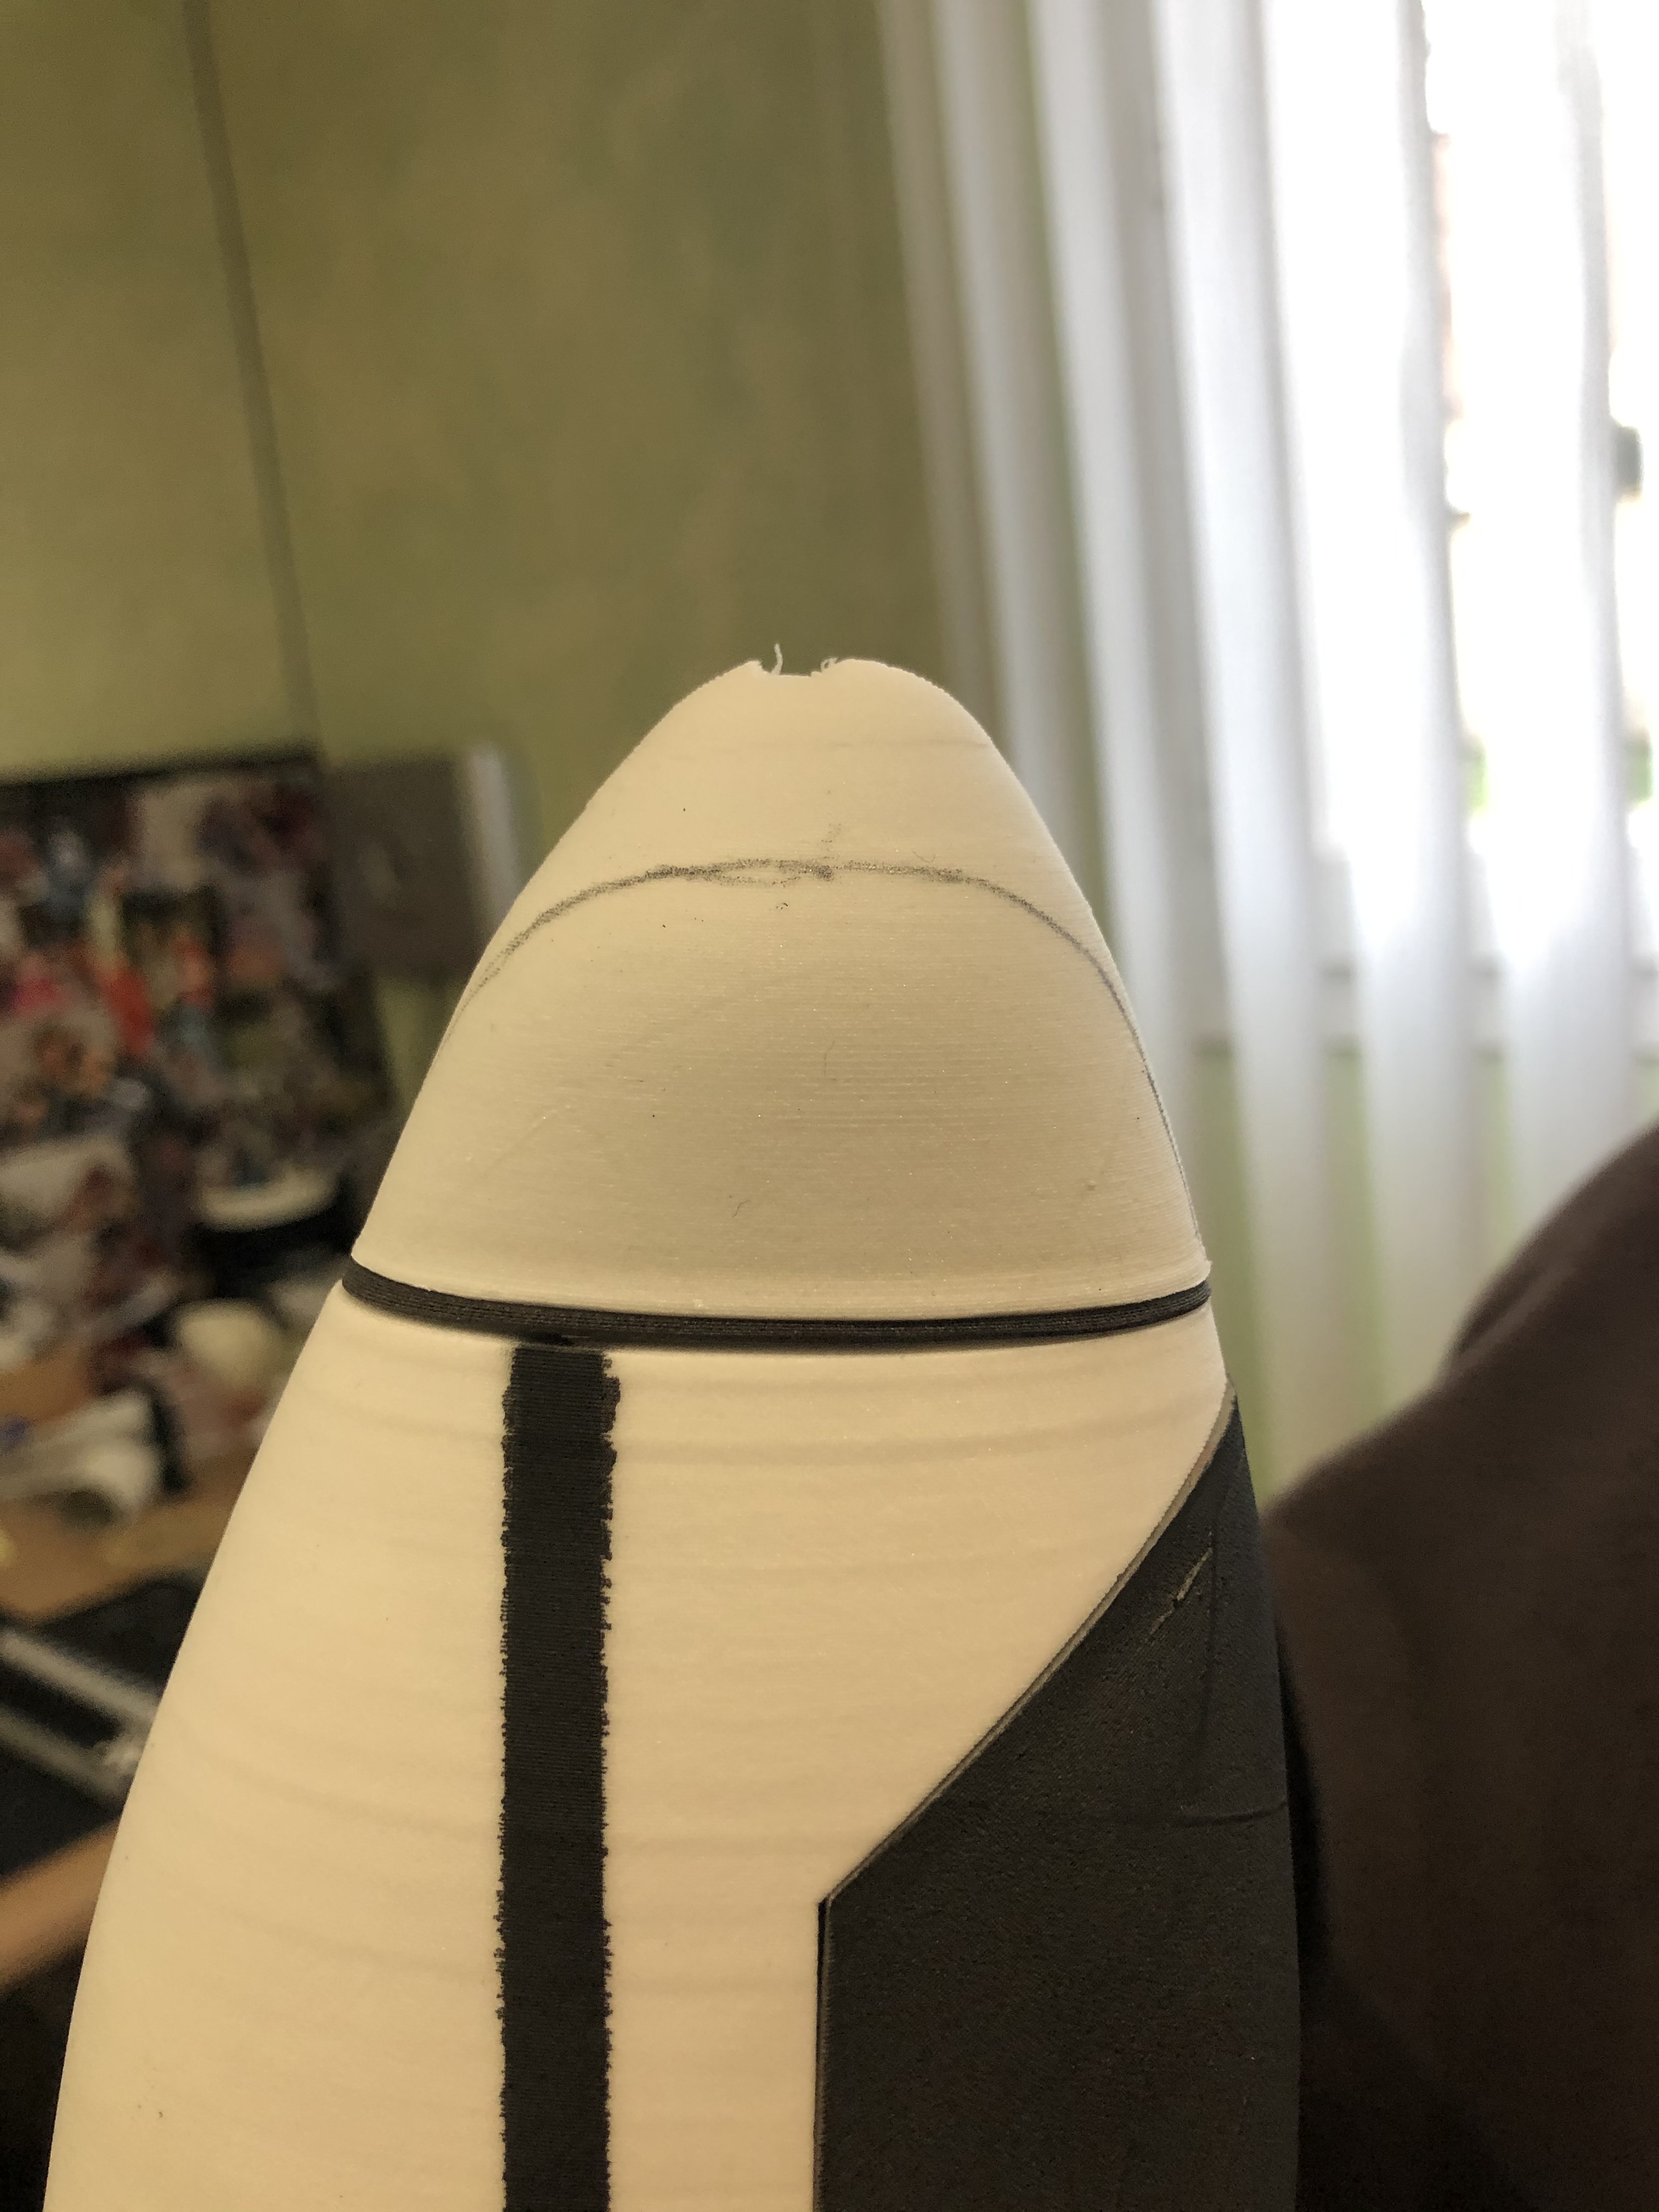
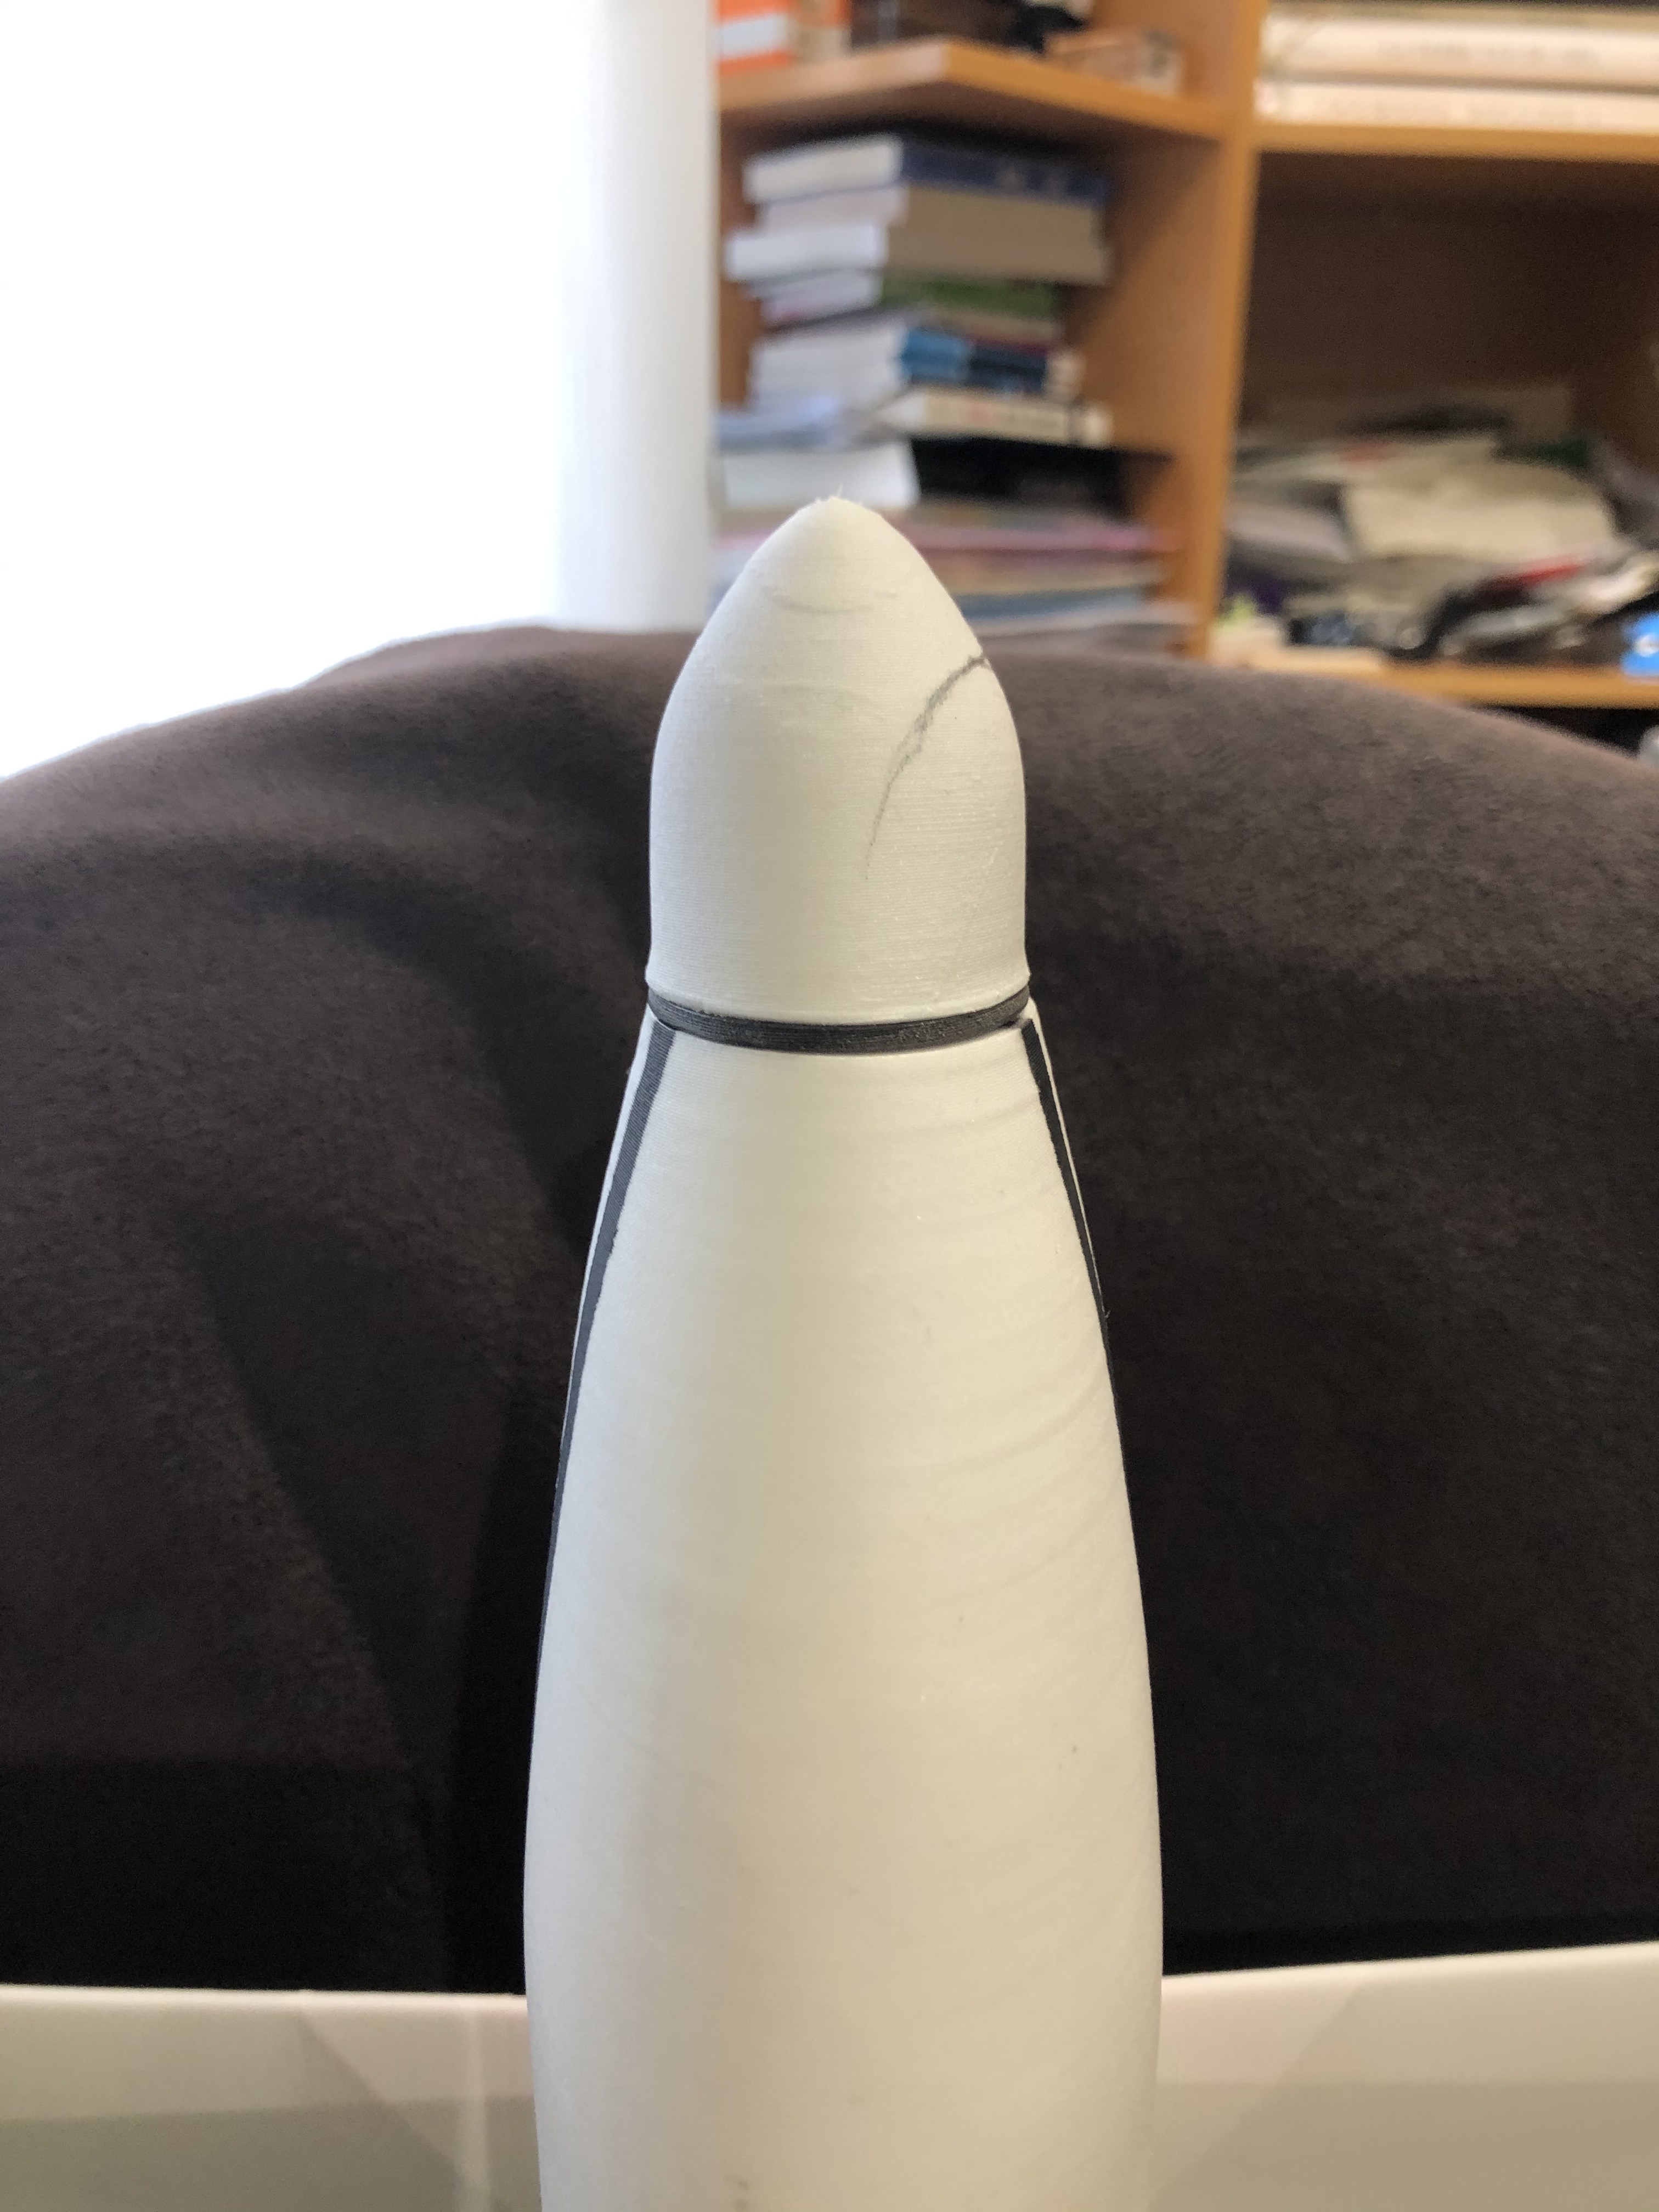
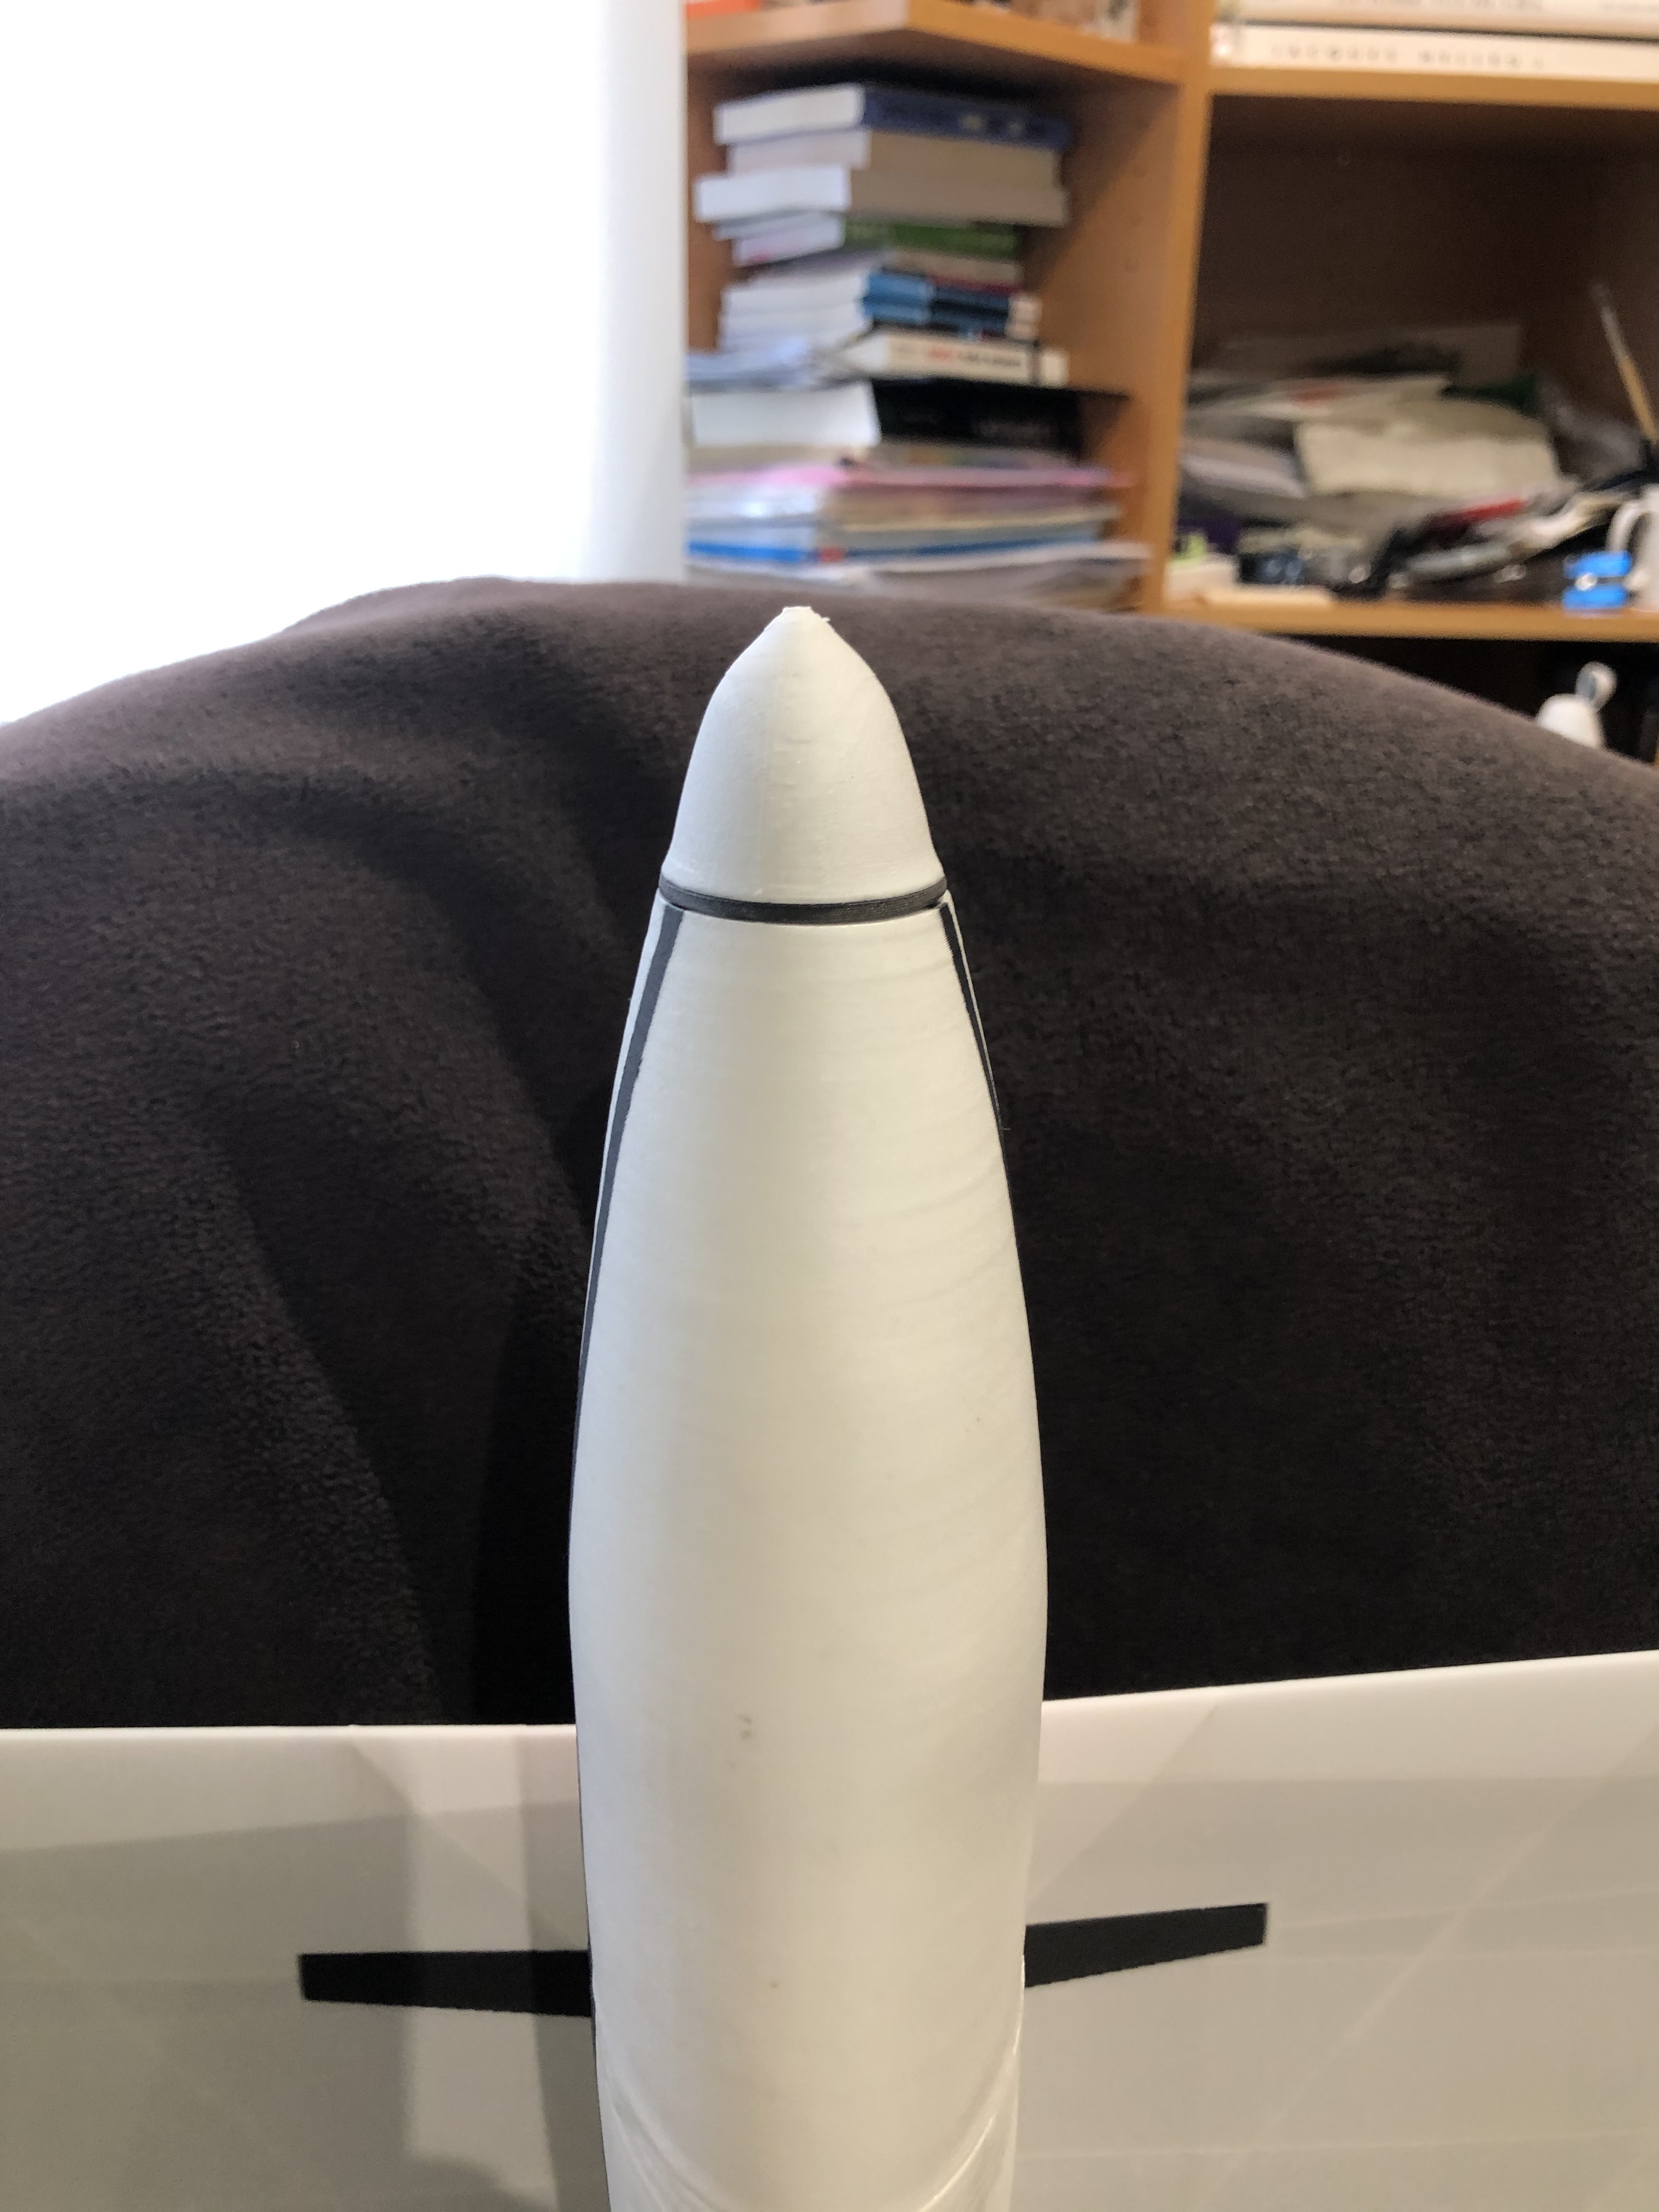
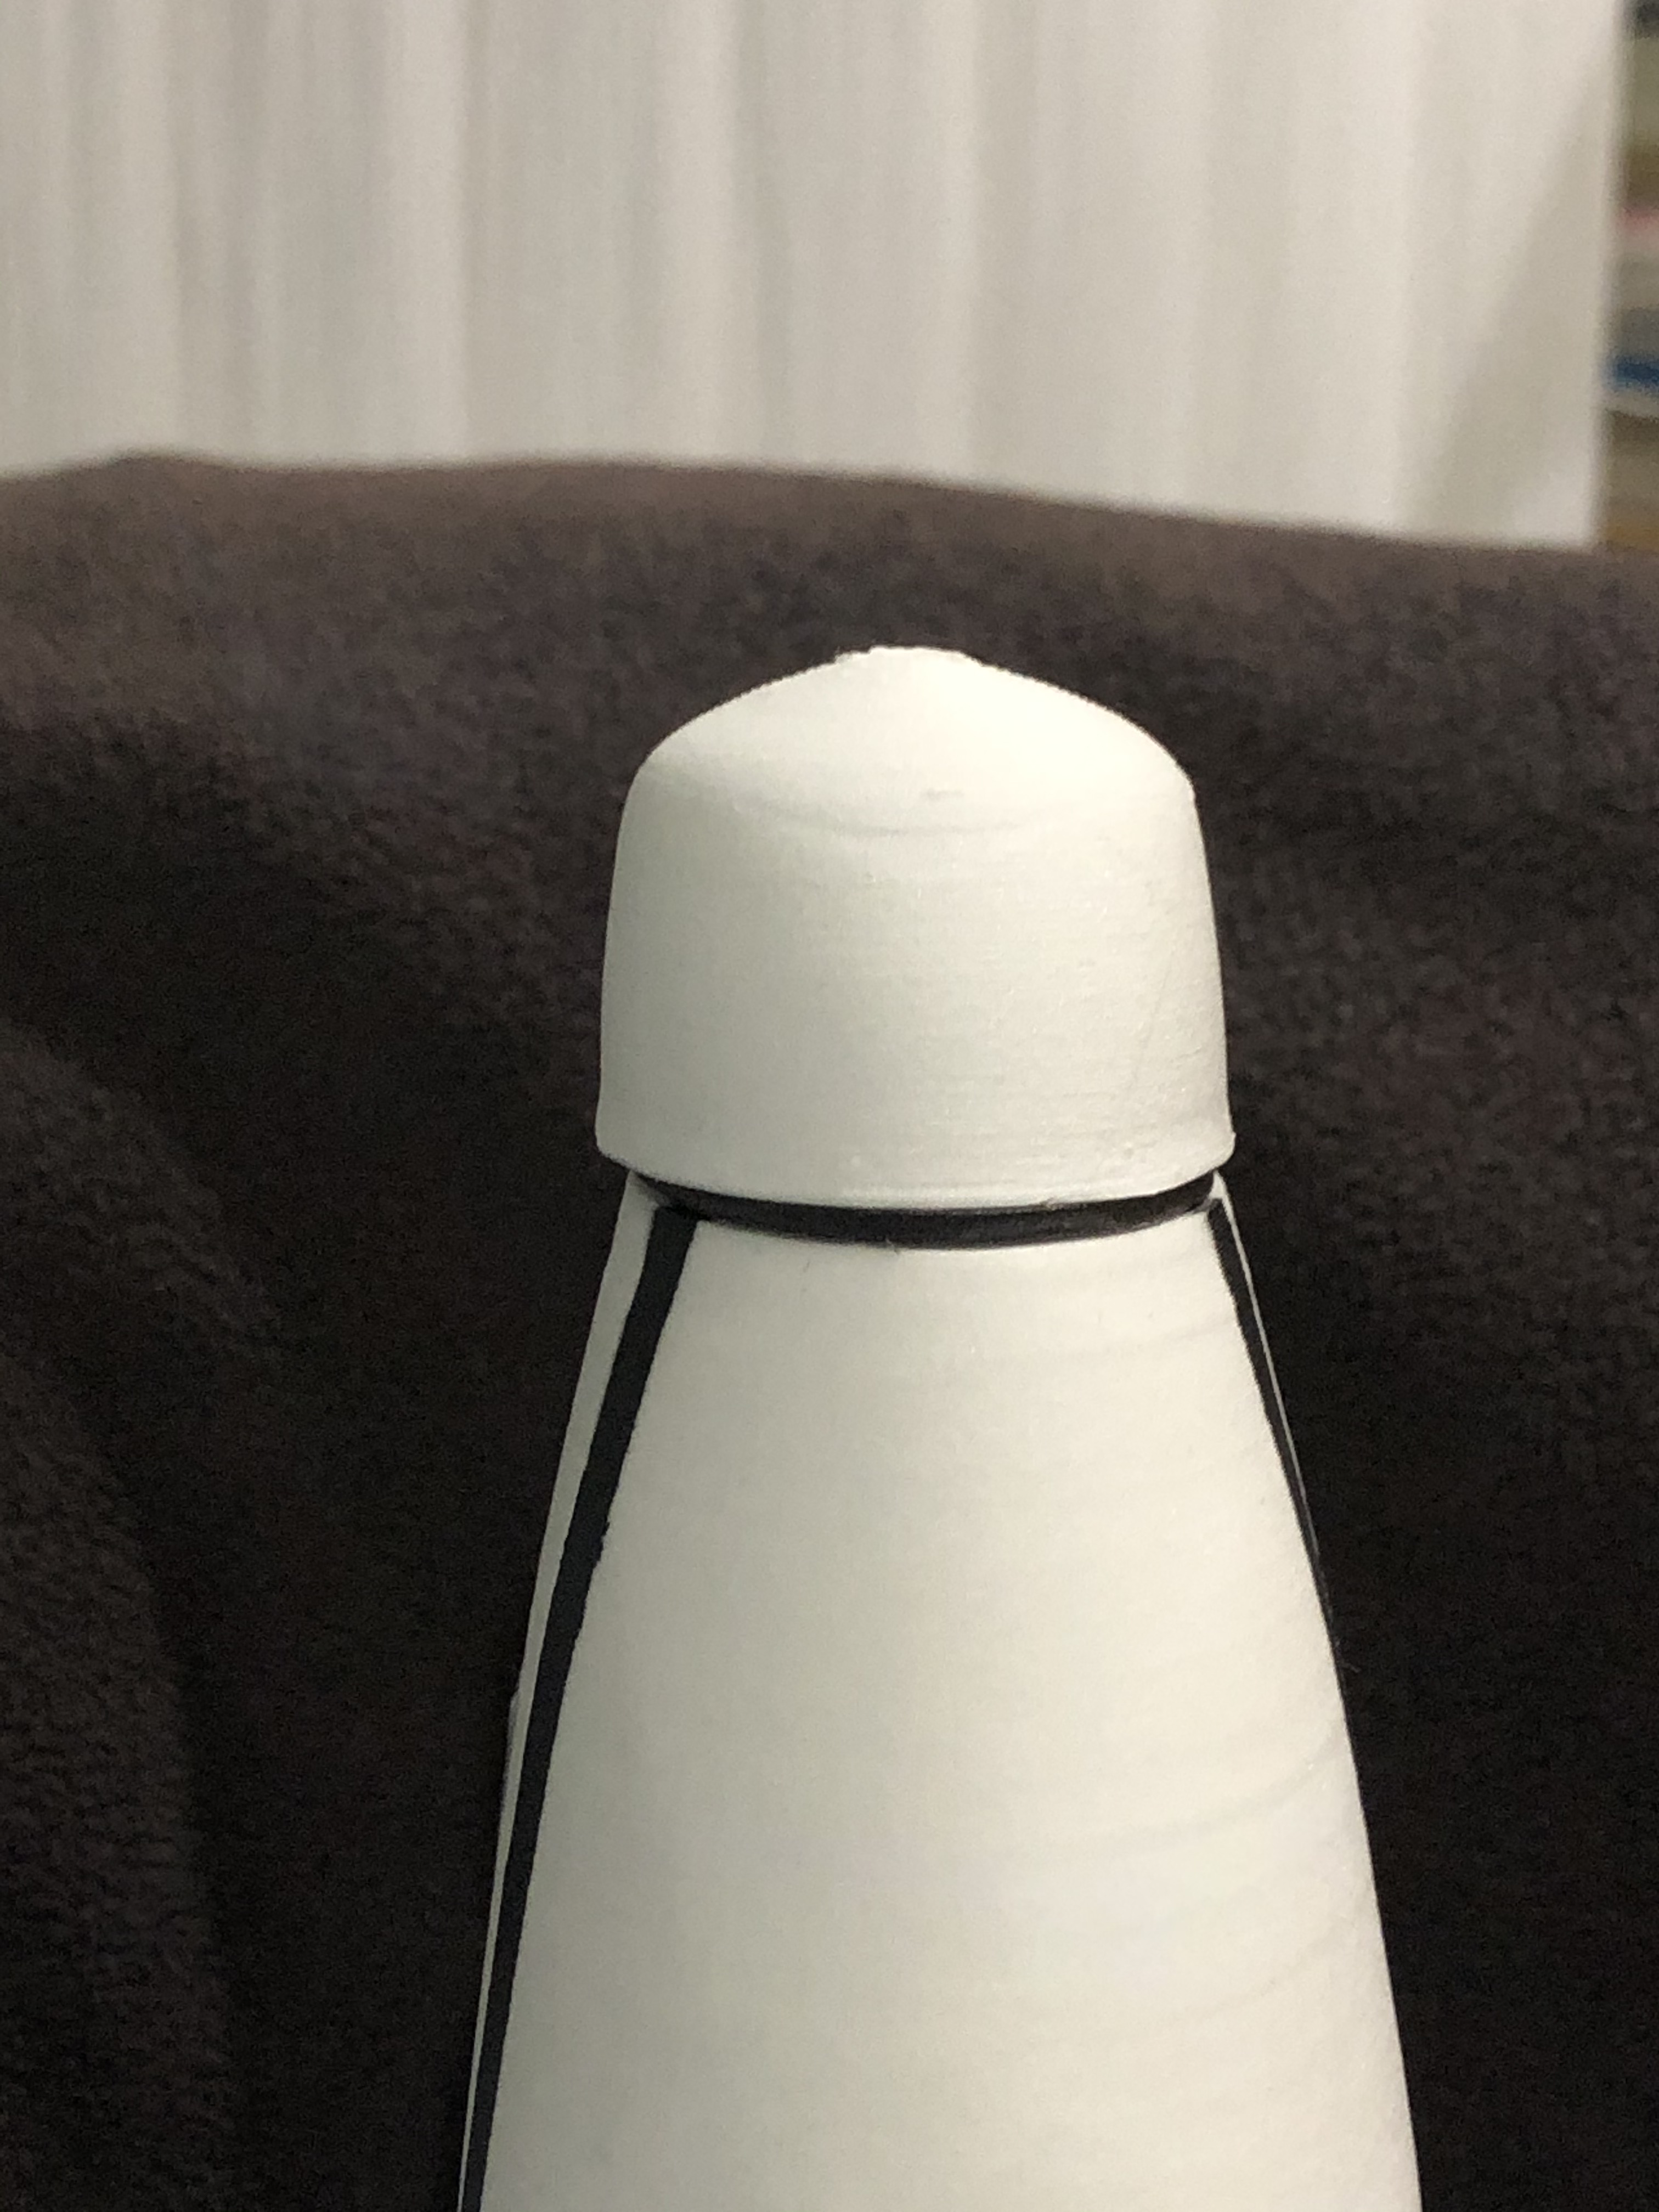
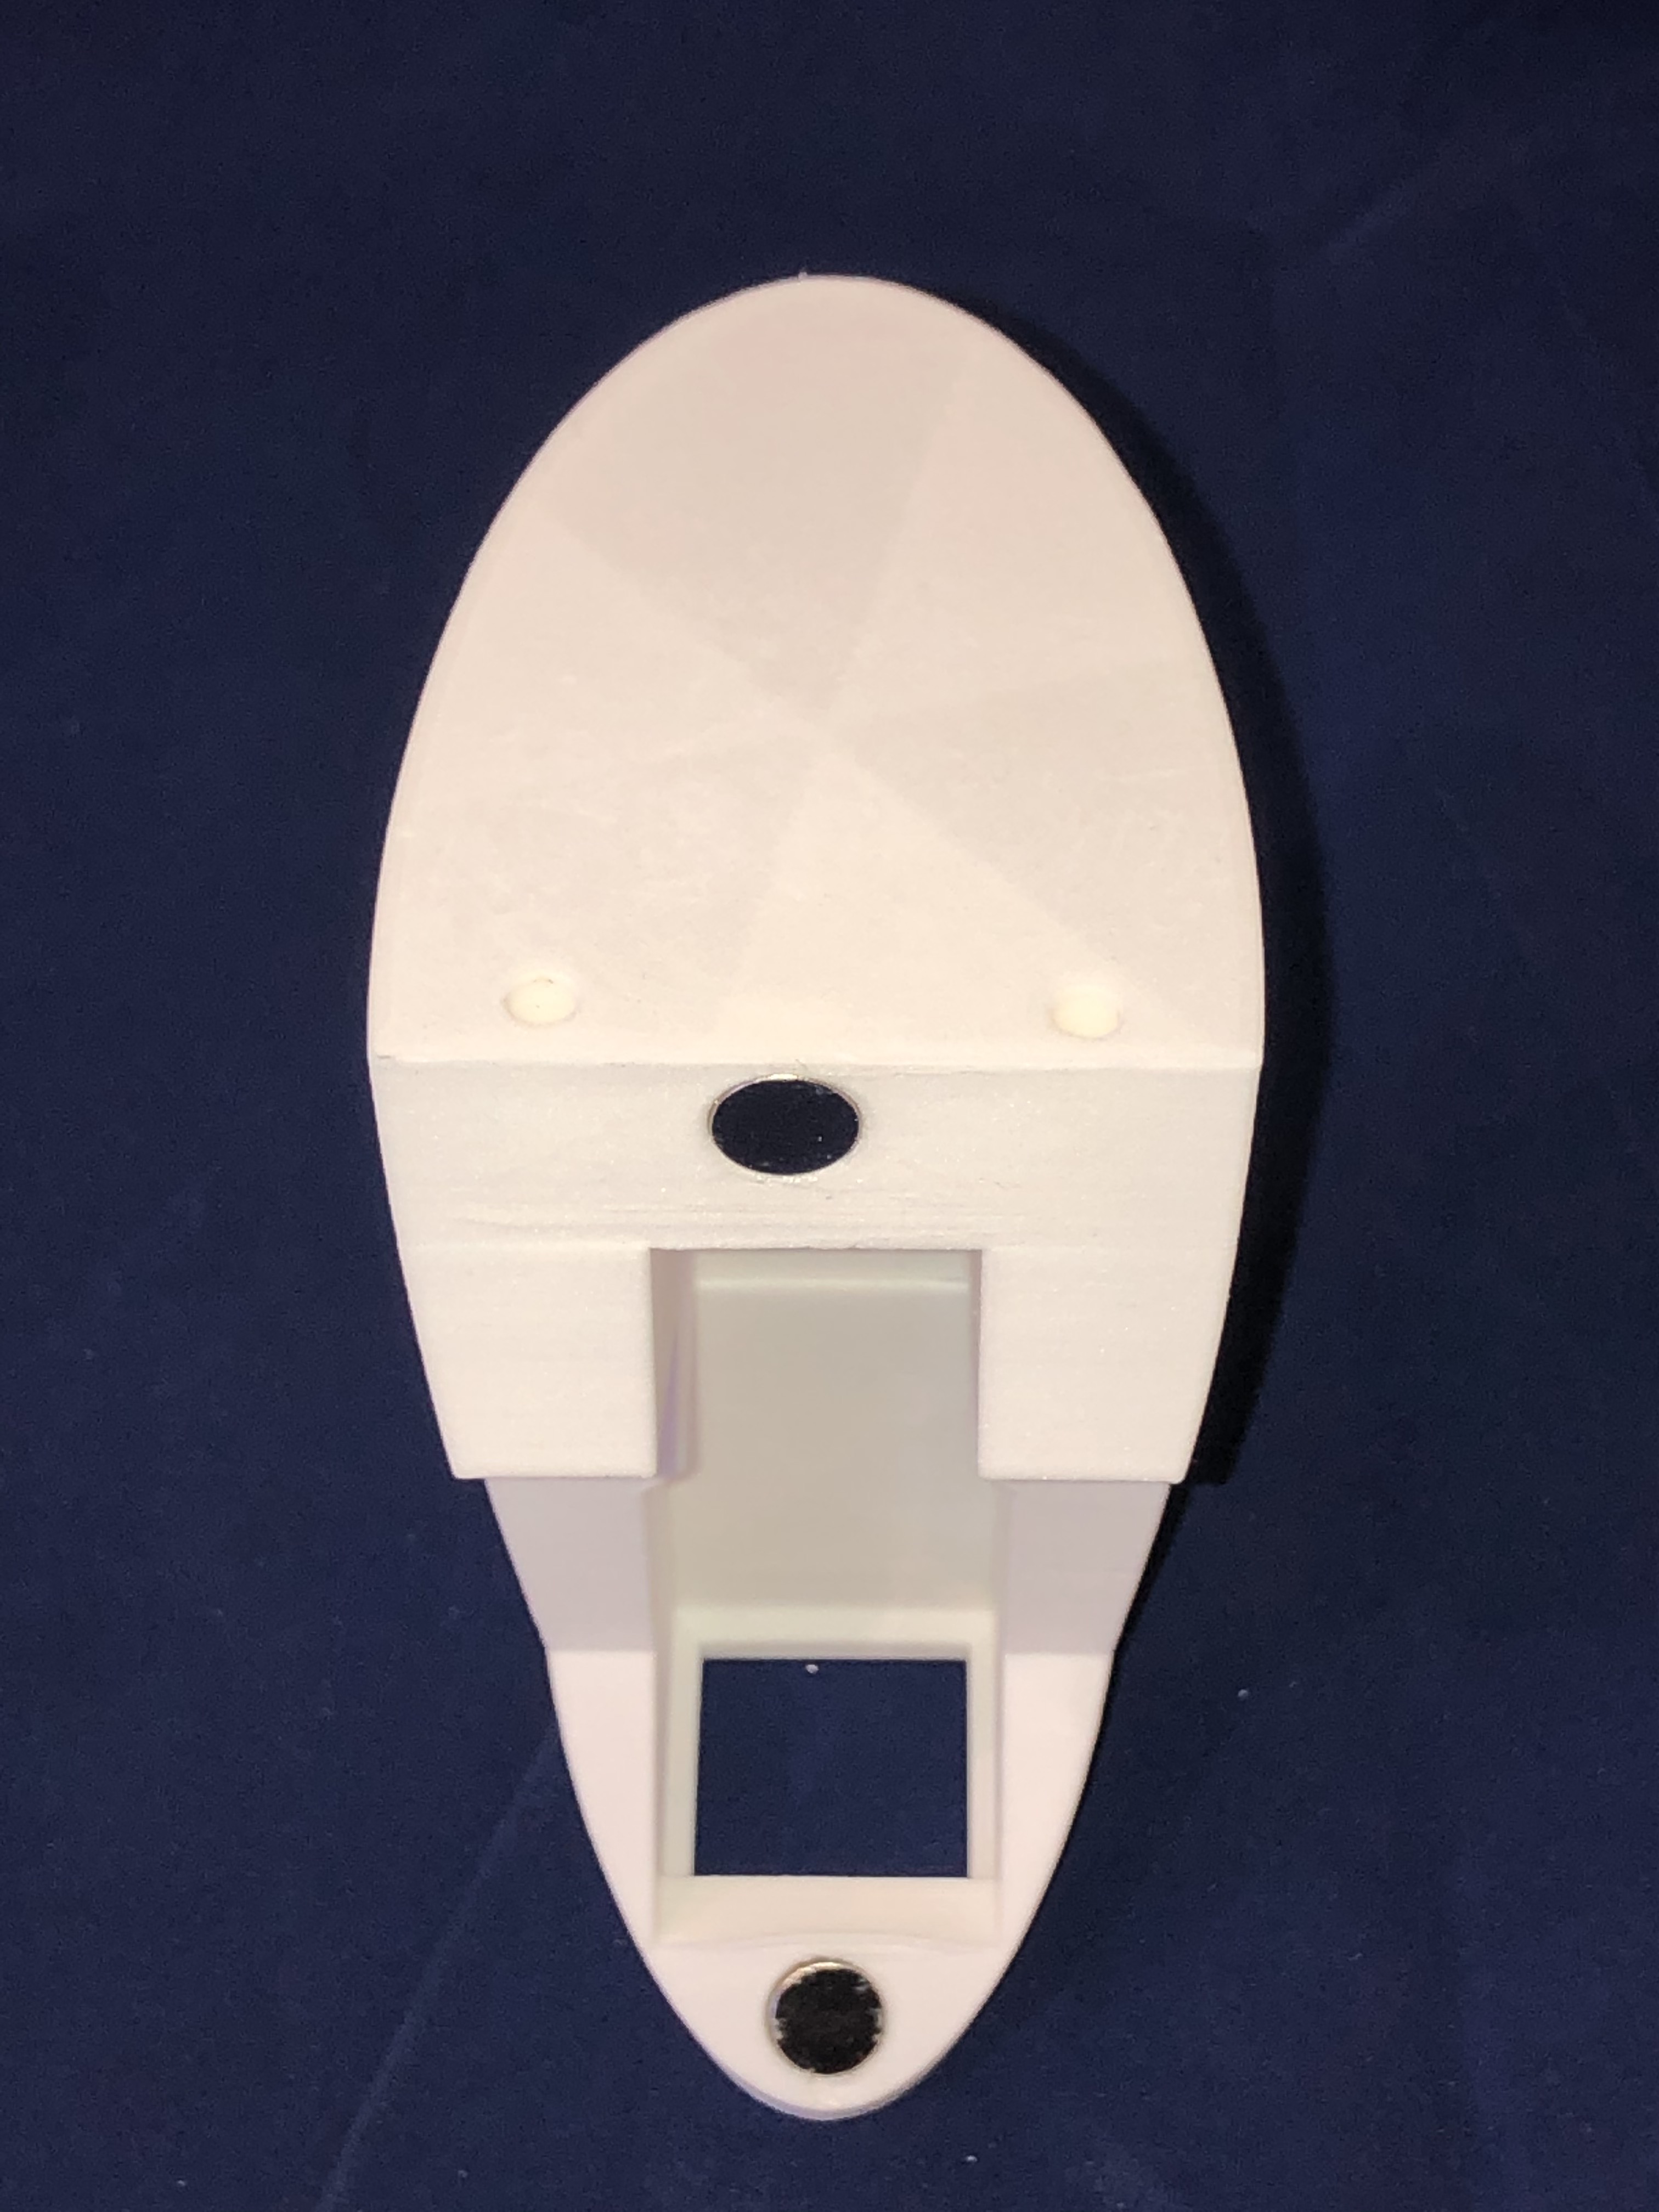
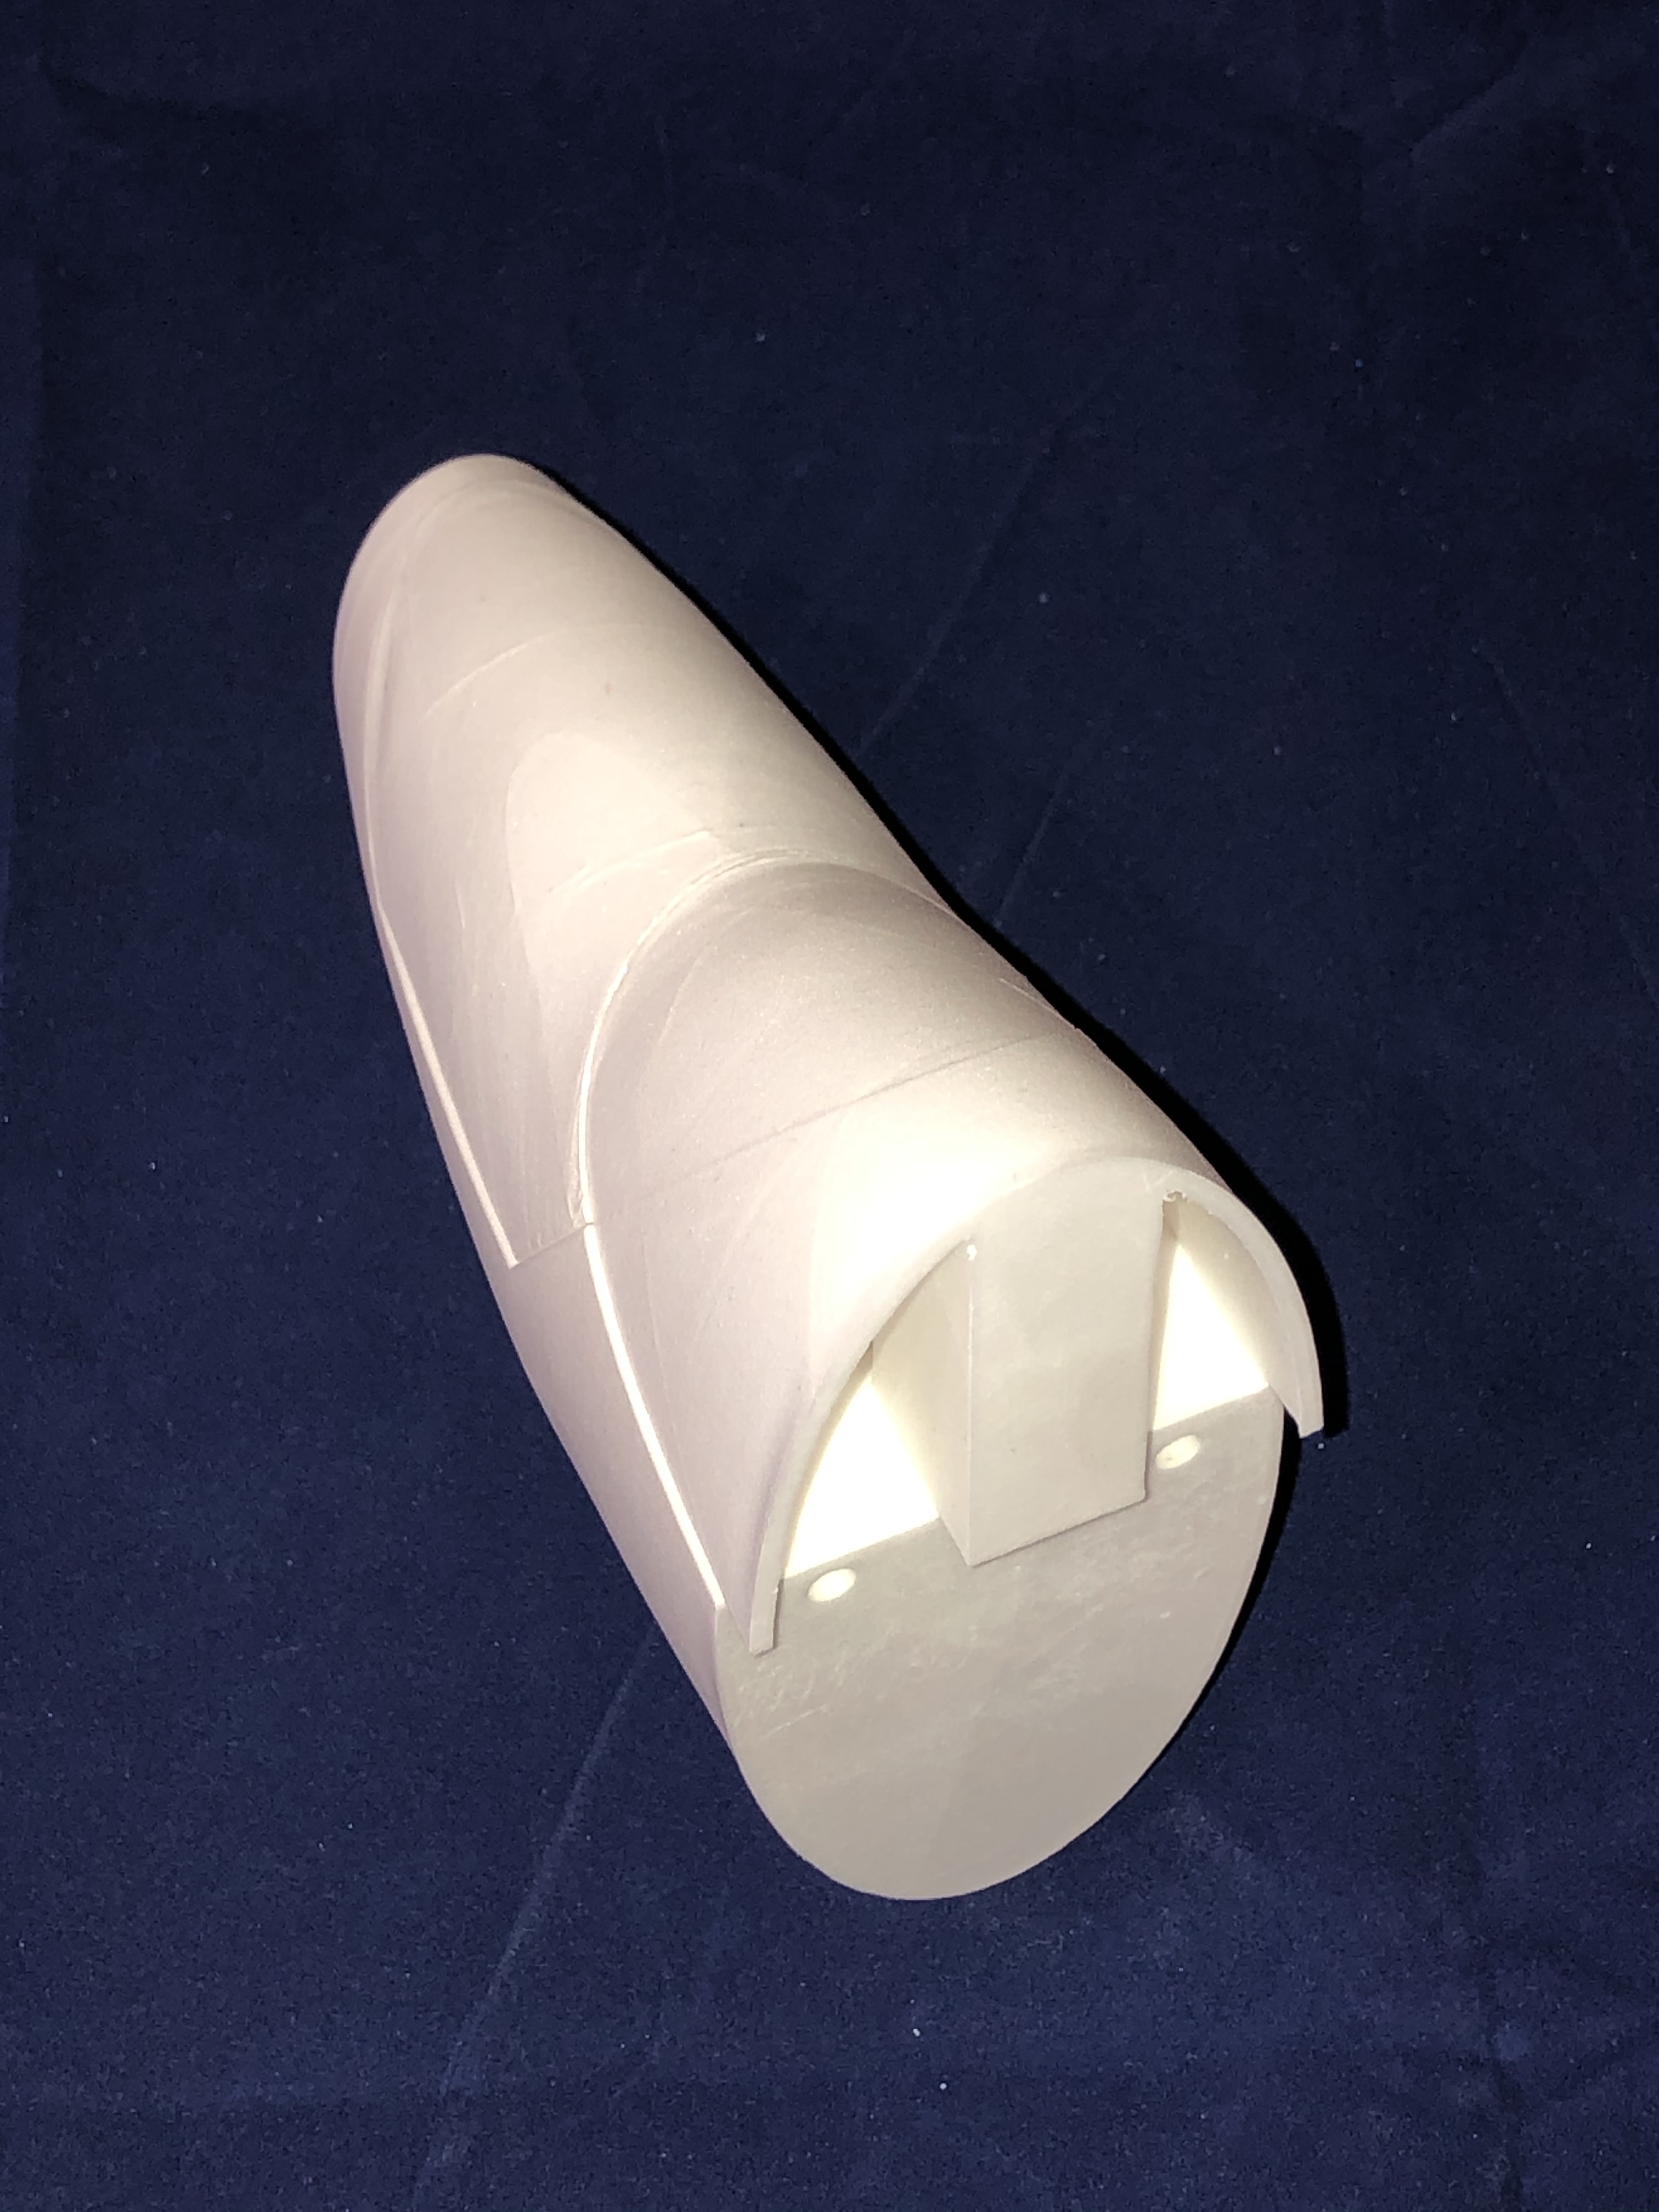
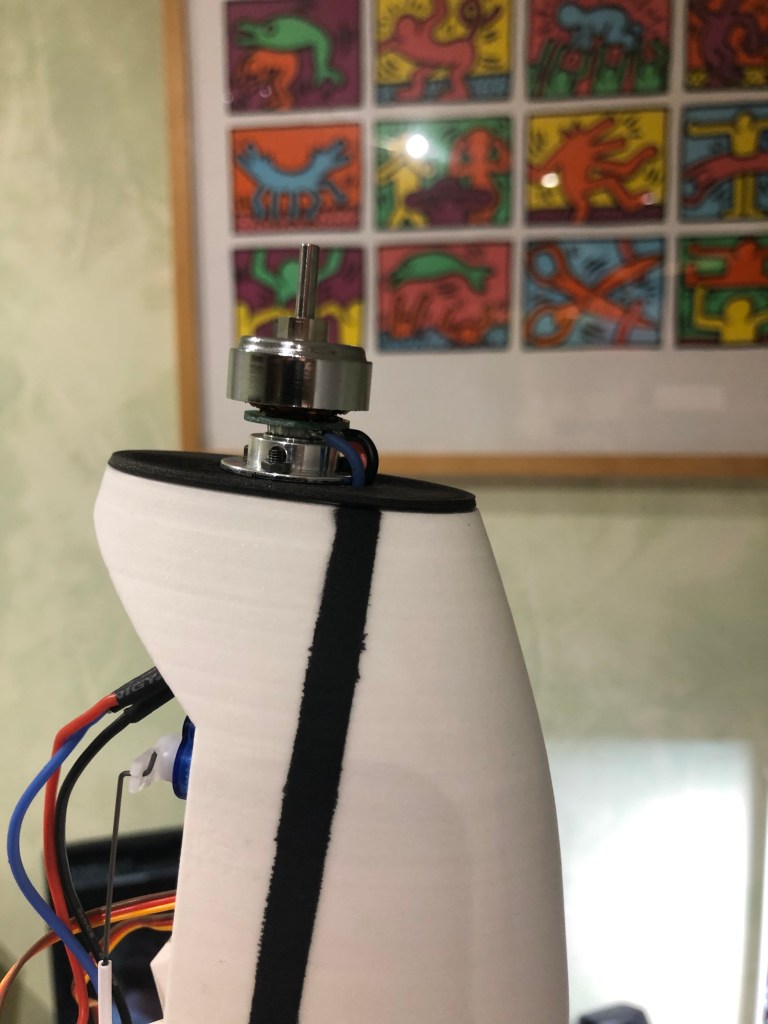
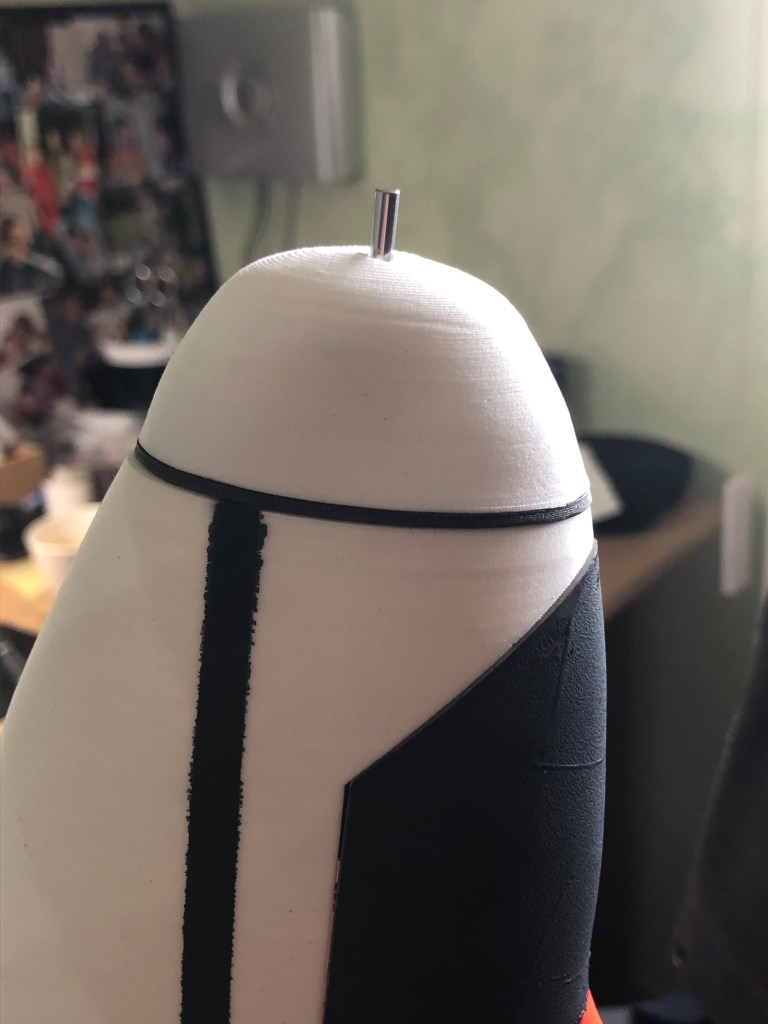
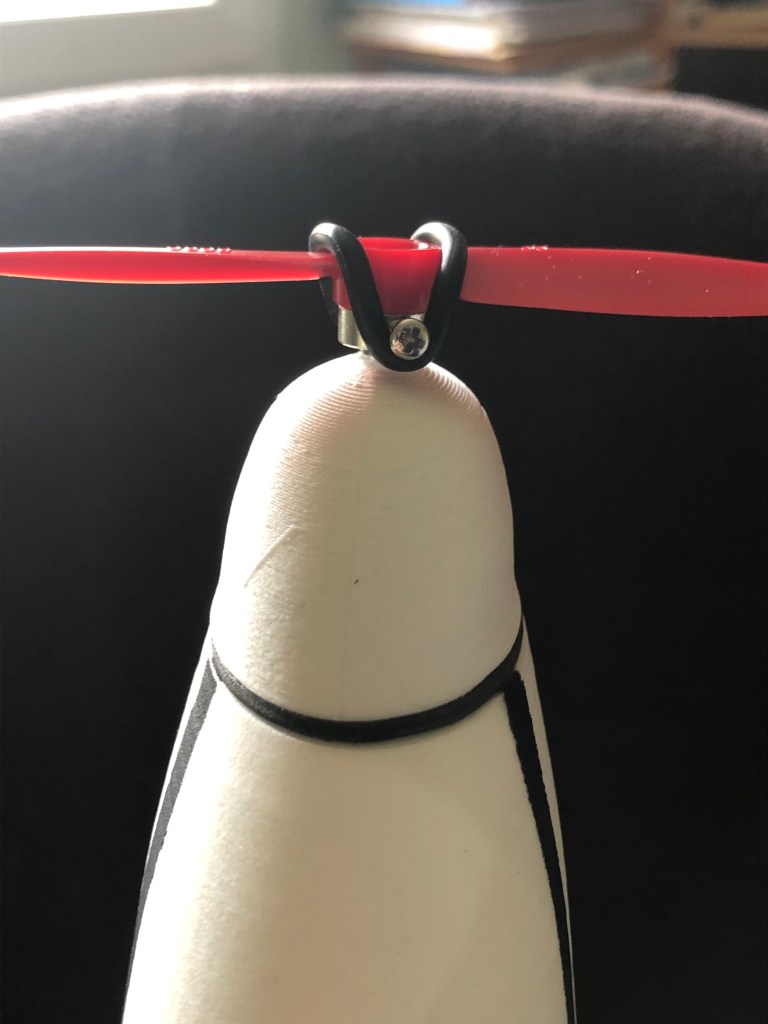
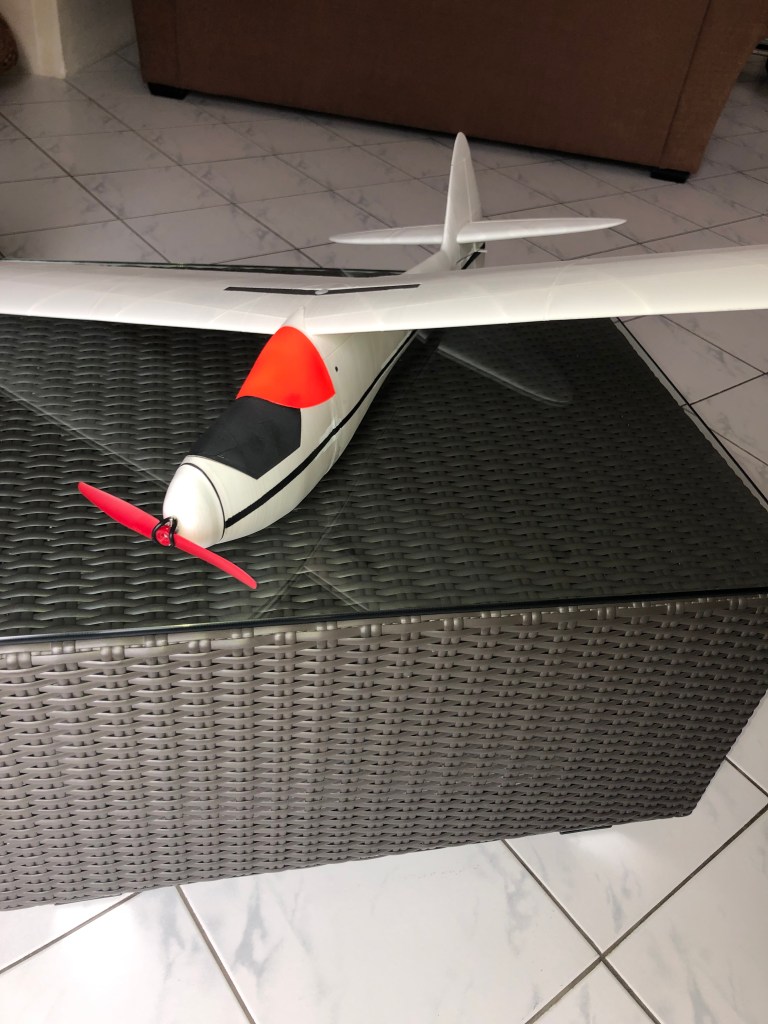
Patrick from 3d-printz helped me for getting the right motor nose design allowing a good fit by keeping a nice profil of the fuselage. After 3 iterations we got the right one :
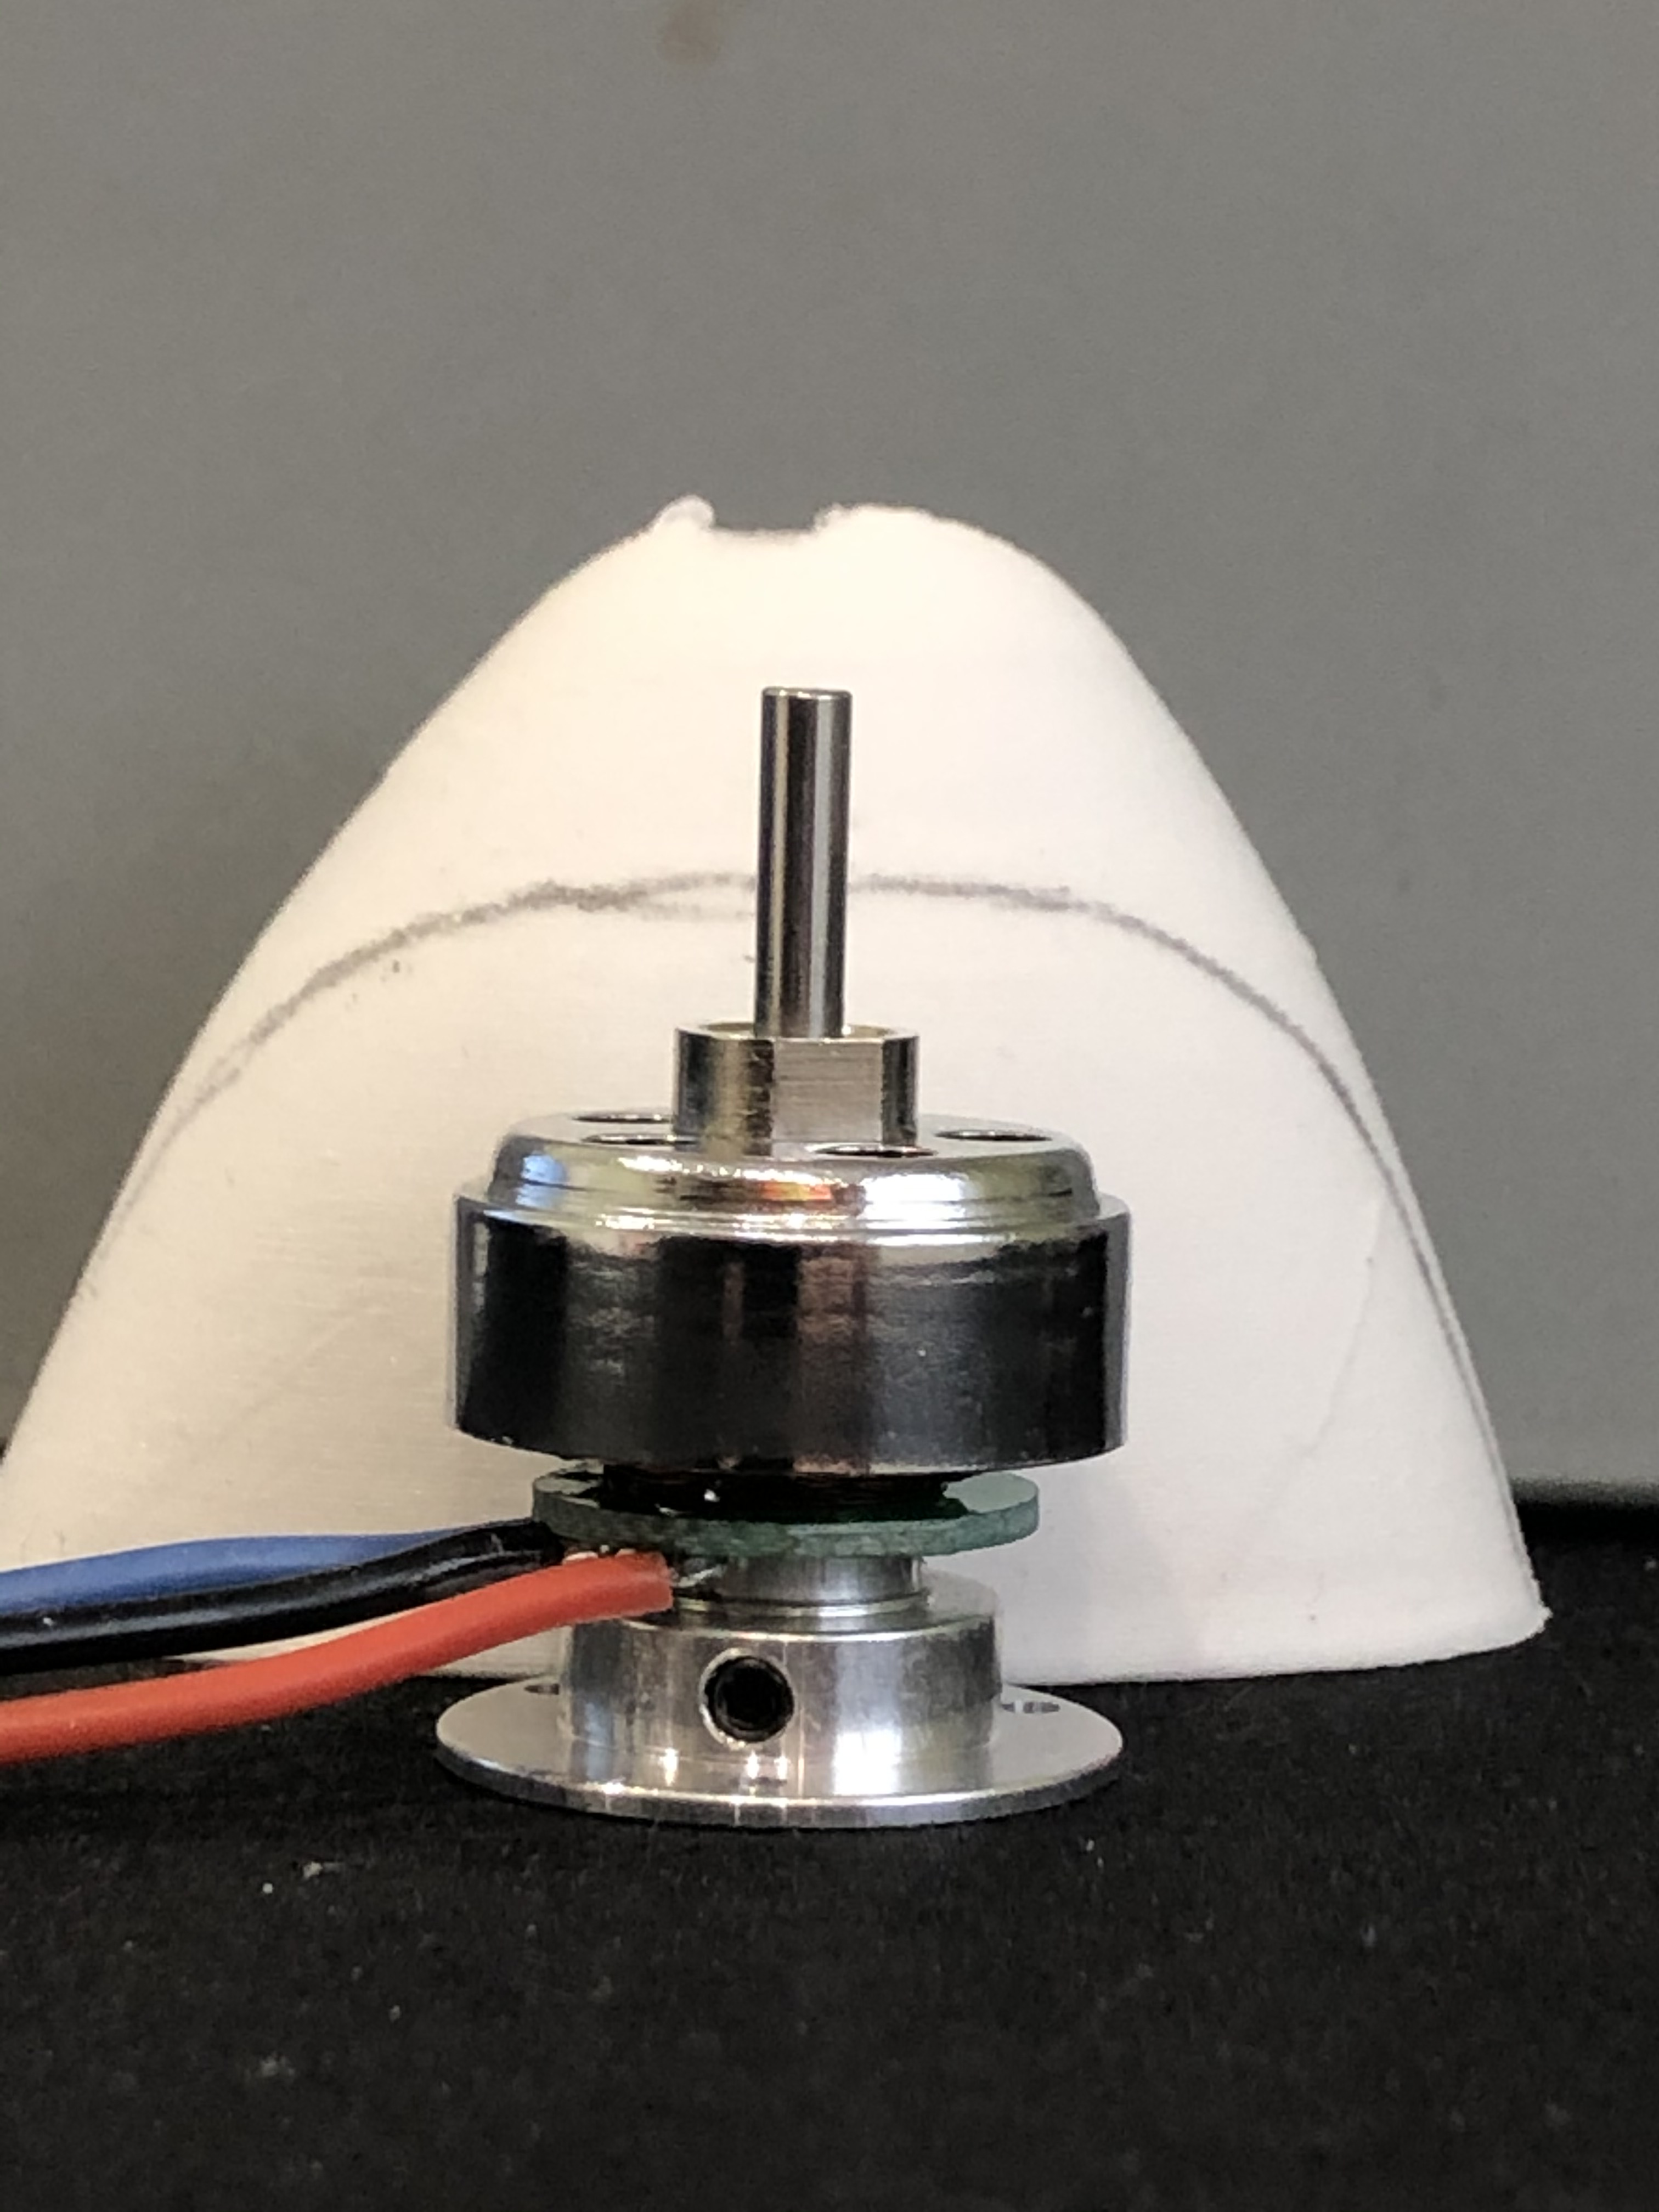
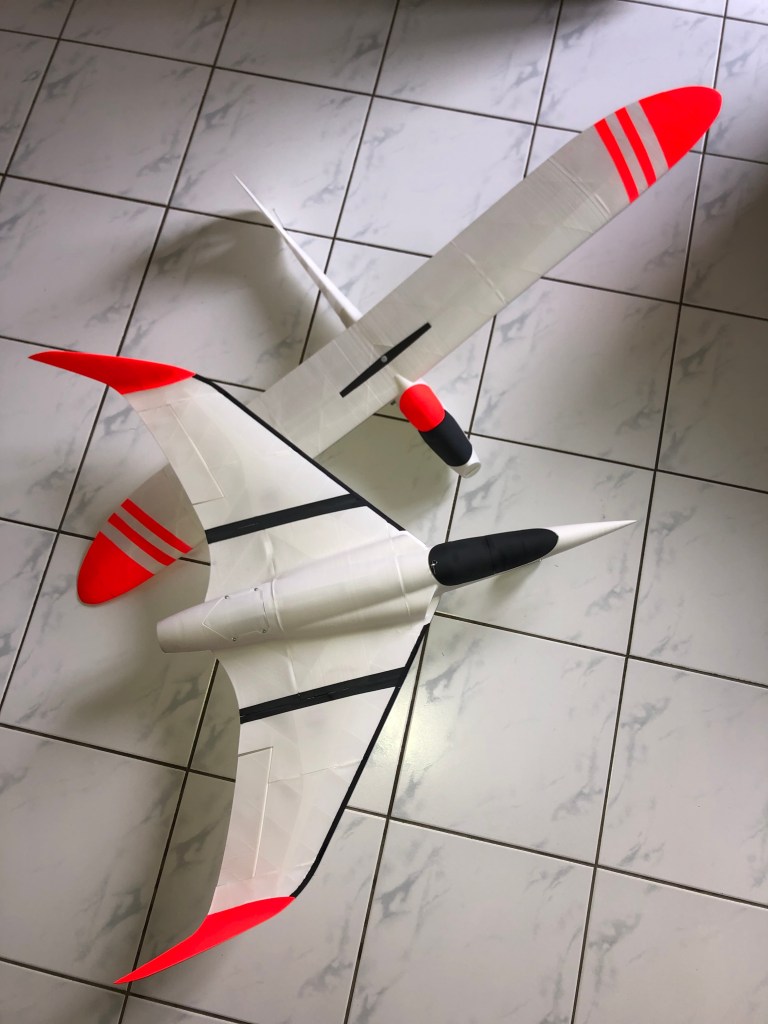
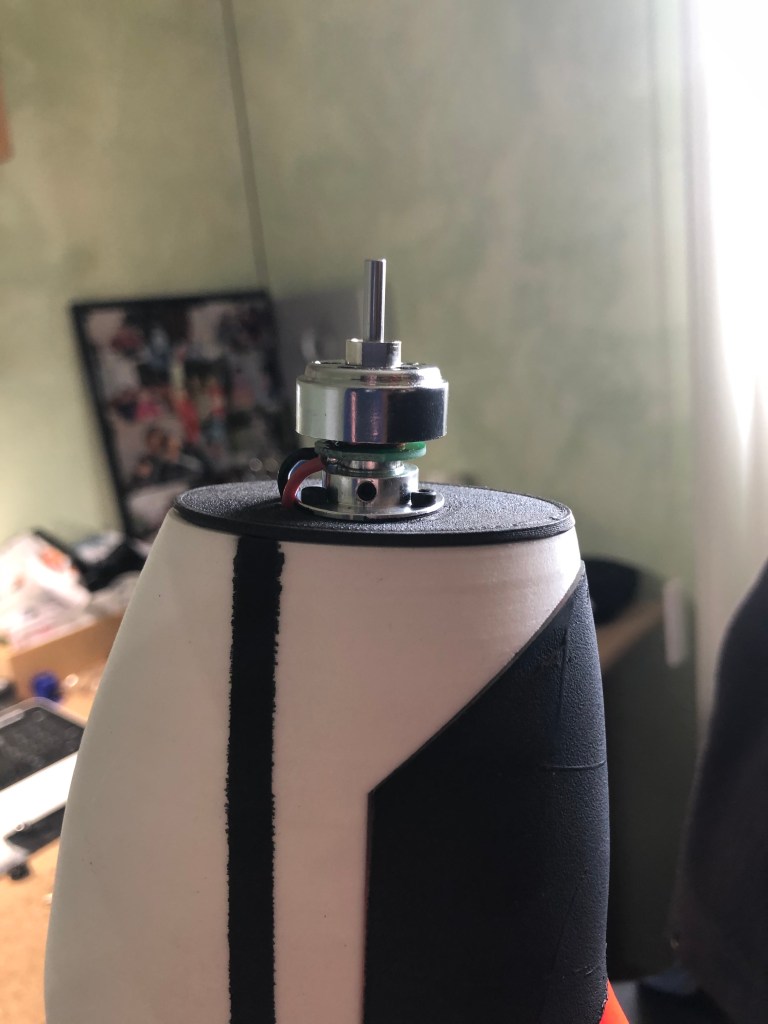
Finally i was able to install the motor, screwed on the its support printed in LW-ASA, and that i glued on the fuselage. With a 850mA 3S battery and the receiver all fits in.


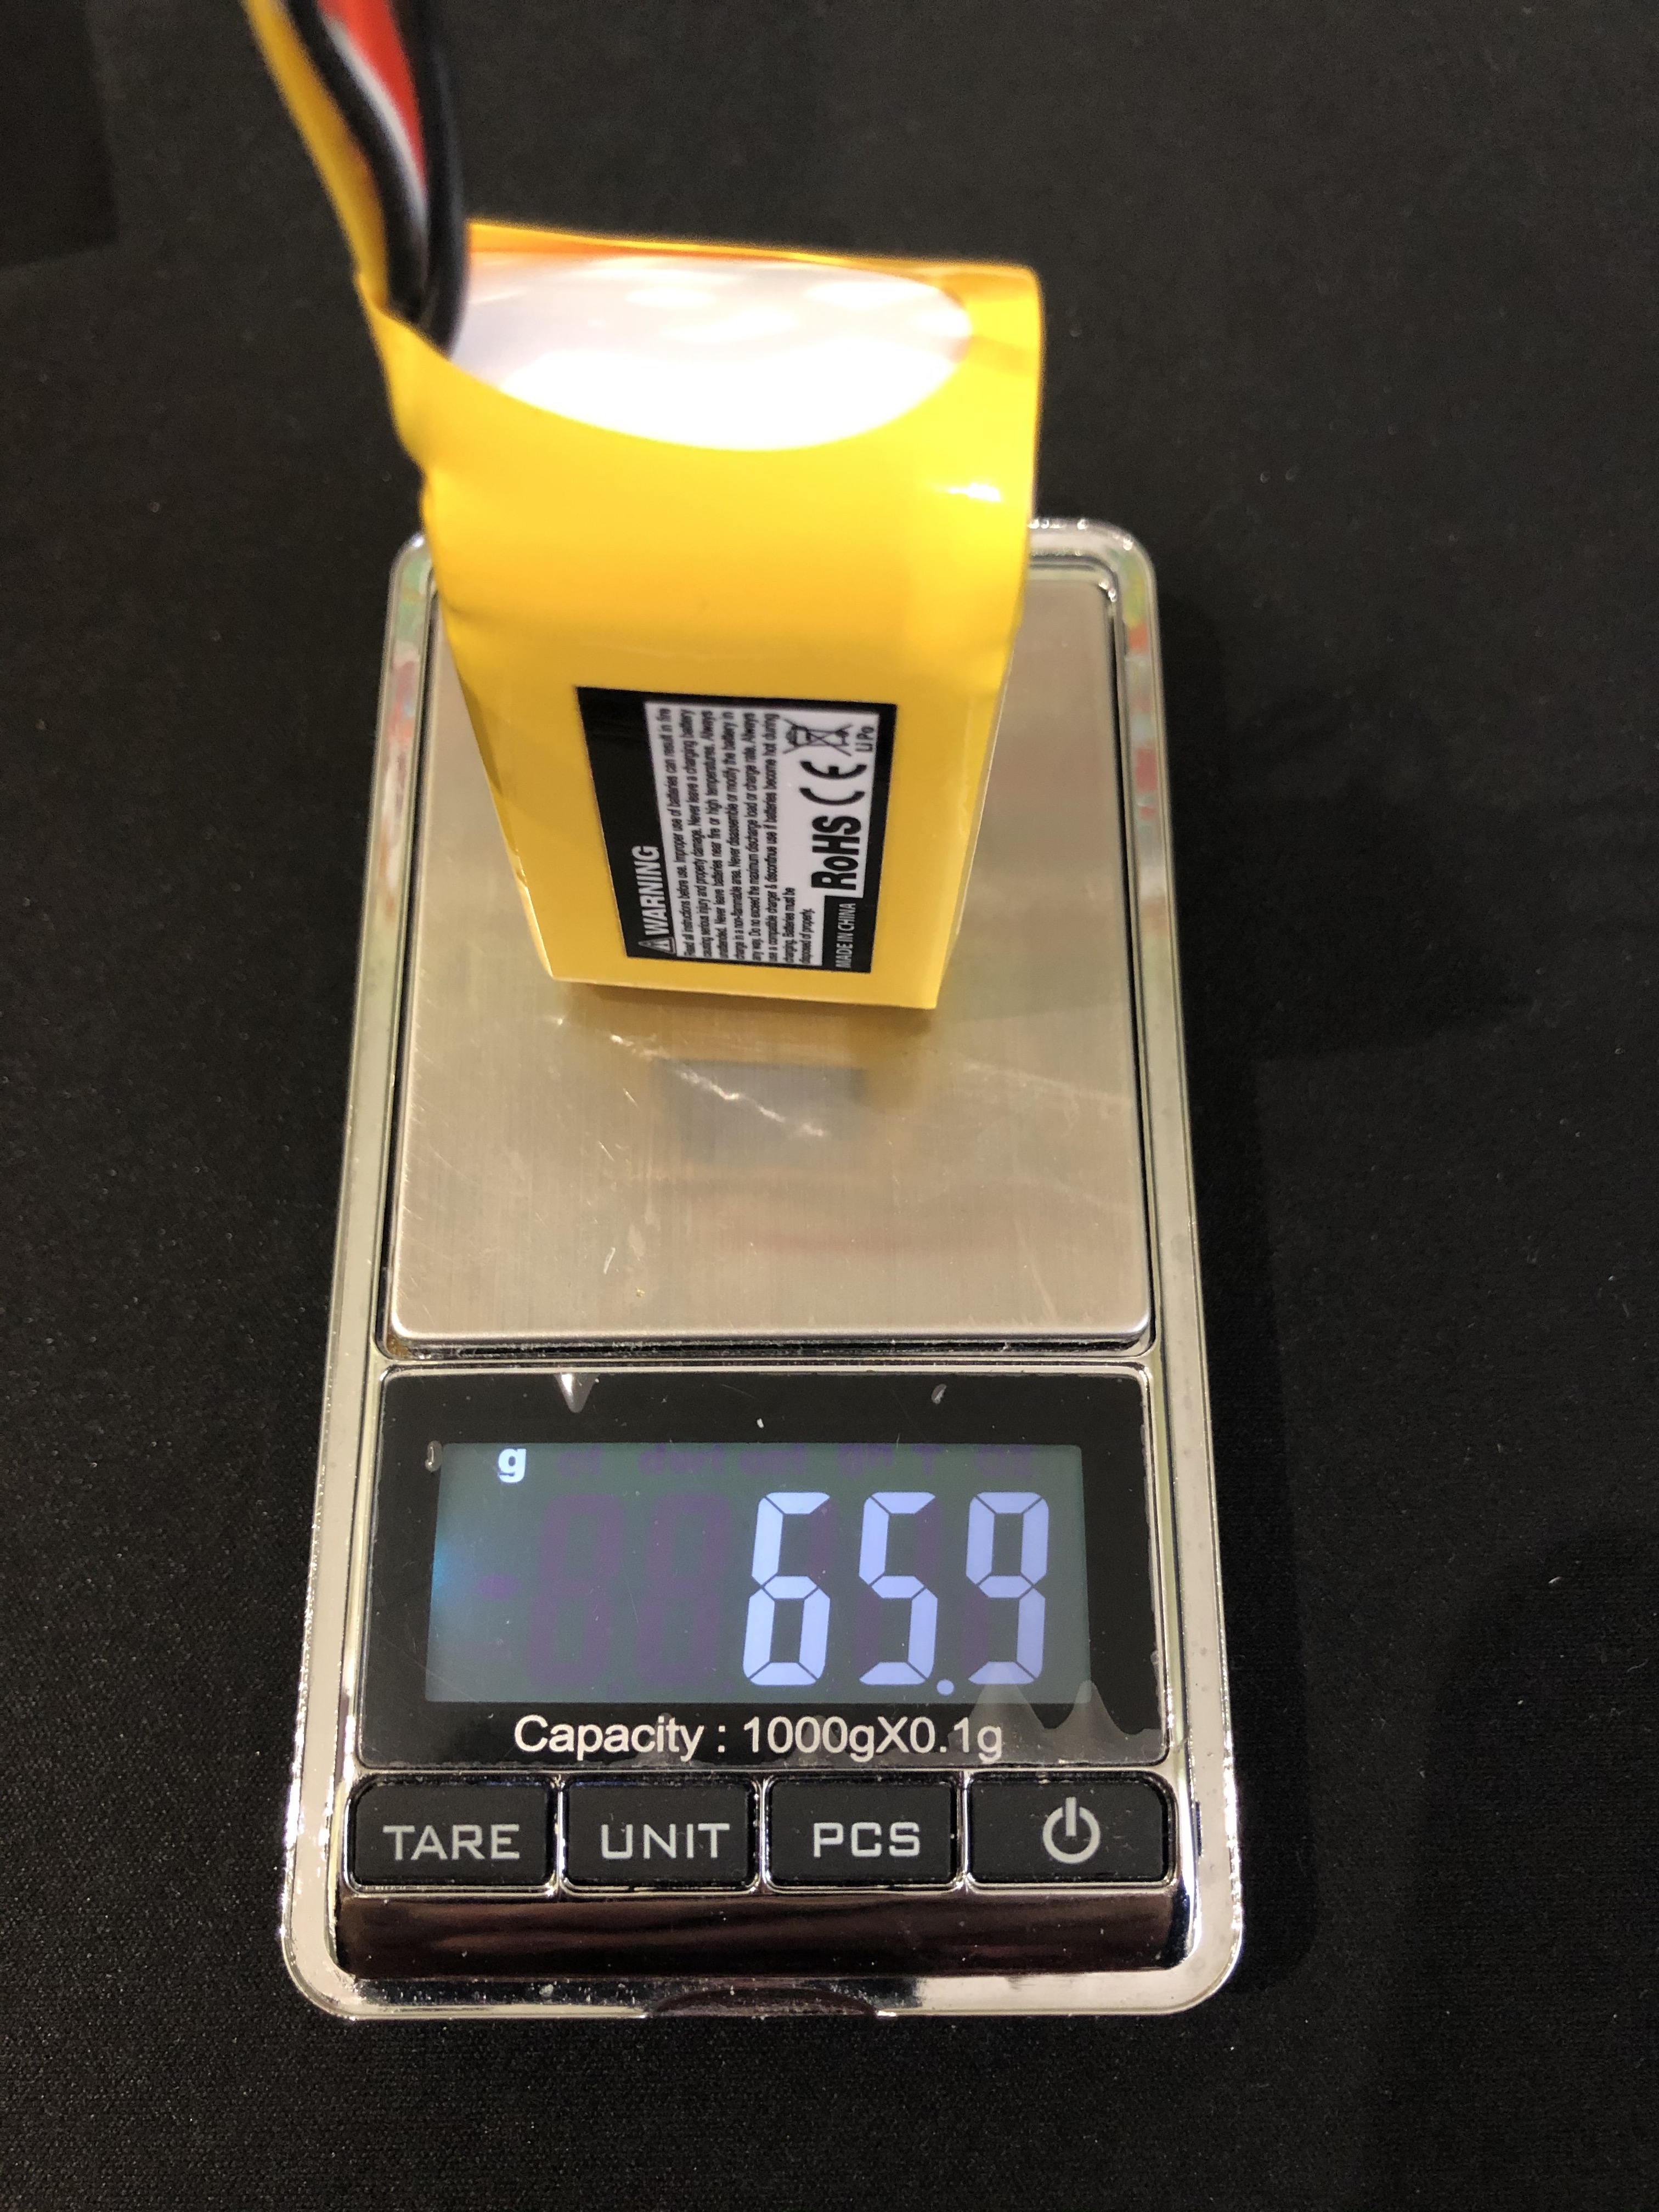
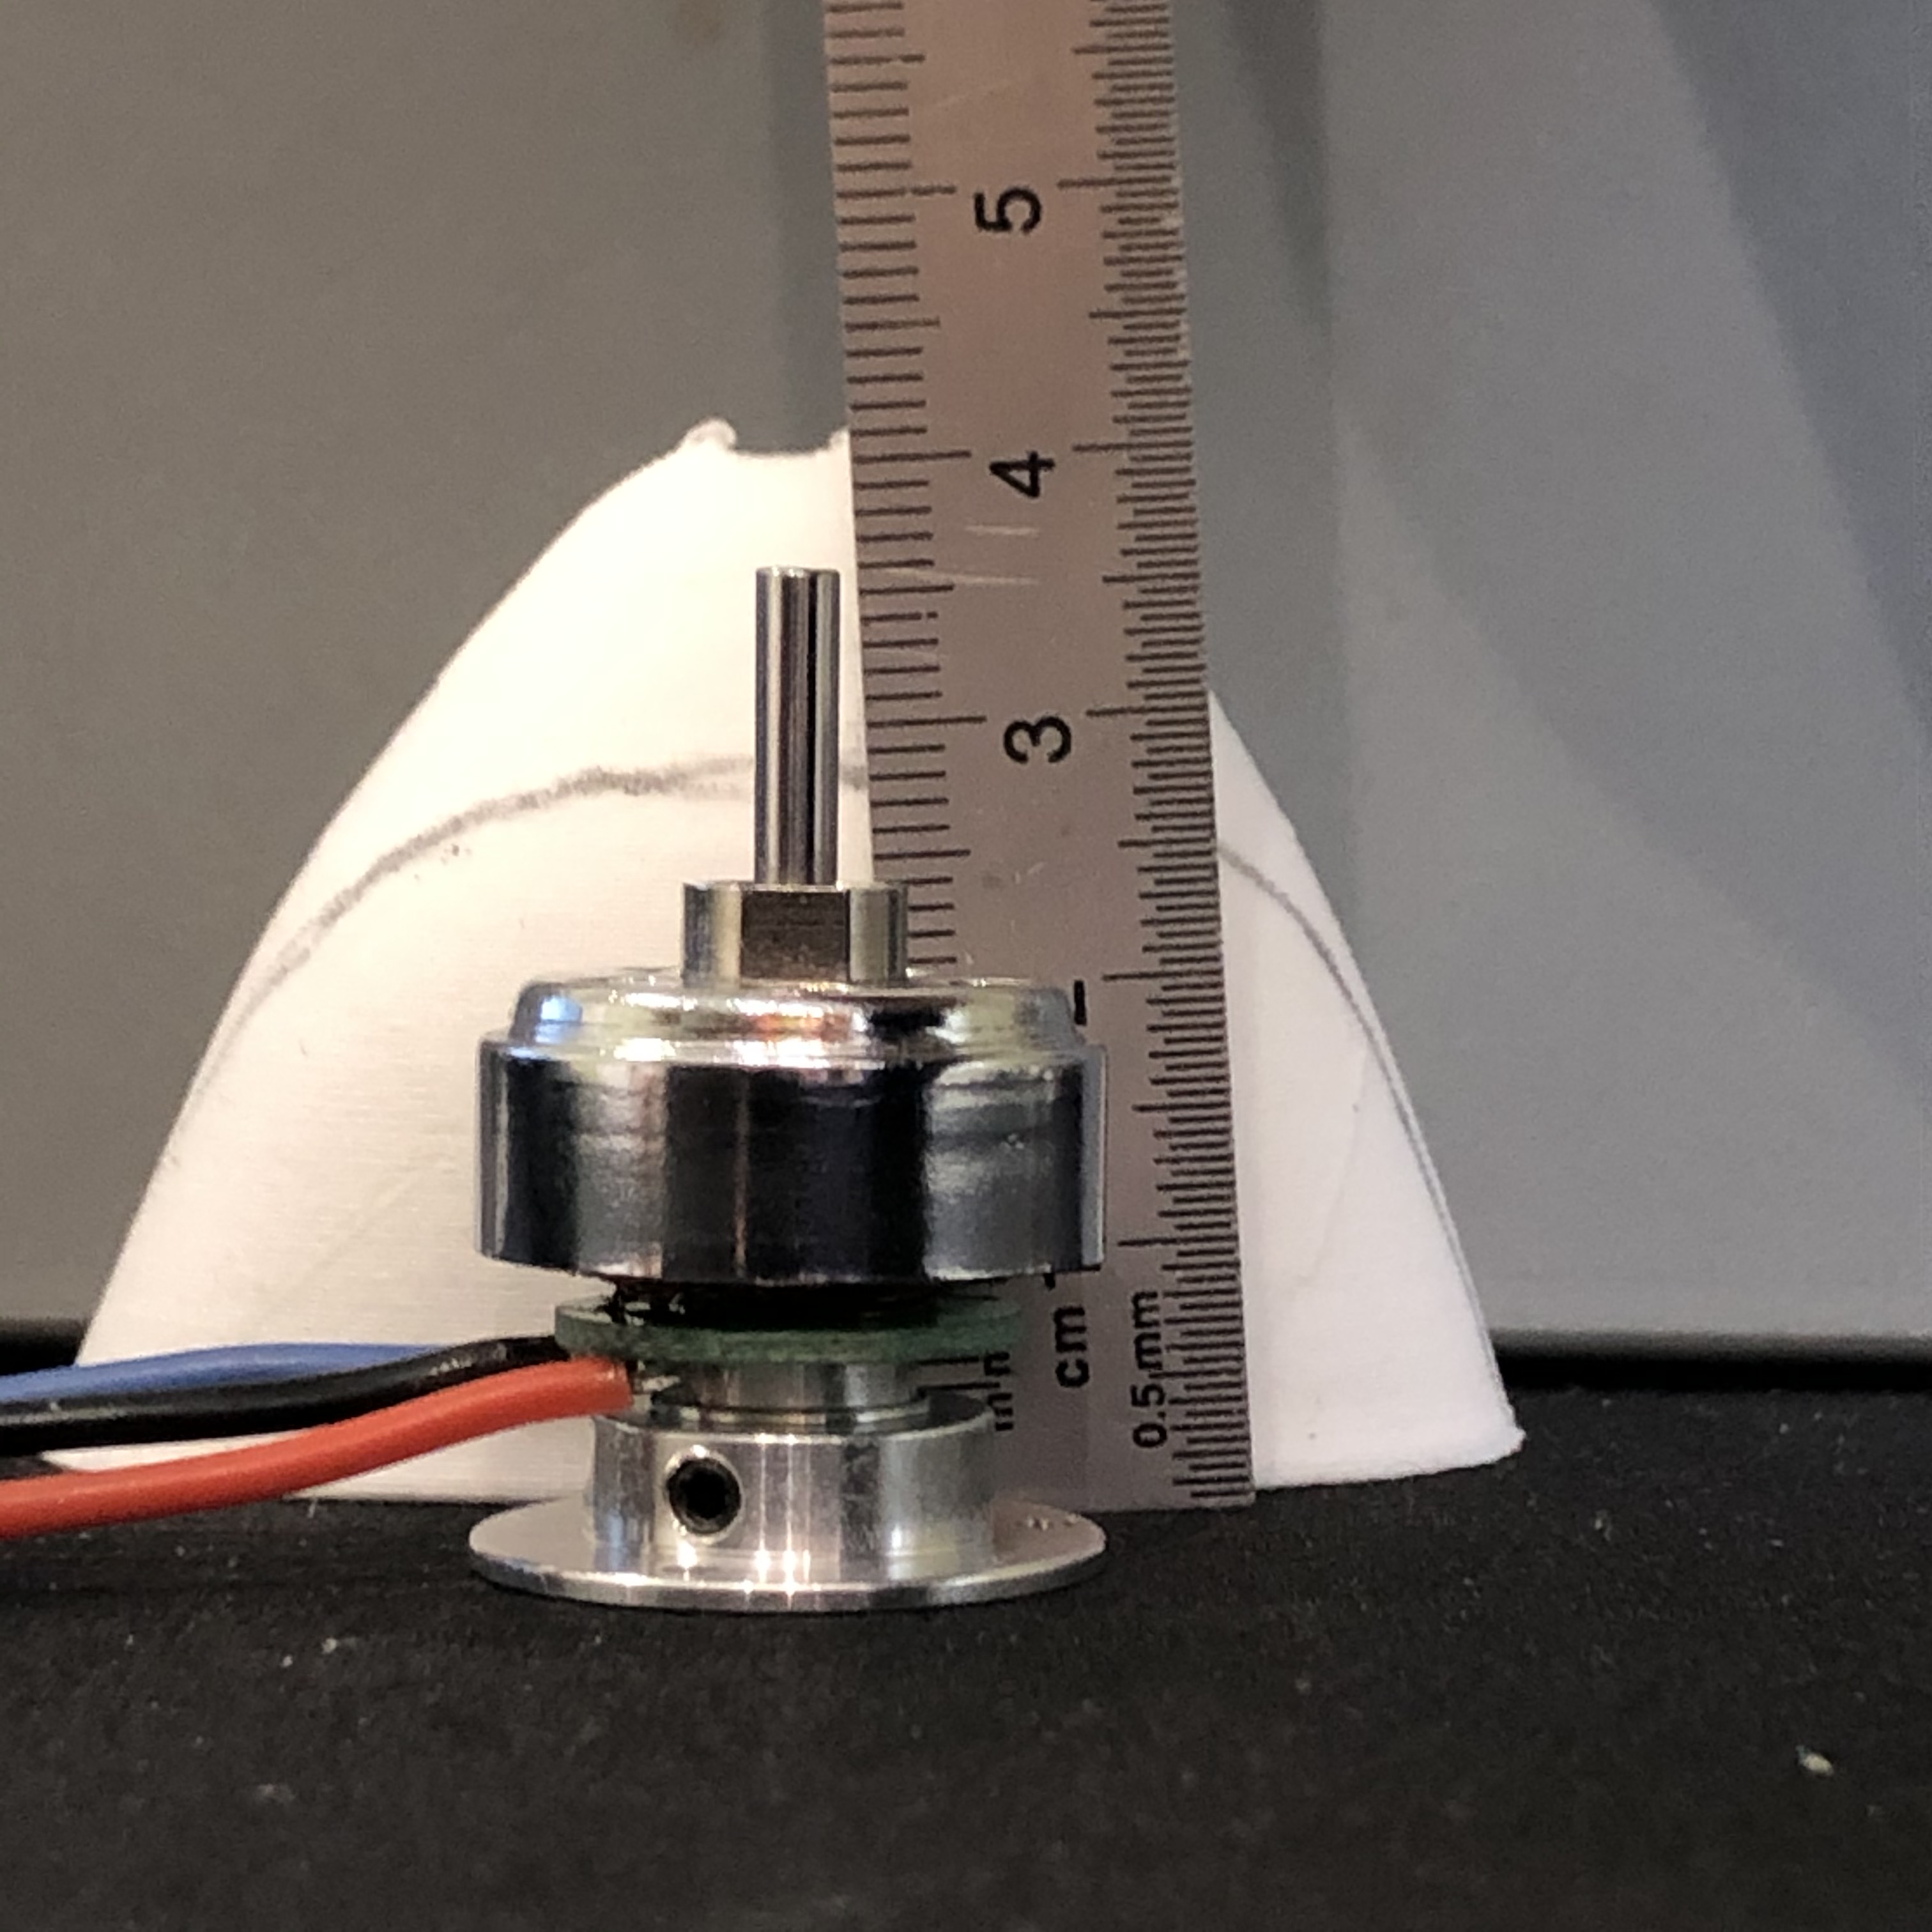
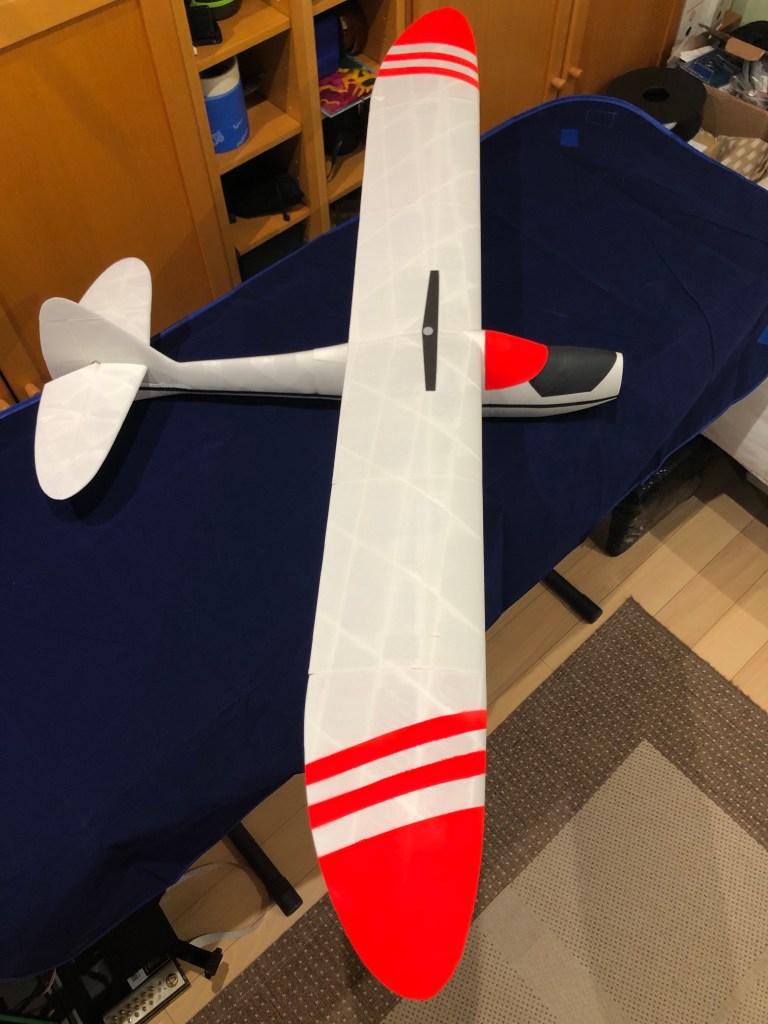
Latest measurements are the global weight and the CG. CG is exactly at 45 mm from leading edge as recommended in the documentation, i will adjust it during the early flights.


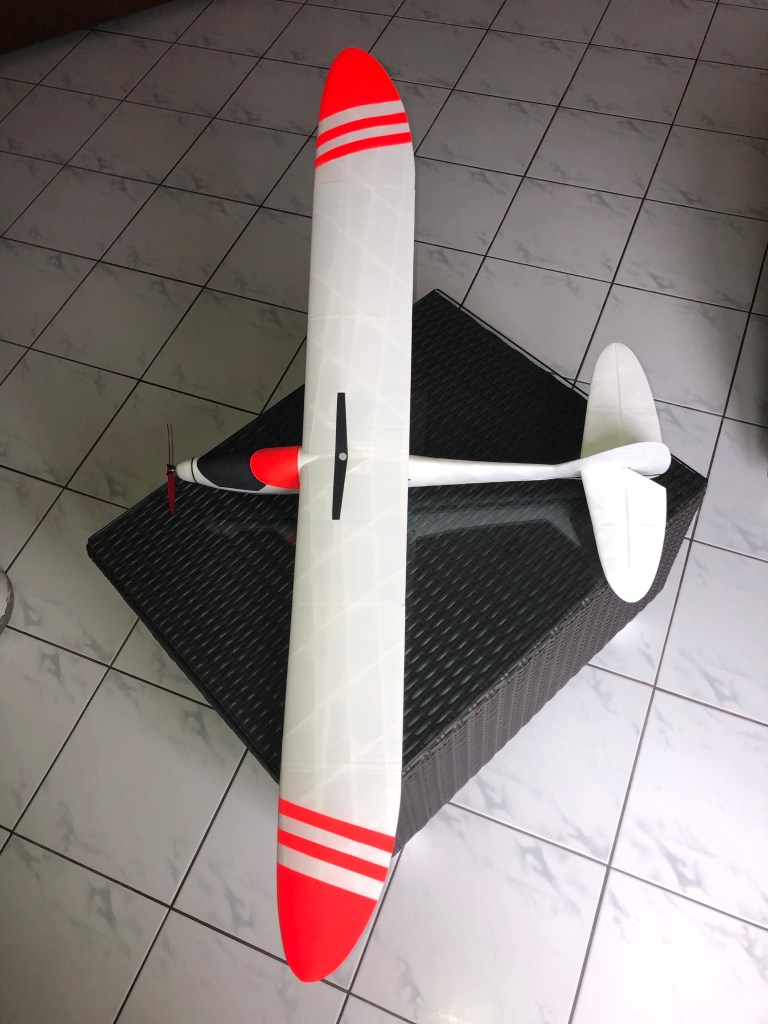
I will update this blog with maiden and first fligts video when local weather will allow me to do it.
I am glueing all parts of the Mini Sinbad, with cyano only. It is a easy process that needs some attention as the glue cures very quickly. I followed 3d-printz assembly guide and did not found any problem with it.
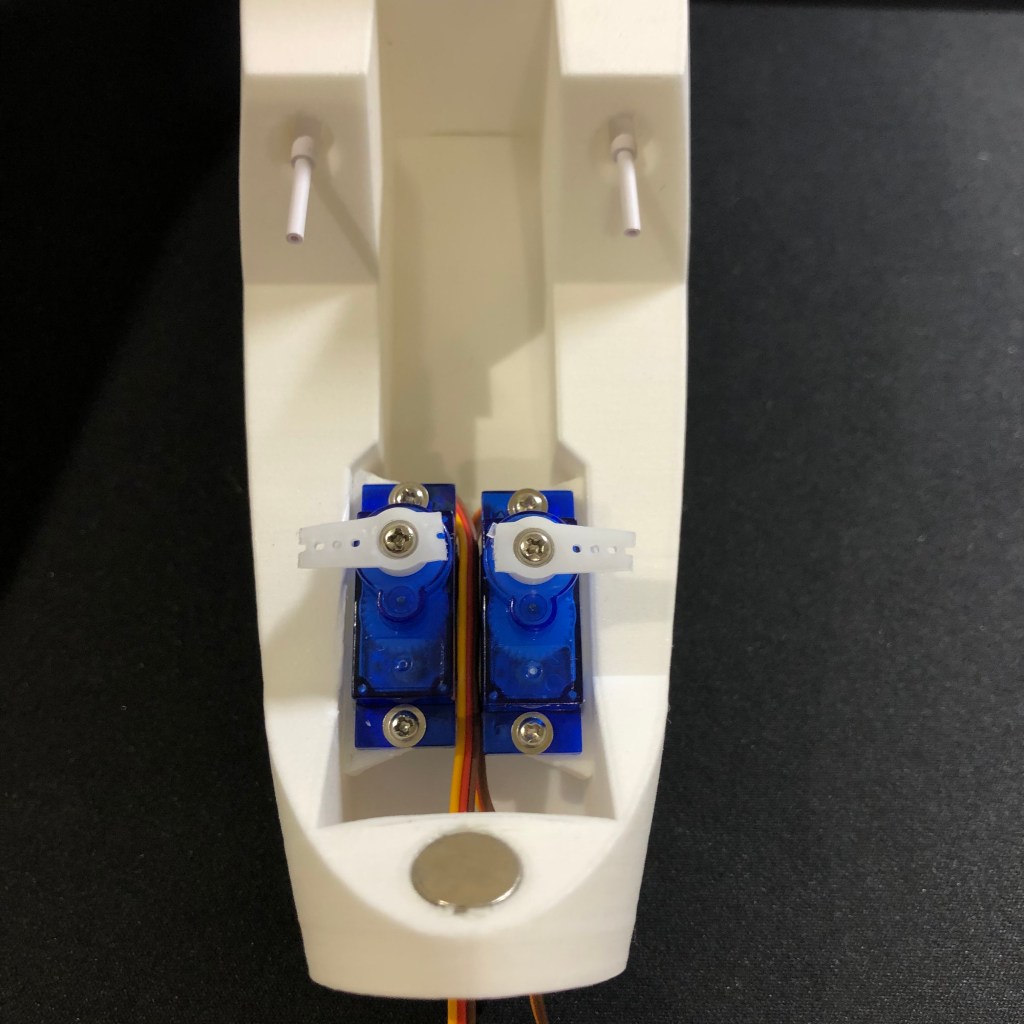
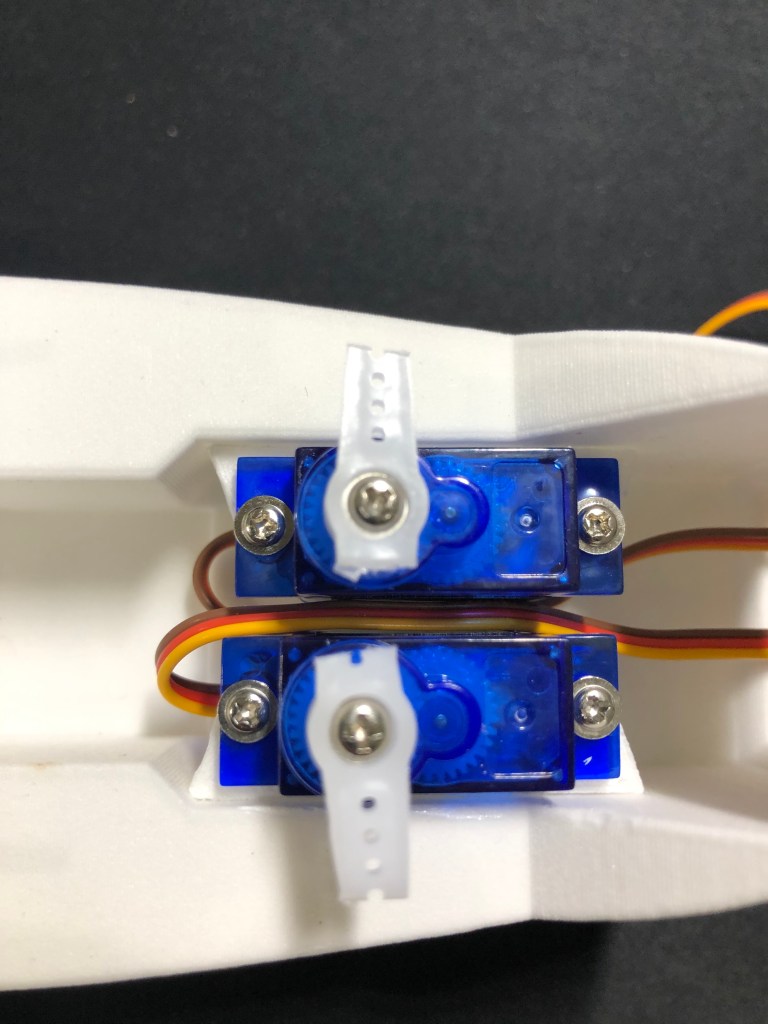
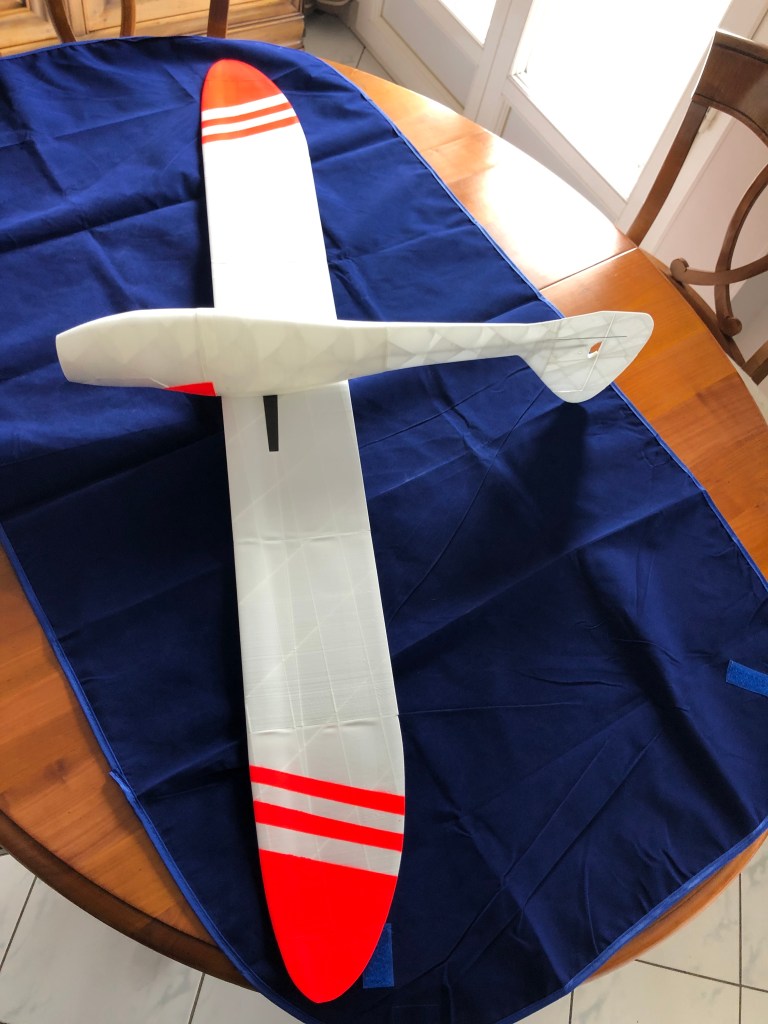
I painted wingtips, cockpit and canopy, and a filet on the fuselage using same colors as on the Eclipson EGW80. For the servos i reused support available with the Eclipson model, printed in LW-PLA.
I am still missing the motor and nose, waiting for this one to come and be sure it will fit in the small area. Otherwise i will used the pure glider nose version. Current weight without motor and ESC, receiver and battery is 331g.
As Colorfabb is claiming on his web site LW-PLA and LW-ASA are very light weight material for 3D print and thus allow to build light models.
| Parts | Weigh |
|---|---|
| WingtipL | 4.3 g |
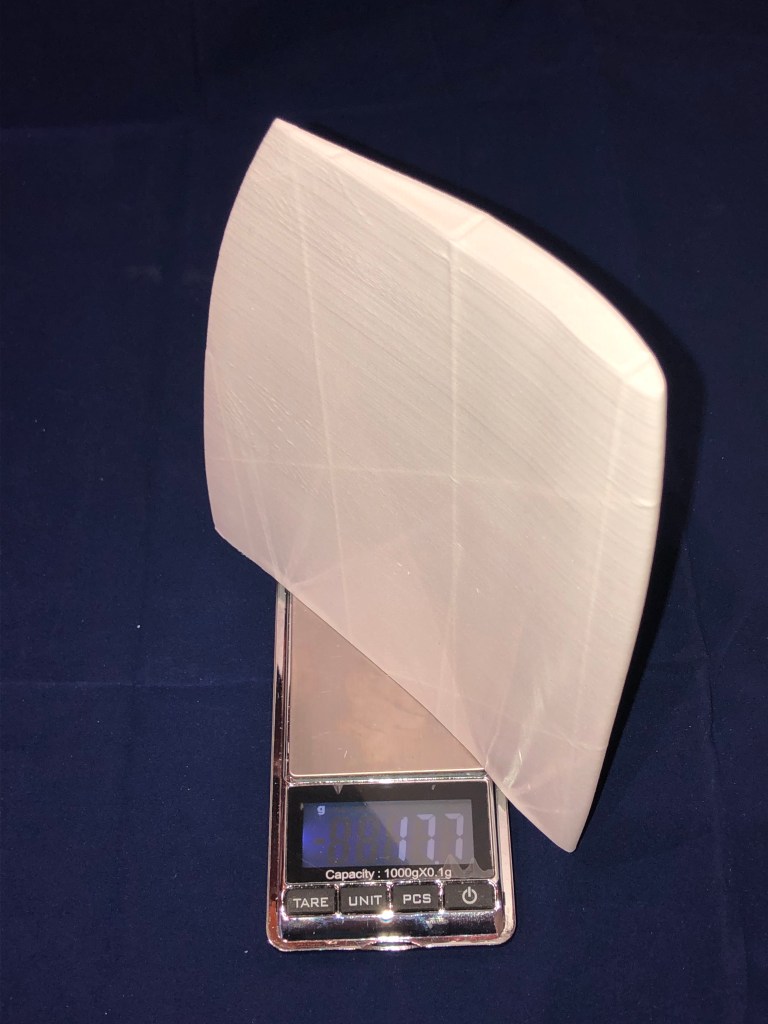
| WingL2 | 17.7 g |
| WingL1 | 22.4 g |
| WingcenterLFloater | 21.8 g |
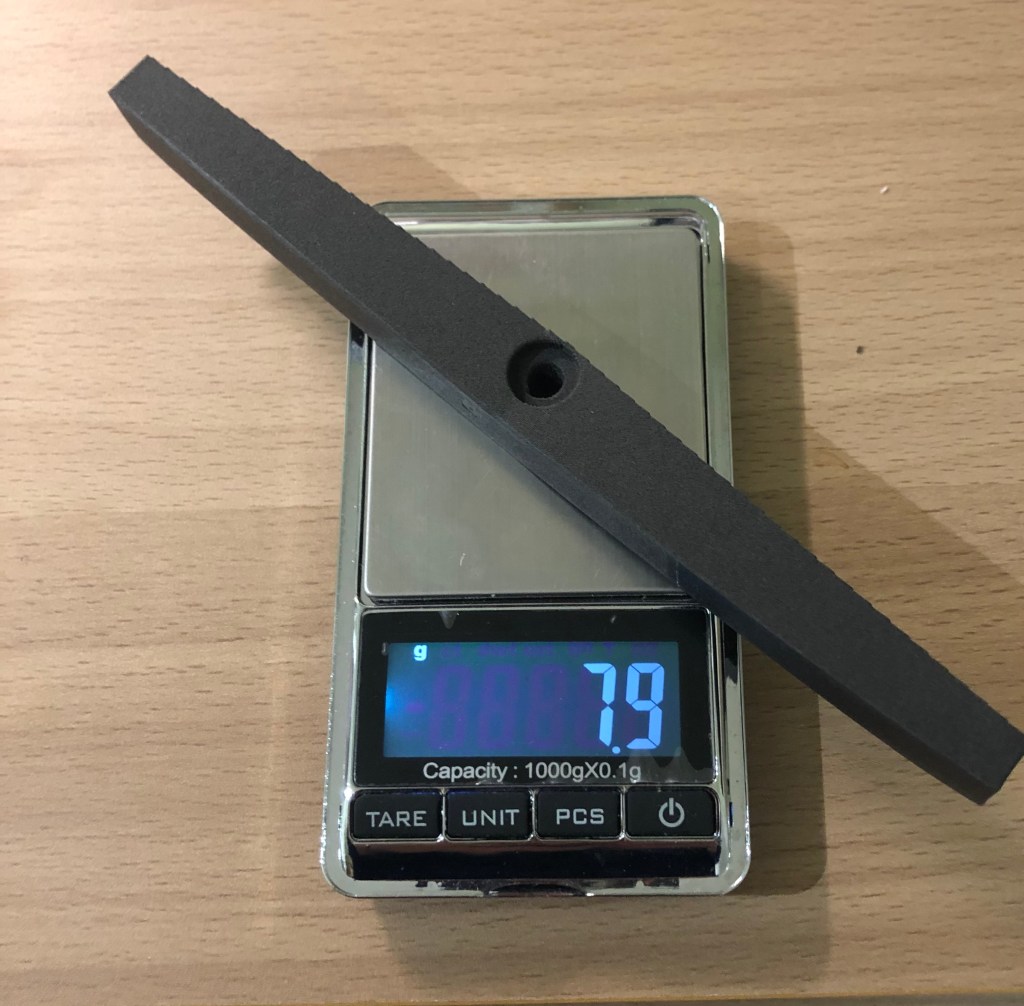
| Wingjoiner Floater | 7.9 g |
| Flachenaufnahme Floater | 13.4 g |
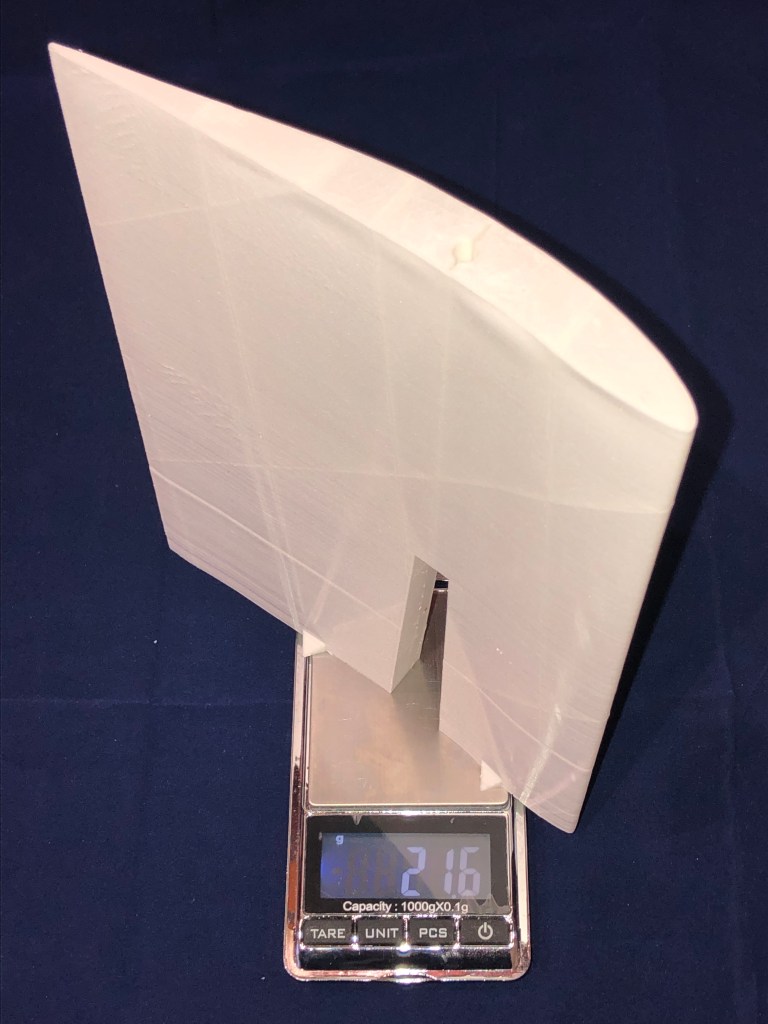
| WingcenterRFloater | 21.6 g |
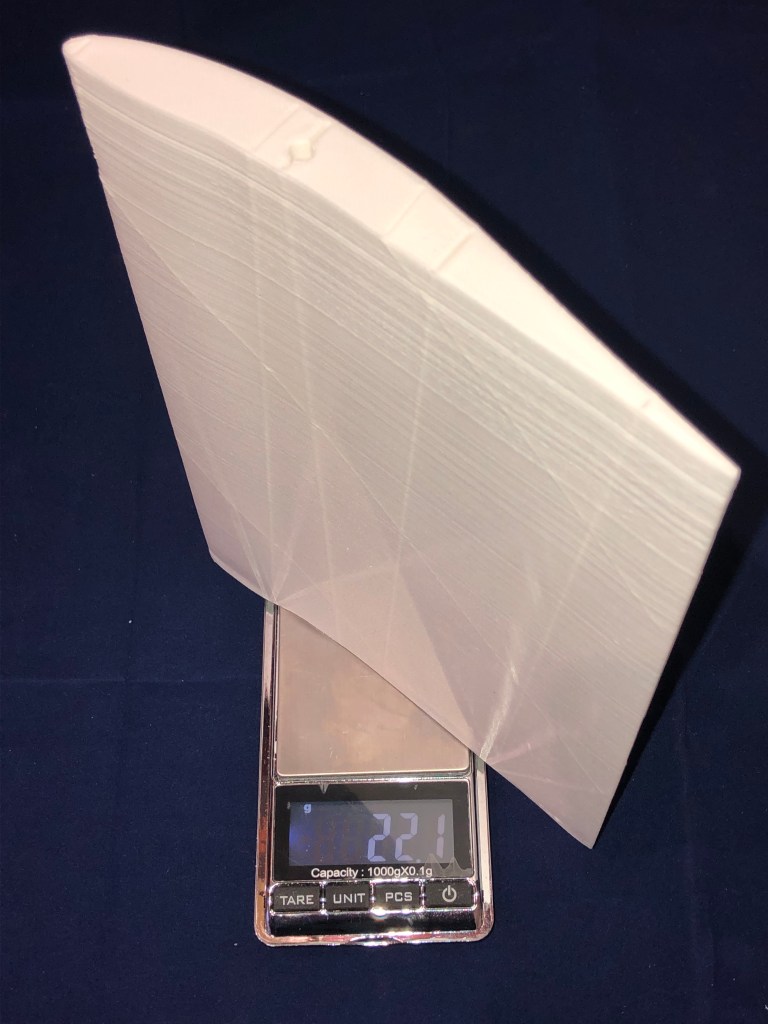
| WingR1 | 22.1 g |
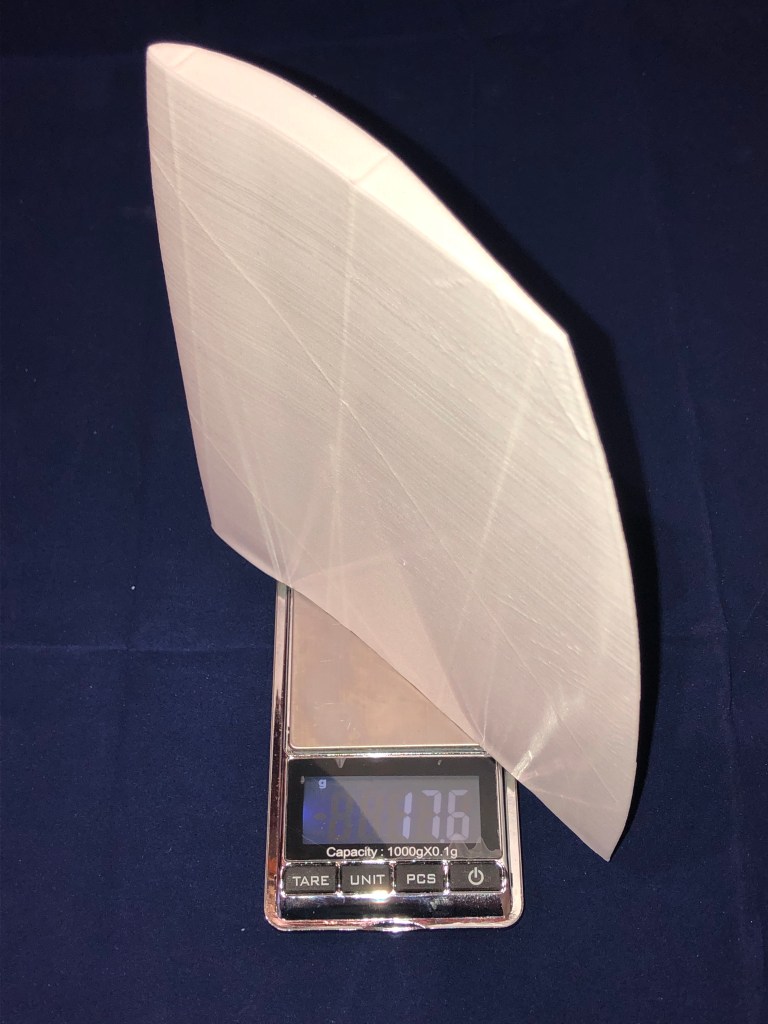
| WingR2 | 17.6 g |
| WingtipR | with WingtipL |
| Fus1 | 3.4 g |
| Motornose | 3.5 g |
| Motorspant | with Motornose |
| Fus2 | 28.5 g |
| Canopy | 11.4 g |
| Cockpit | with Canopy |
| Fus3 | 41.5 g |
| Fus4 | 12.7 g |
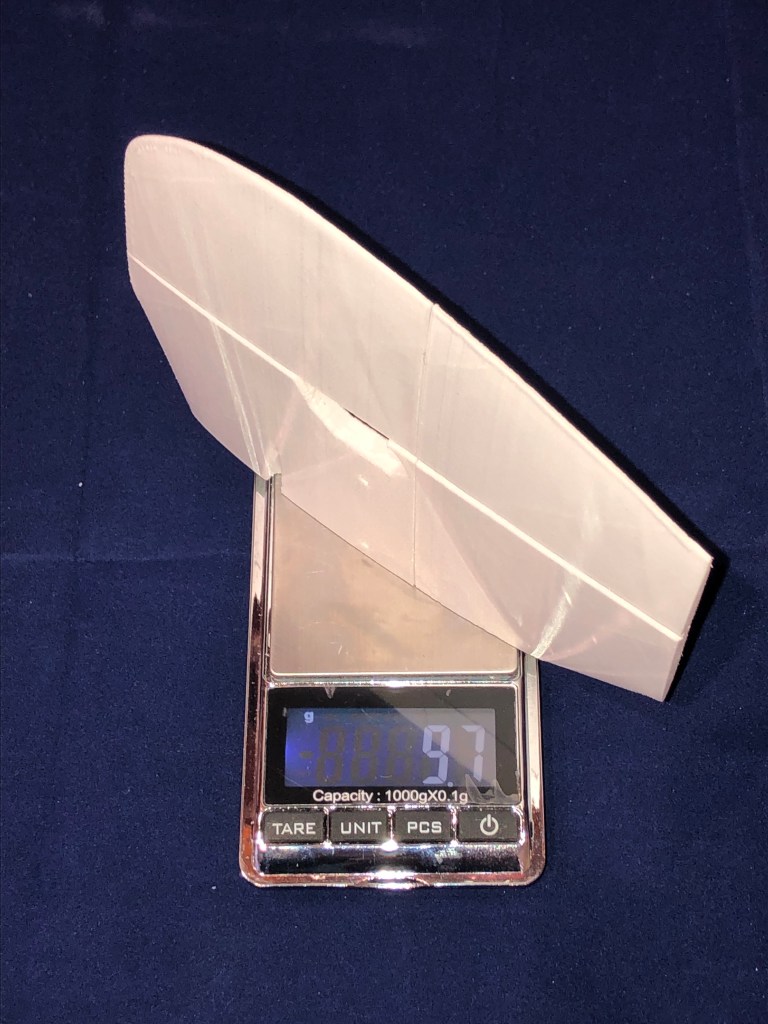
| VertStab | 9.7 g |
| HorStabtop | 0.8 g |
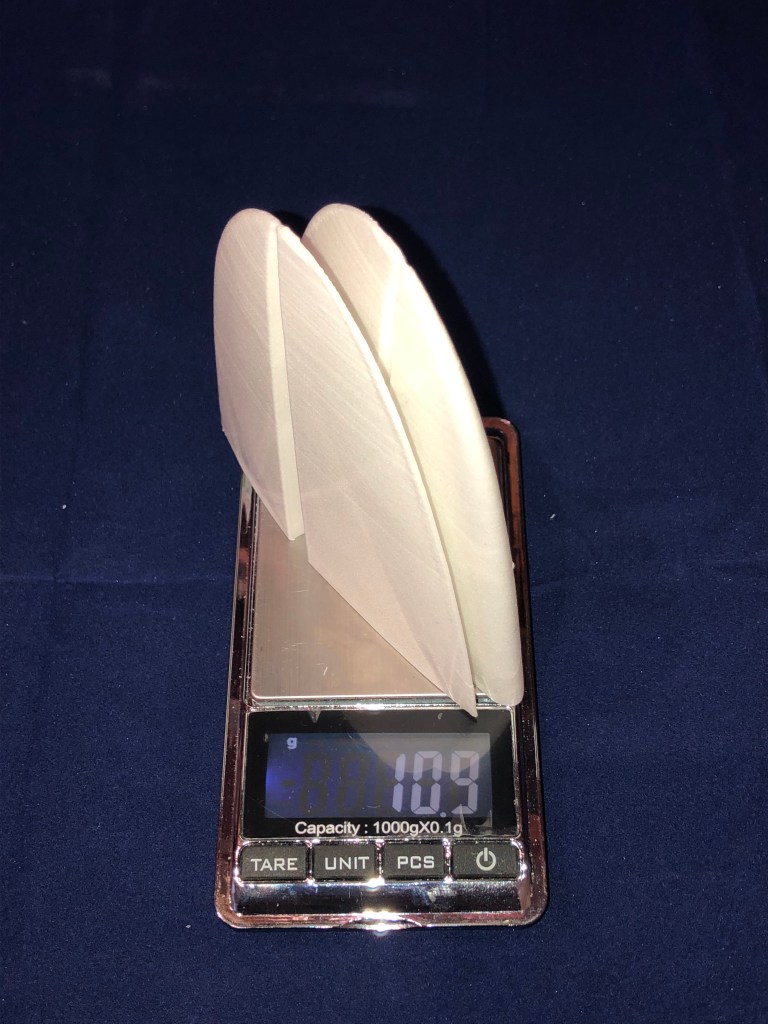
| HorStabL2 | 10.9 g |
| HorStabL1 | 14.1 g |
| HorStabR1 | with HorStabL1 |
| HorStabR2 | with HorStabL2 |
The Sinbad will definitively be very light and i weighed each printed part.


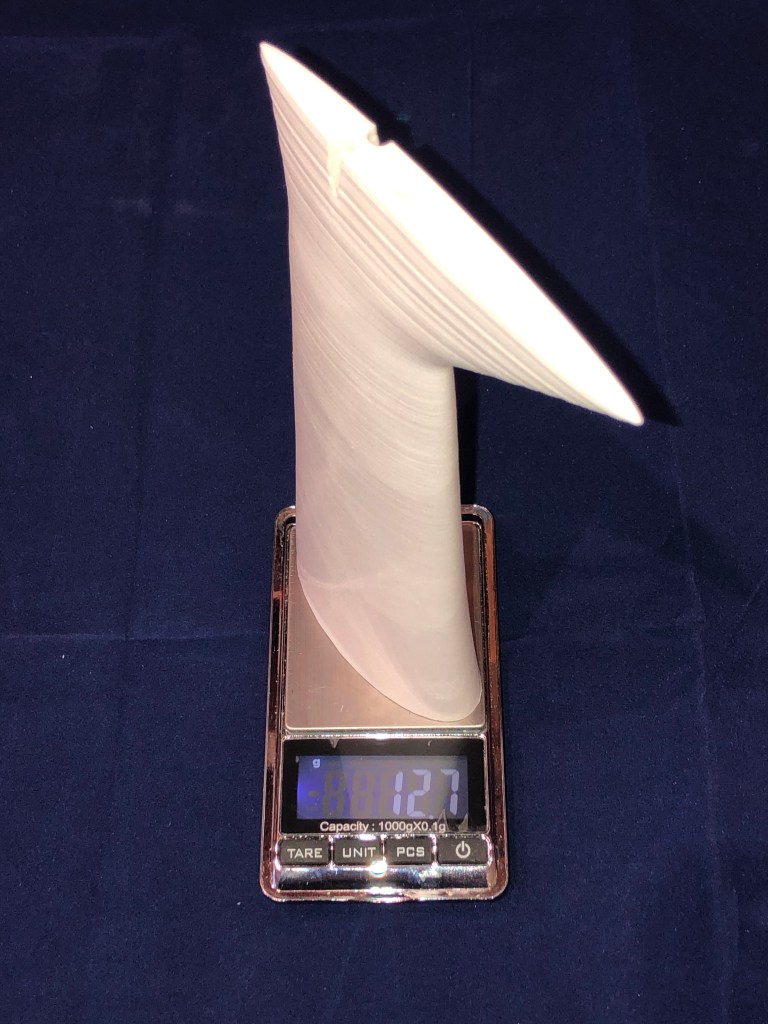


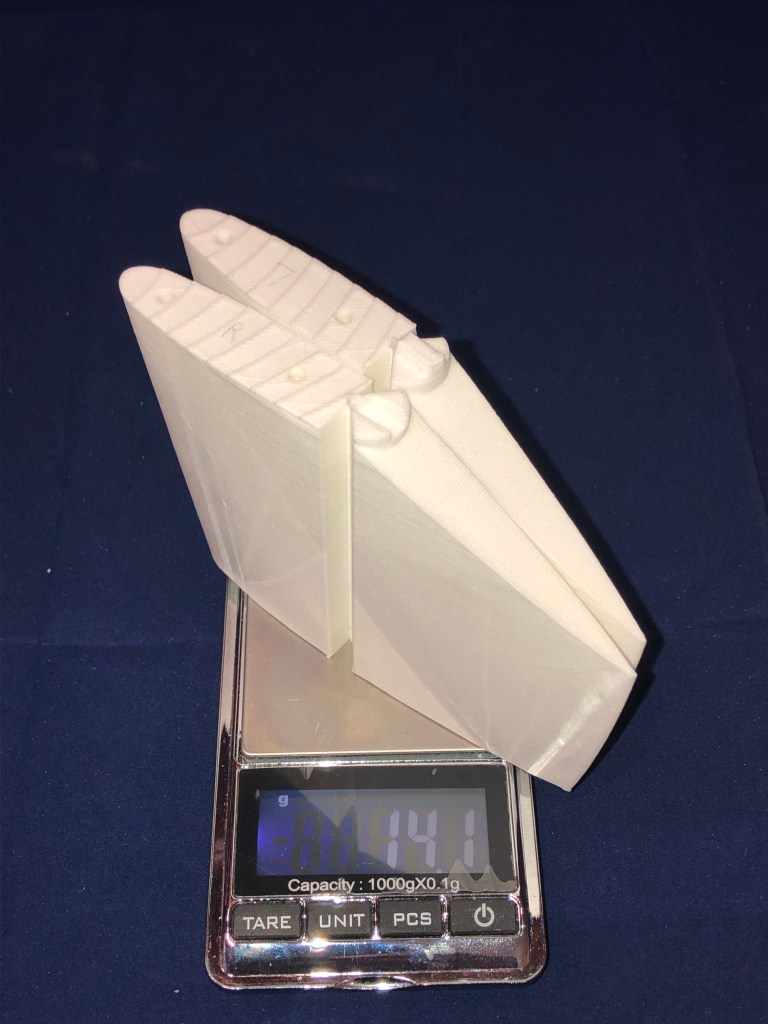


Current total weight of all parts is 282 g. I will need to add 2 9g servos, one receiver, motor+esc and the 2S 300mAh lipo battery, and all links and rods with rudder and elevator. Final weight should be around 420/430g.
I managed to print all parts of the Sinbad in one and a half week, doing this every evening and 2 week ends. Here is summary in a table of all times required for each print.
| Parts | File | Time |
|---|---|---|
| WingtipL | E3PROSKR_WingtipL_1_SALWPLA-0-33-025 | 0h33mn |
| WingL2 | E3PROSKR_WingL_2_SALWPLA-3-51-025 | 3h51mn |
| WingL1 | E3PROSKR_WingL_1_SALWPLA-4-46-025 | 4h46mn |
| WingcenterLFloater | E3PROSKR_WingCenter_L_Floater_SALWPLA-4-43-025 | 4h43mn |
| Wingjoiner Floater | E3PROSKR_Wingjoiner_Floater_SBLWASA-2-12-025 | 2h12mn |
| Flachenaufnahme Floater | E3PROSKR_Flachenaufnahme_Floater_SALWPLA-2-38-025 | 2h38mn |
| WingcenterRFloater | E3PROSKR_WingCenter_R_Floater_SALWPLA-4-43-025 | 4h43mn |
| WingR1 | E3PROSKR_WingR_1_SALWPLA-4-45-025 | 4h45mn |
| WingR2 | E3PROSKR_WingR_2_SALWPLA-3-51-025 | 3h51mn |
| WingtipR | E3PROSKR_WingtipR_SALWPLA-0-32-025 | 0h32mn |
| Fus1 | E3PROSKR_Fus1_SALWPLA-0-43-025 | 0h43mn |
| Motornose | E3PROSKR_Motornose_SCLWPLA-0-41-025 | 0h41mn |
| Motorspant | E3PROSKR_Motorspant_SBLWASA-0-27-025 | 0h27mn |
| Fus2 | E3PROSKR_Fus2_SCLWPLA-4-57-025 | 4h57mn |
| Canopy | E3PROSKR_Canopy_SCLWPLA-0-57-025 | 0h57mn |
| Cockpit | E3PROSKR_Cockpit_SCLWPLA-1-14-025 | 1h14mn |
| Fus3 | E3PROSKR_Fus3_SALWPLA-7-35-025 | 7h35mn |
| Fus4 | E3PROSKR_Fus4_SCLWPLA-2-40-025 | 2h40mn |
| VertStab | E3PROSKR_VertStab_remix_bas_SCLWPLA-1-17-025 E3PROSKR_VertStab_remix_haut_SCLWPLA-0-53-025 | 1h17mn + 0h53 |
| HorStabtop | E3PROSKR_HorStabTop_SALWPLA-0-14-025 | 0h14mn |
| HorStabL2 | E3PROSKR_HorStab_L_2_SCLWPLA-1-15-025 | 1h15mn |
| HorStabL1 | E3PROSKR_HorStab_L_1_SCLWPLA-1-42-025 | 1h42mn |
| HorStabR1 | E3PROSKR_HorStab_R_1_SCLWPLA-1-41-025 | 1h41mn |
| HorStabR2 | E3PROSKR_HorStab_R_2_SCLWPLA-1-15-025 | 1h15mn |
Total print time of all parts is 60 hours and a few minutes.
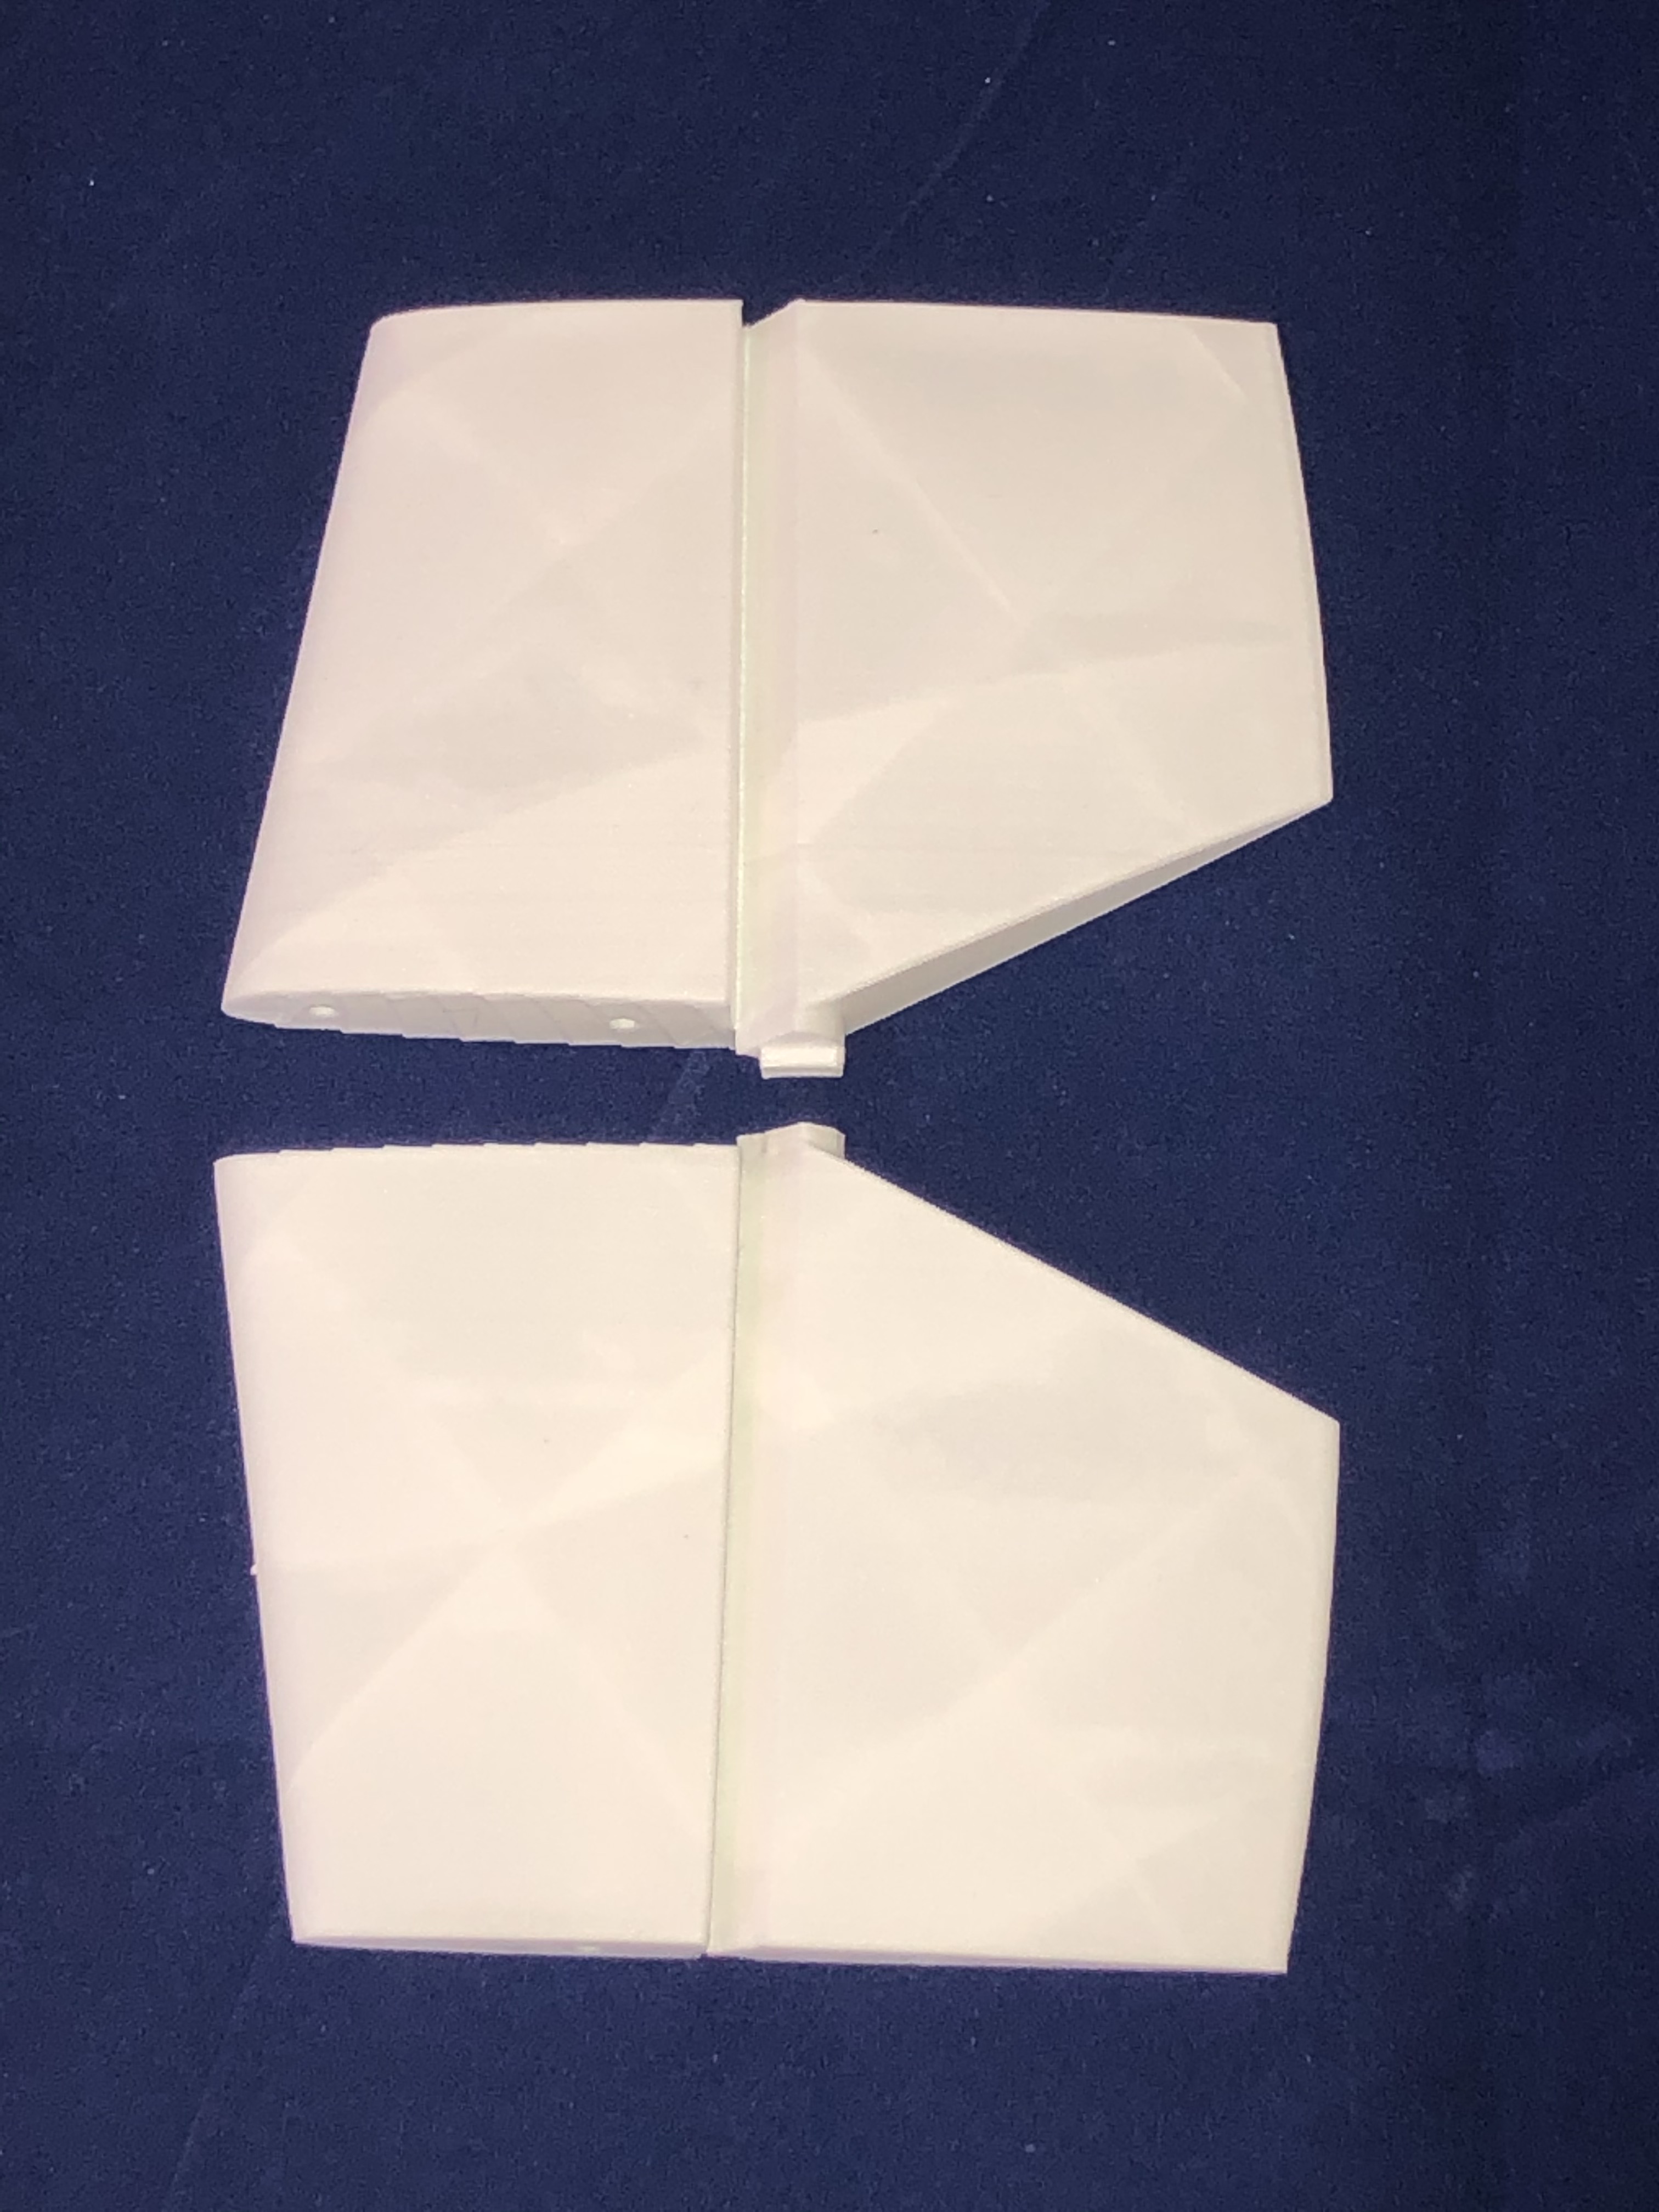
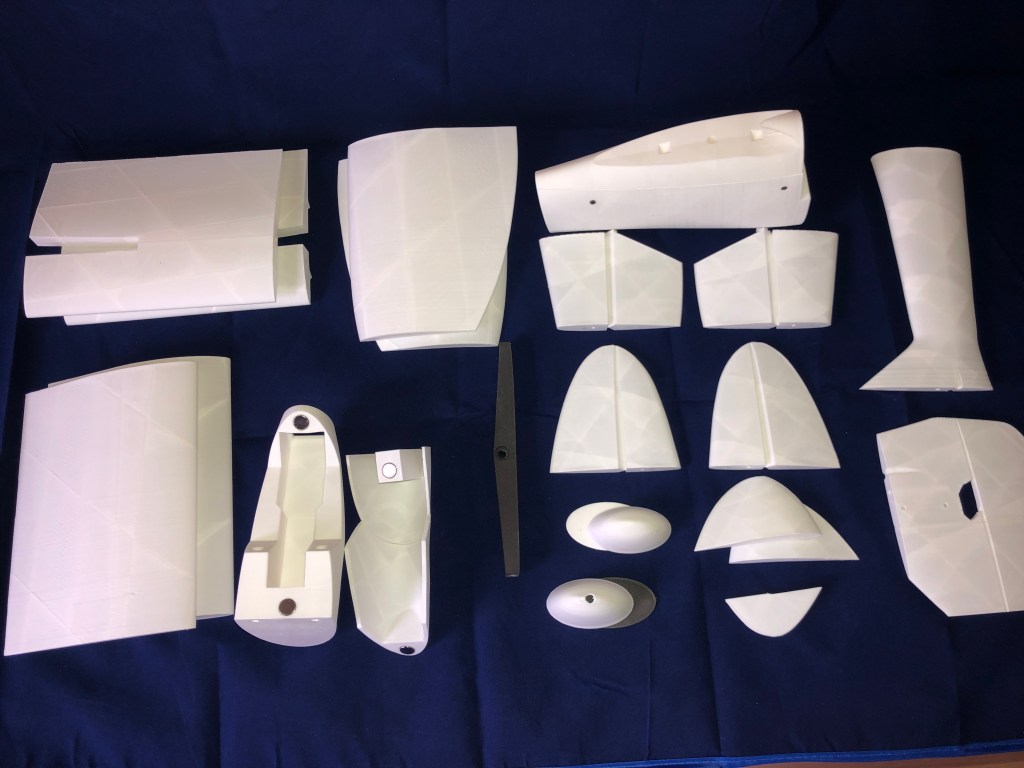
Here is a photos gallery of all these elements
The full kit is ready to glue and being equiped with servos and motor.
I am starting to print the Sinbad glider from 3d-printz.at using mainly Colorfabb LW-PLA. I am sharing this journey through my blog to help you printing this plane if you need advices with this material.
Before this project i already printed a plane with the LW-PLA, the EGW-80 EDF model from Eclipson. Here are some pictures of the finished plane.
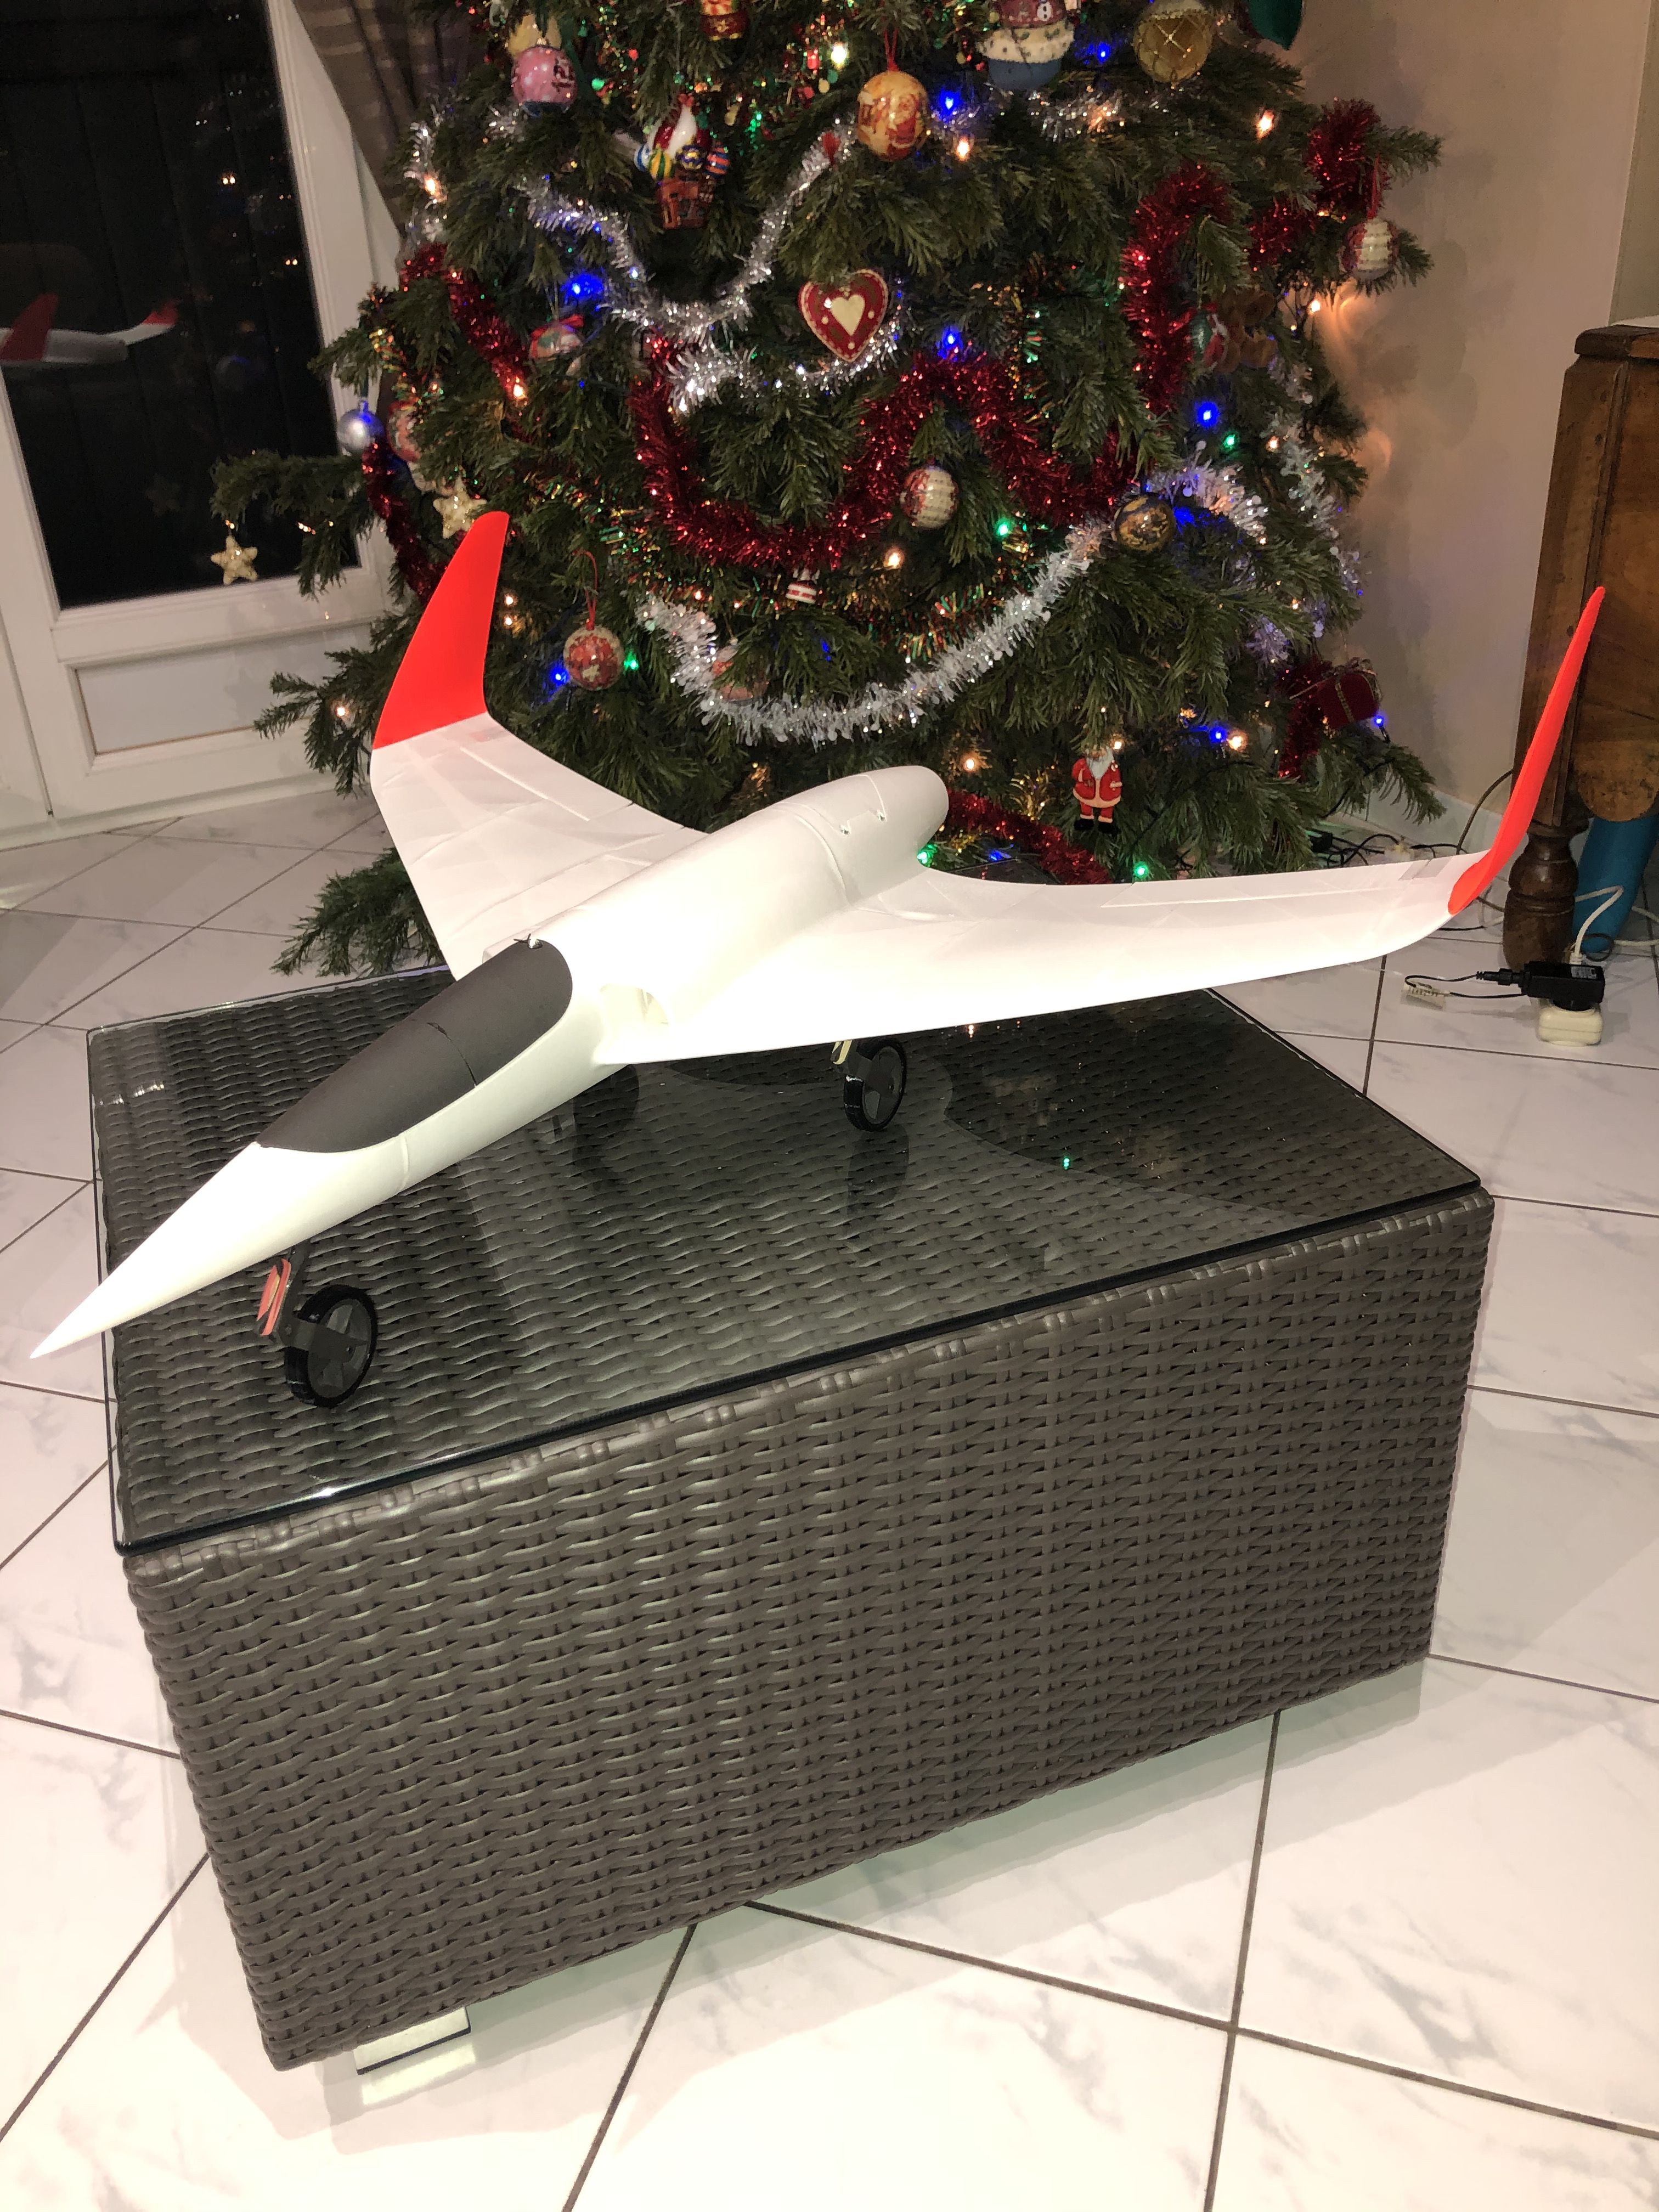


EGW 80 finished, total weight without battery is 468g, all LW-PLA and some LW-ASA.
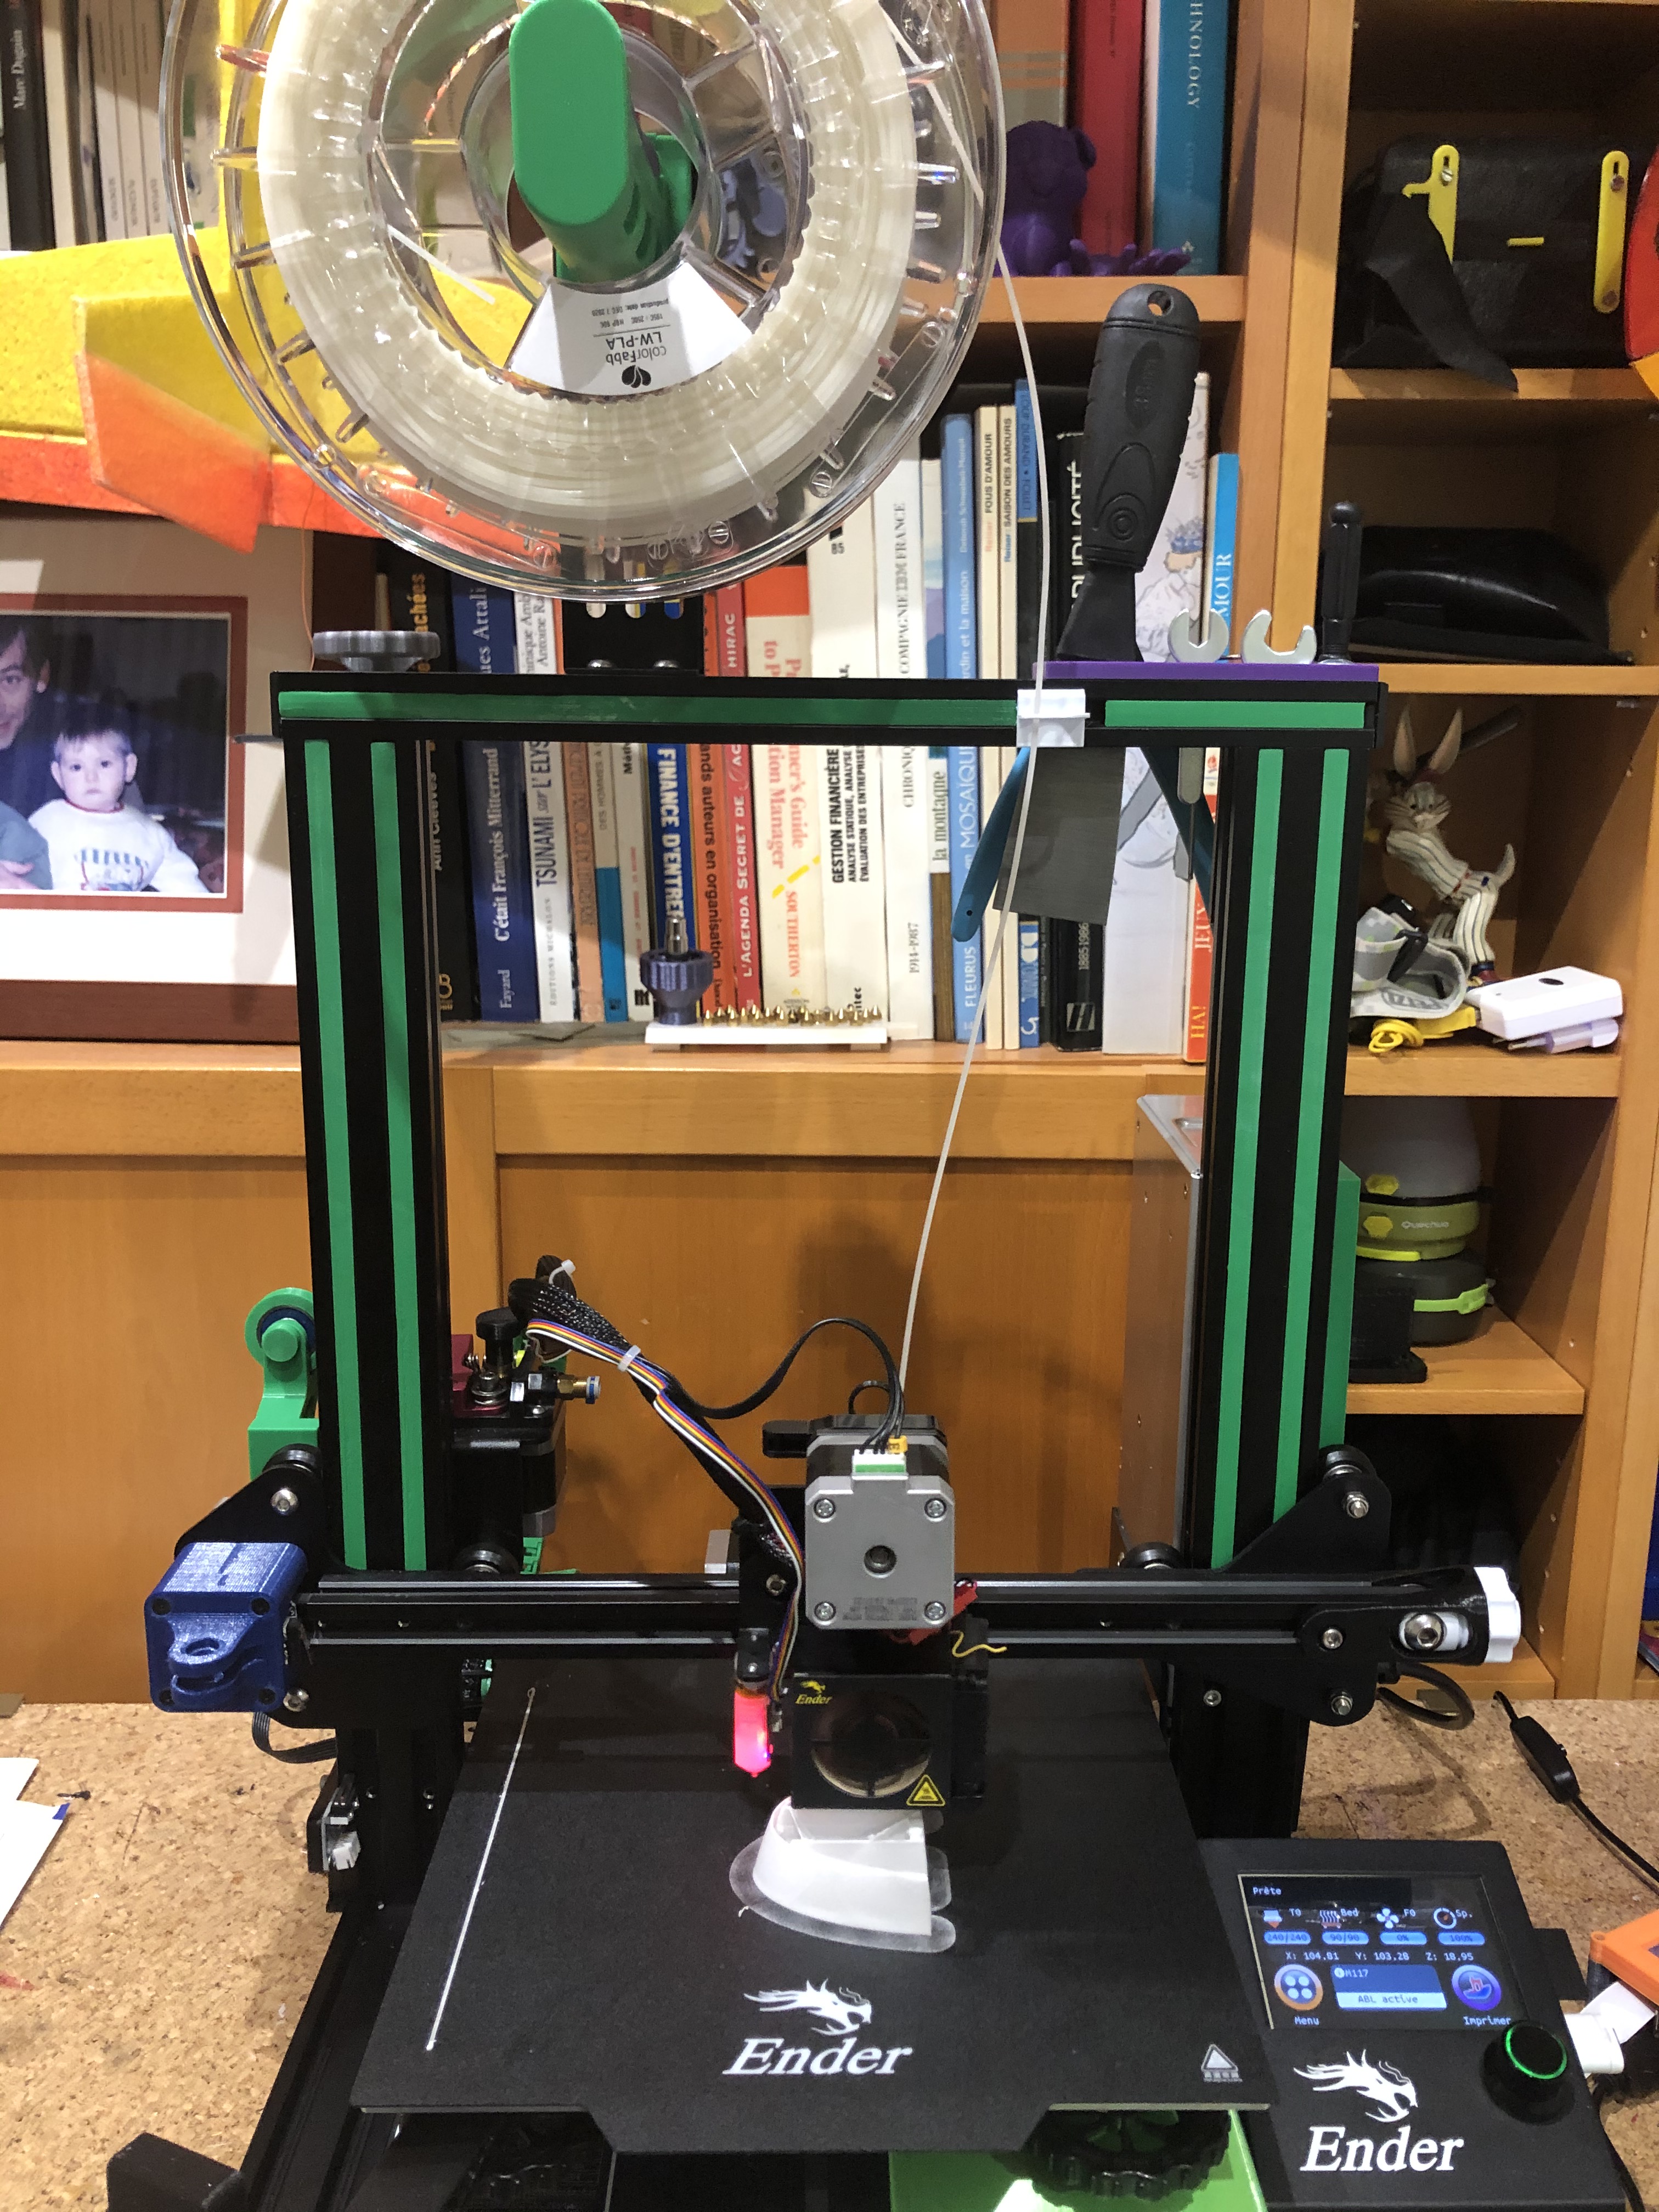
The printing environment is an Ender 3 Pro with the BIGTREETECH® SKR Mini E3 V2 board and TFT35 E3 V3.0 screen. I also installed the BLTouch for a better bed level management. I will share my settings of Cura 4.8 i am using to slice all parts.
Base slicing parameters are the one from Eclipson with just additional changes related to Sinbad recommanded by 3d-printz.
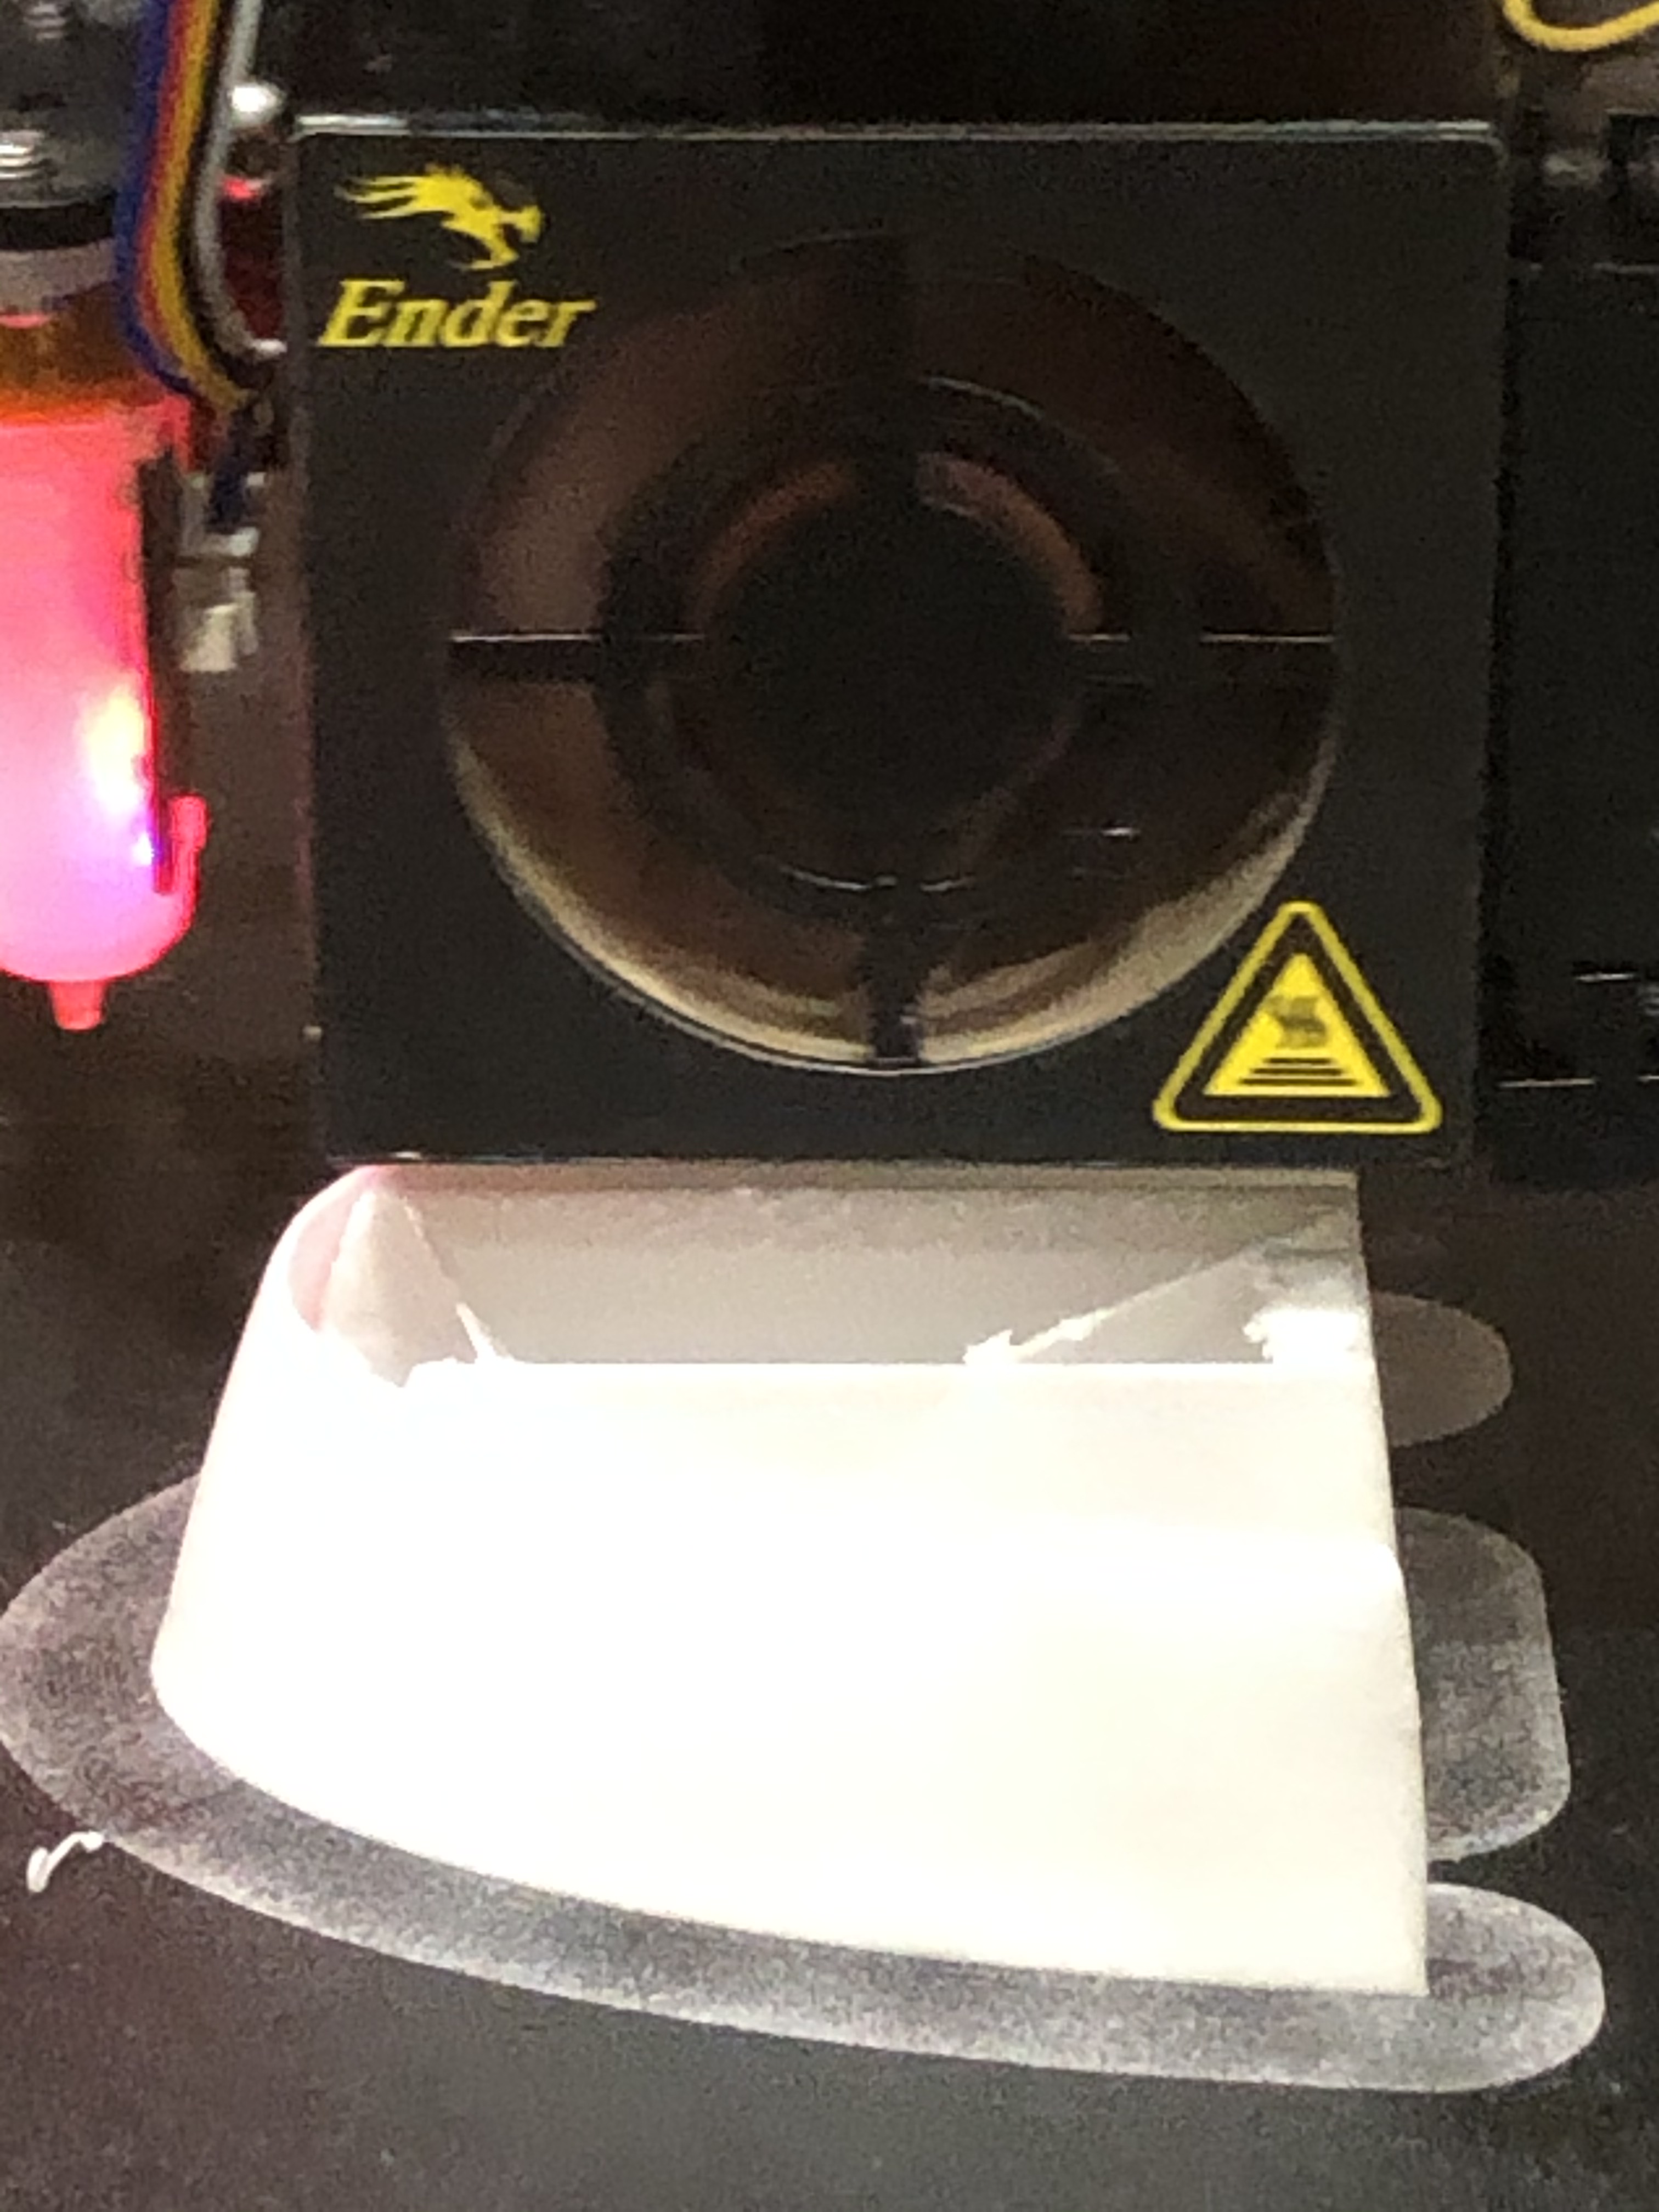
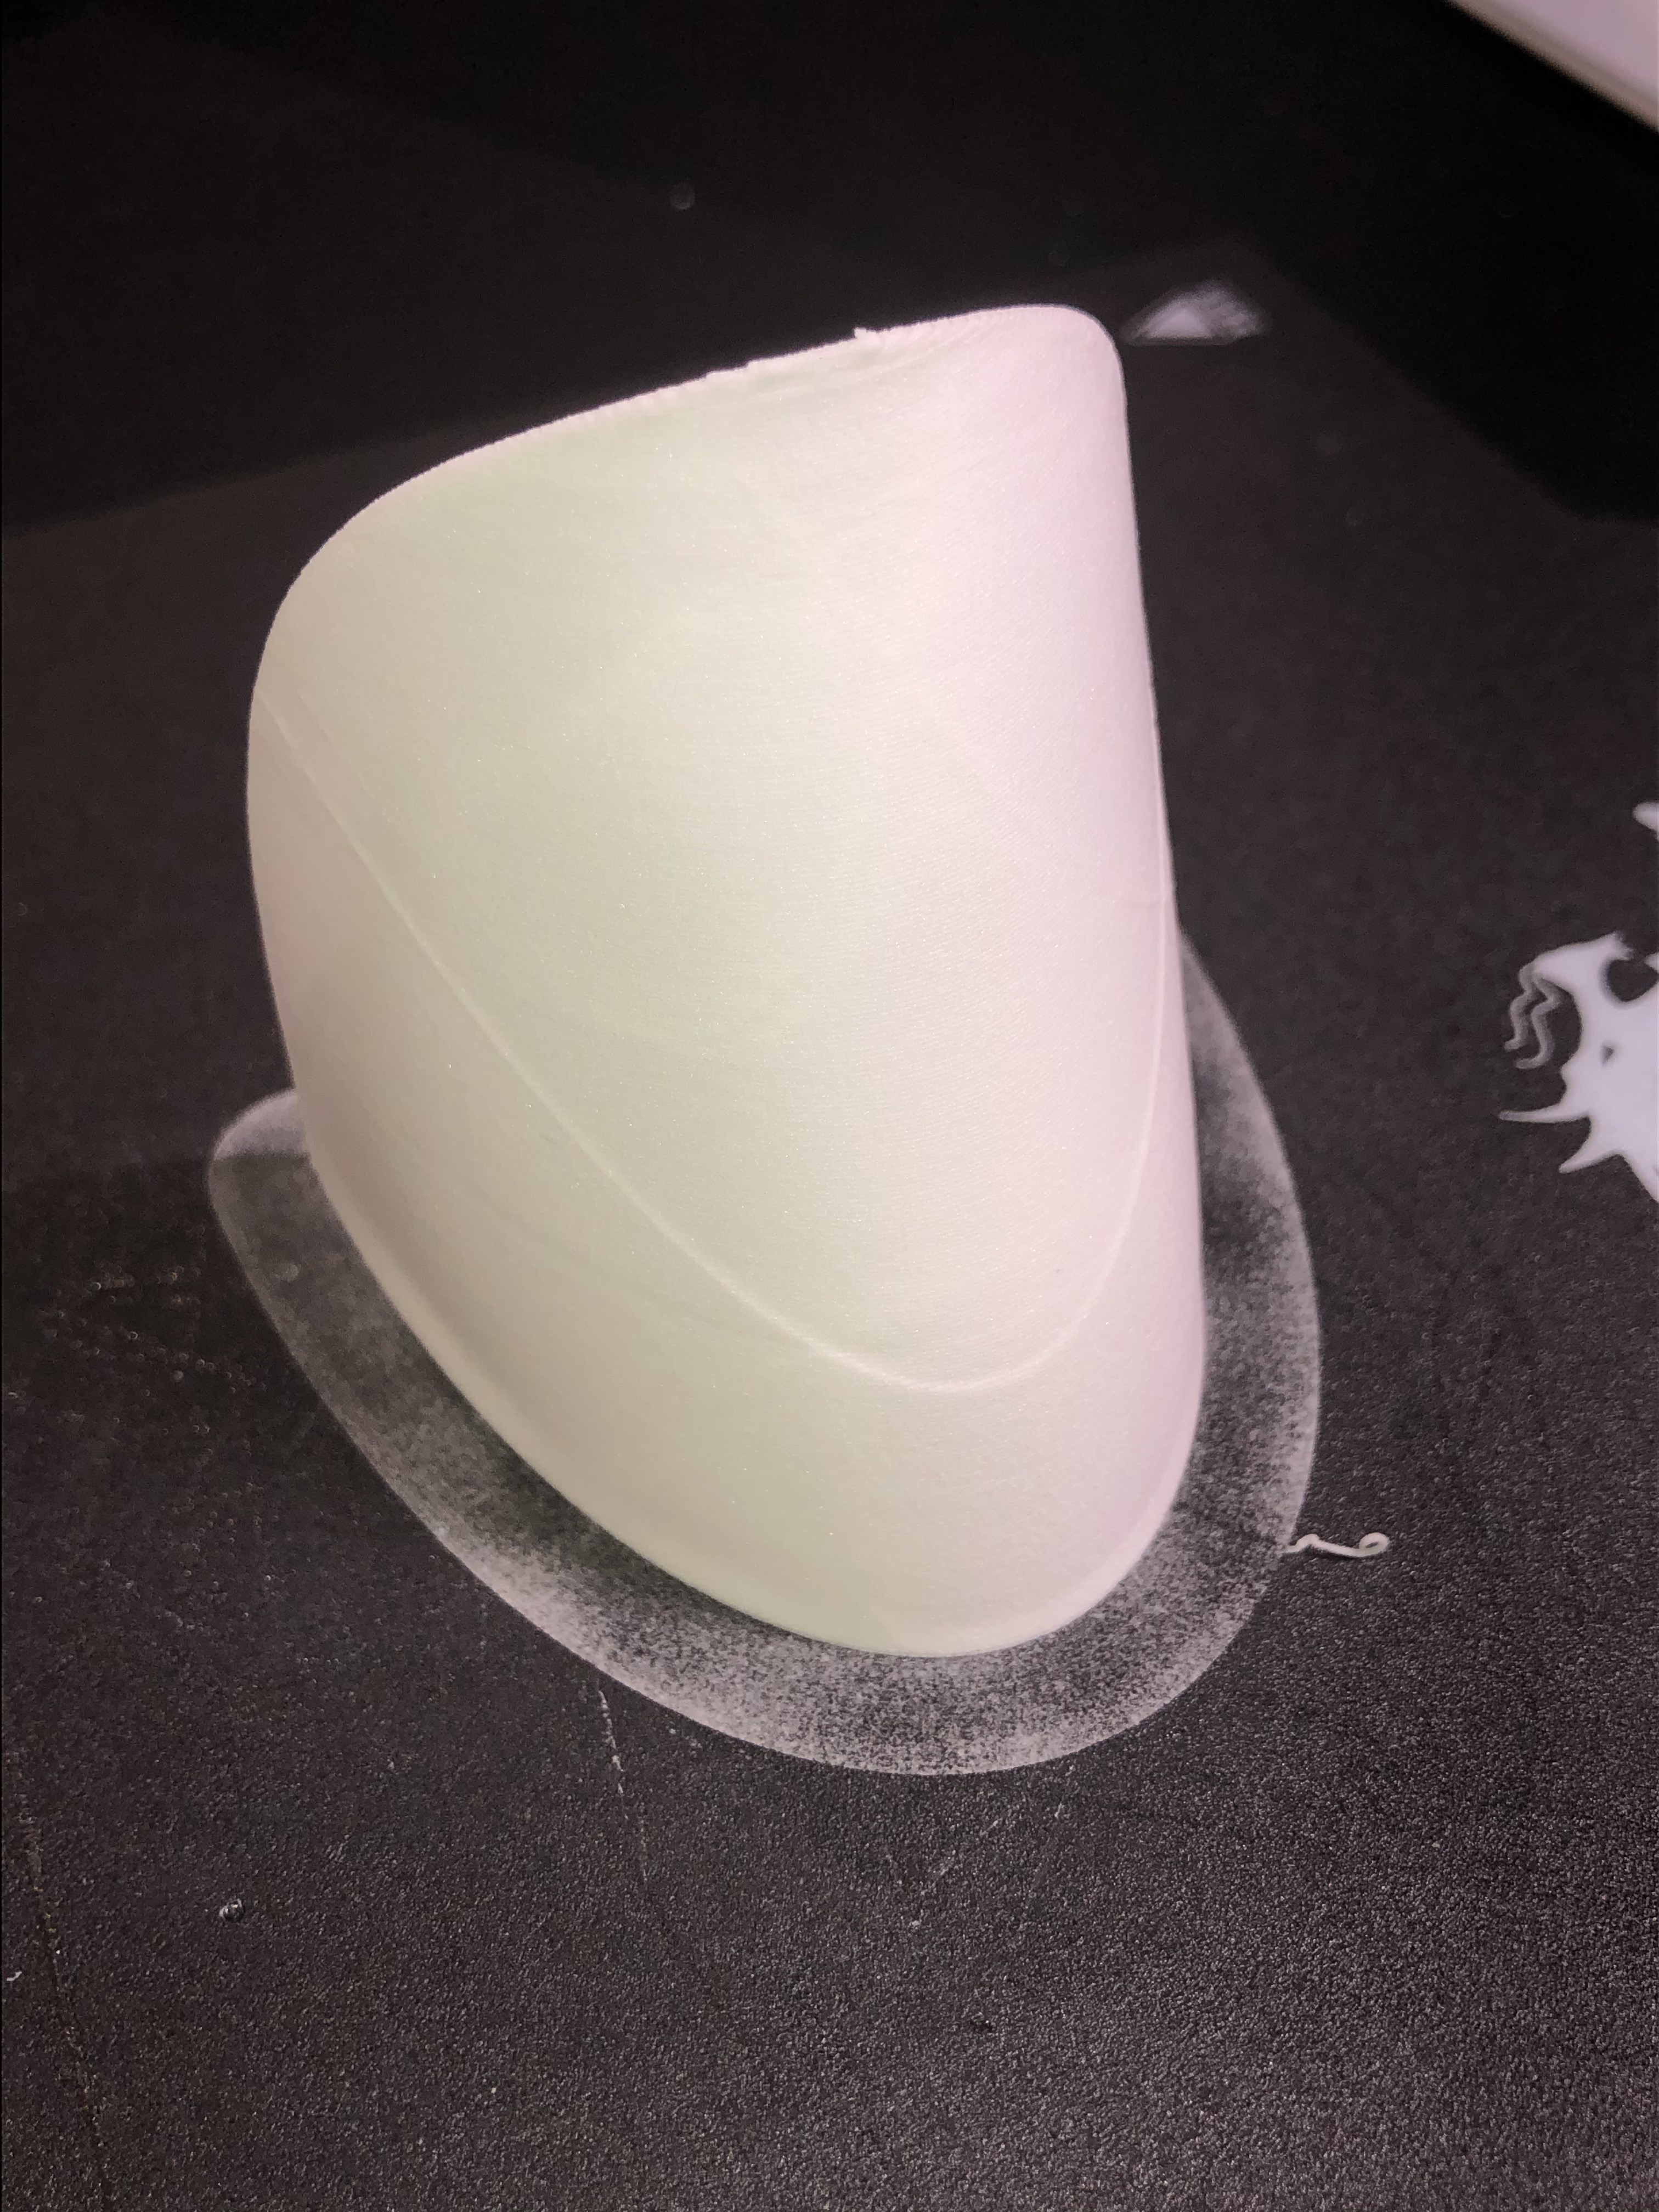
Here are the fisrt 2 parts i printed, the canopy and the cockpit and a first timelapse for the canopy.


Si vous avez lu mon article précédent https://milcent.wordpress.com/2020/04/19/fusion-360-mes-debuts/ et que vous utilisez le fichier f3d pour réaliser votre cache, il se peut que les changements de dimensions générent un message d’erreur indiquant que la pièce ne peut pas être dessinée.
Cela est dû à des contraintes entre ces dimensions. Le cas fréquent que je rencontre est lorsque j’augmente la largeur d’ouverture à un moment ce n’est plus possible. En effet la forme arrondie du dessus tend à s’aplanir et cela pose problème. Pour résoudre cela il faut augmenter la hauteur de l’ouverture.
Exemple en image :

En passant la largeur à 15mm on obtient un message d’erreur comme ci dessous :

En modifiant la hauteur la forme de l’ouverture se corrige et permet de dessiner la pièce.

Donc n’hésitez pas à faire varier les variables de façon coordonnée, de même la taille et la position du cache sur le support horizontal peuvent avoir une incidence.
Merci de vos retours éventuels.
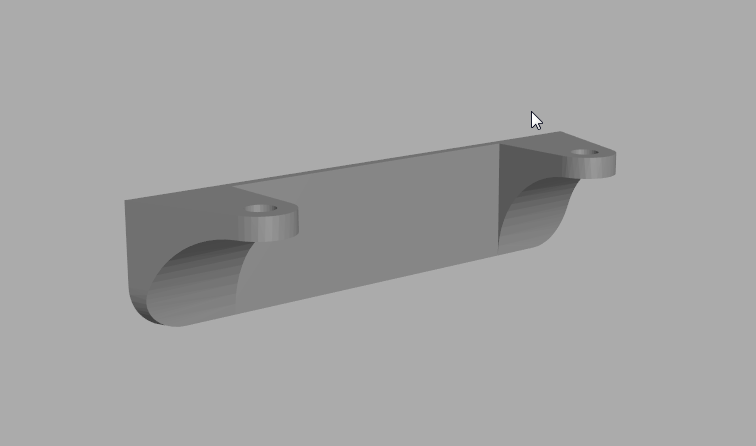
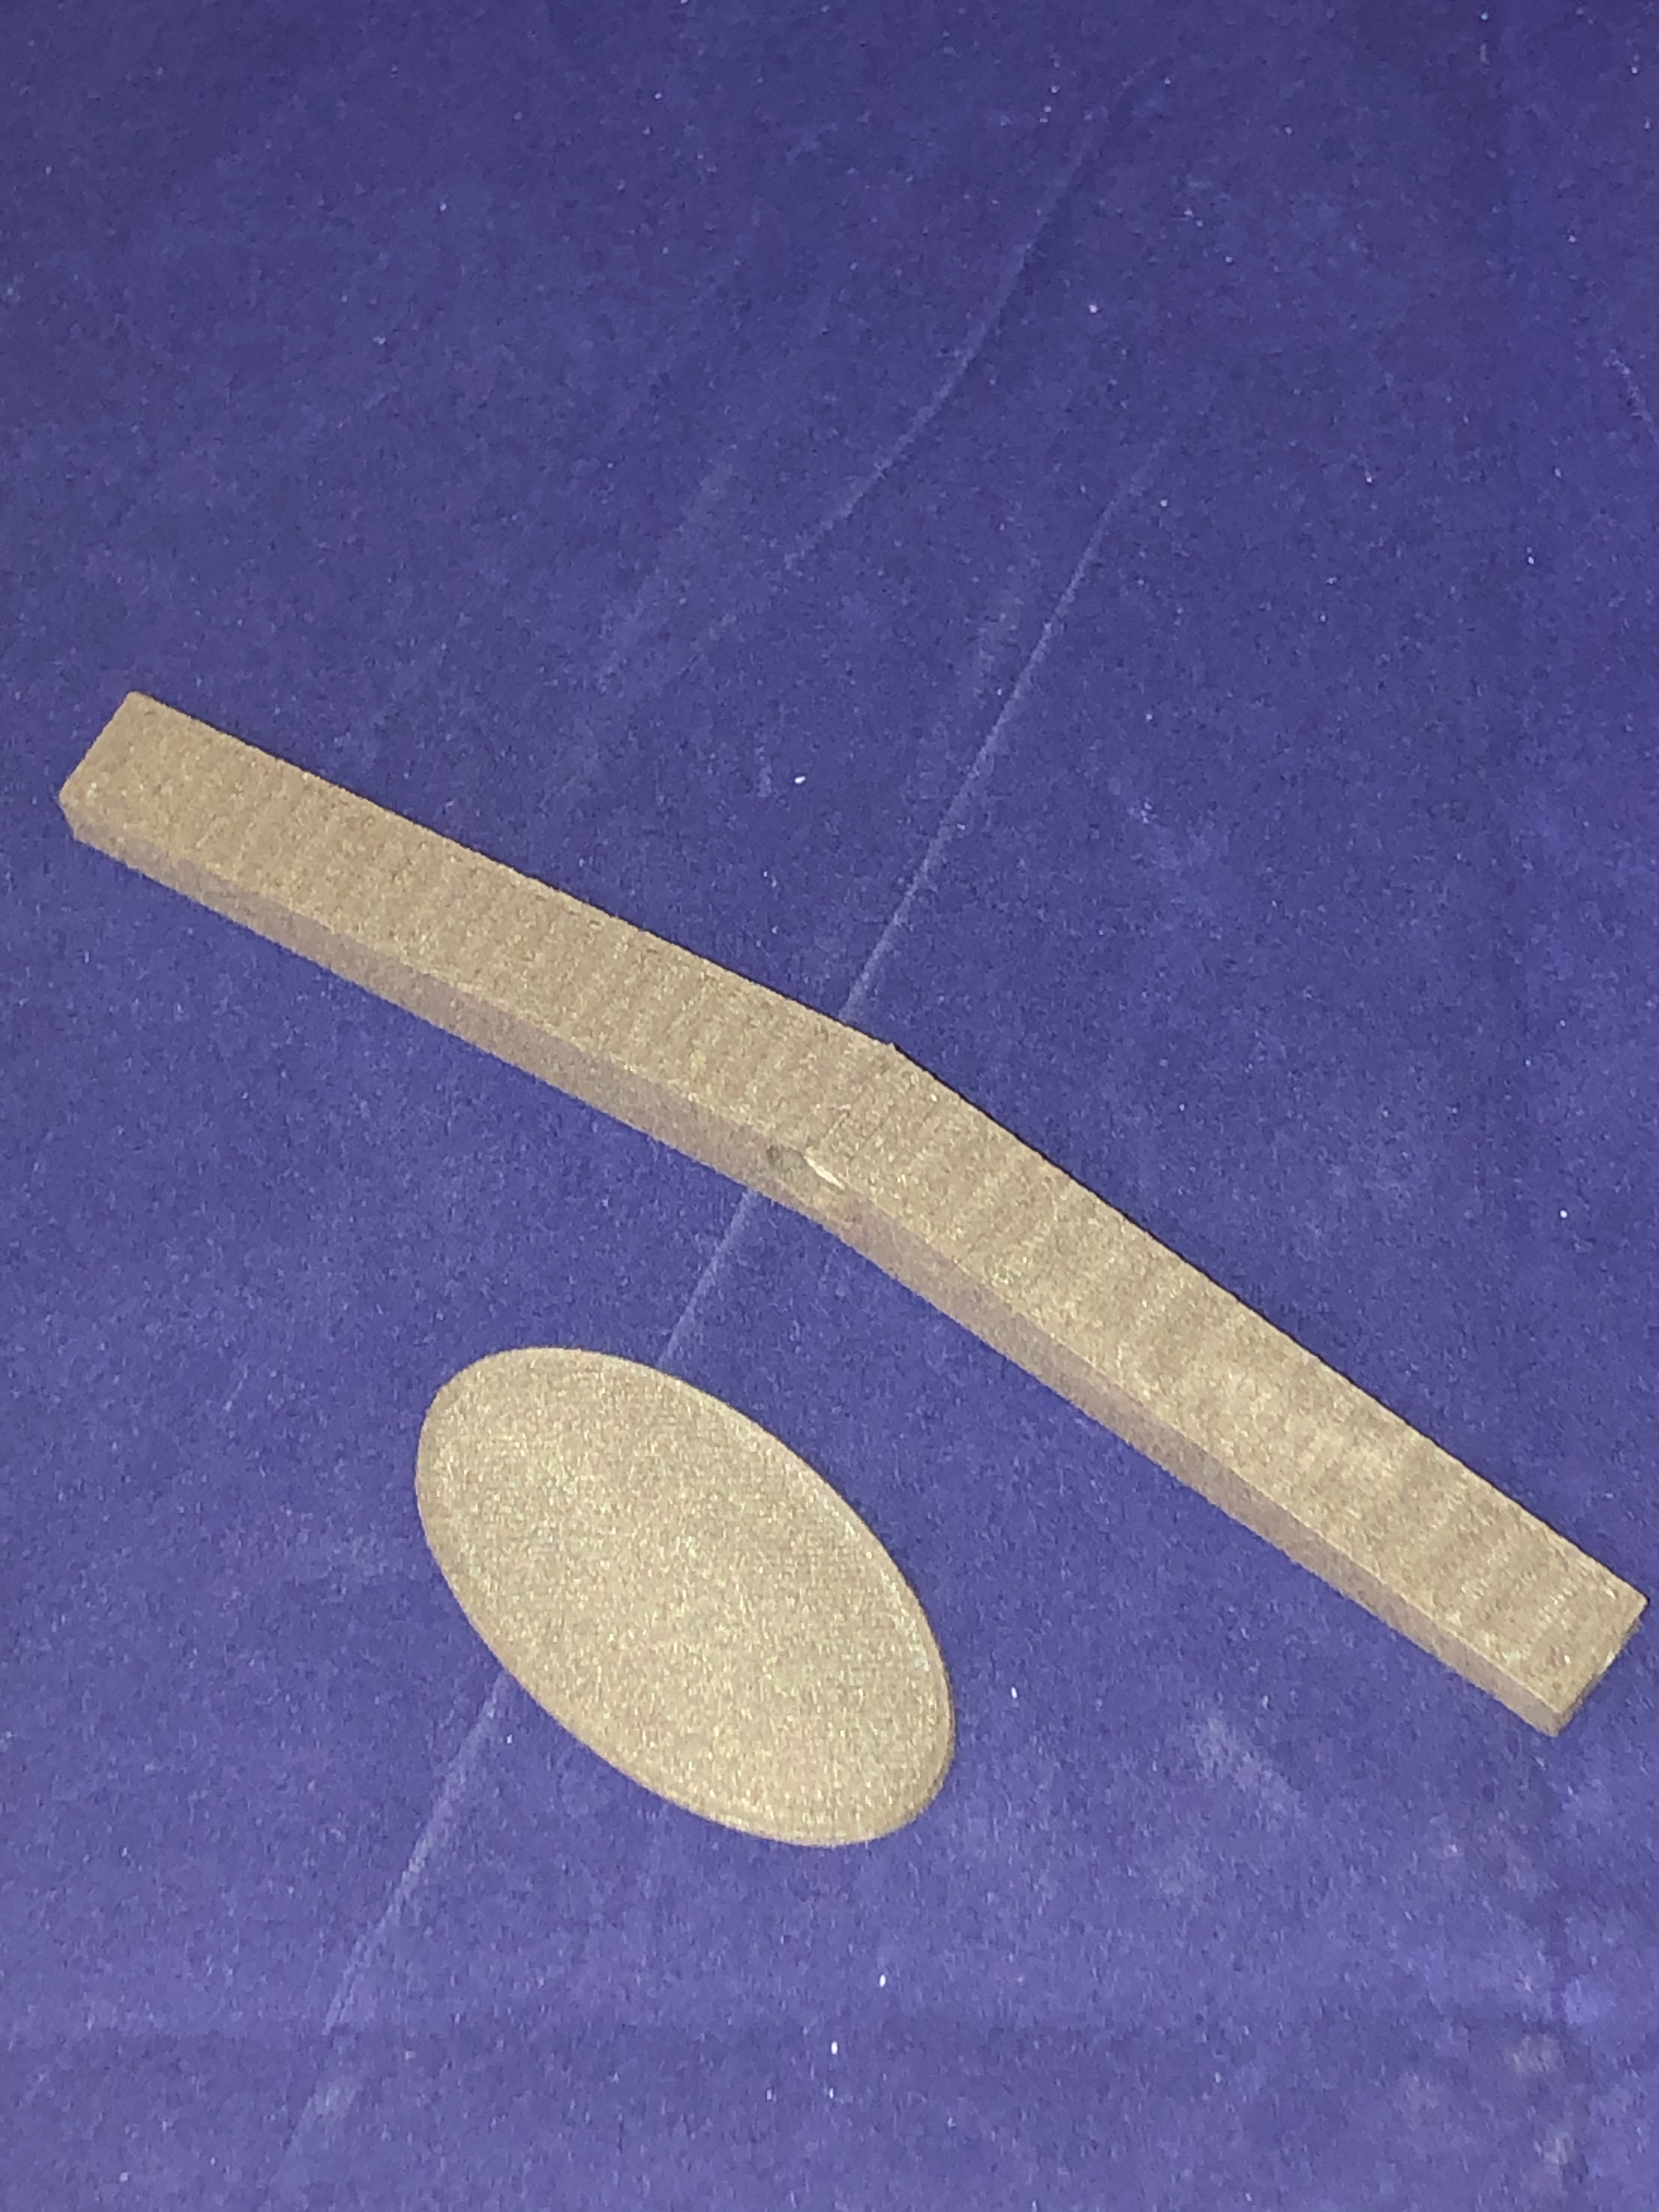
Voici un premier fichier réalisé sous fusion 360 sur lequel j’ai appliqué et mis en oeuvre quelques fonctions intéressantes :
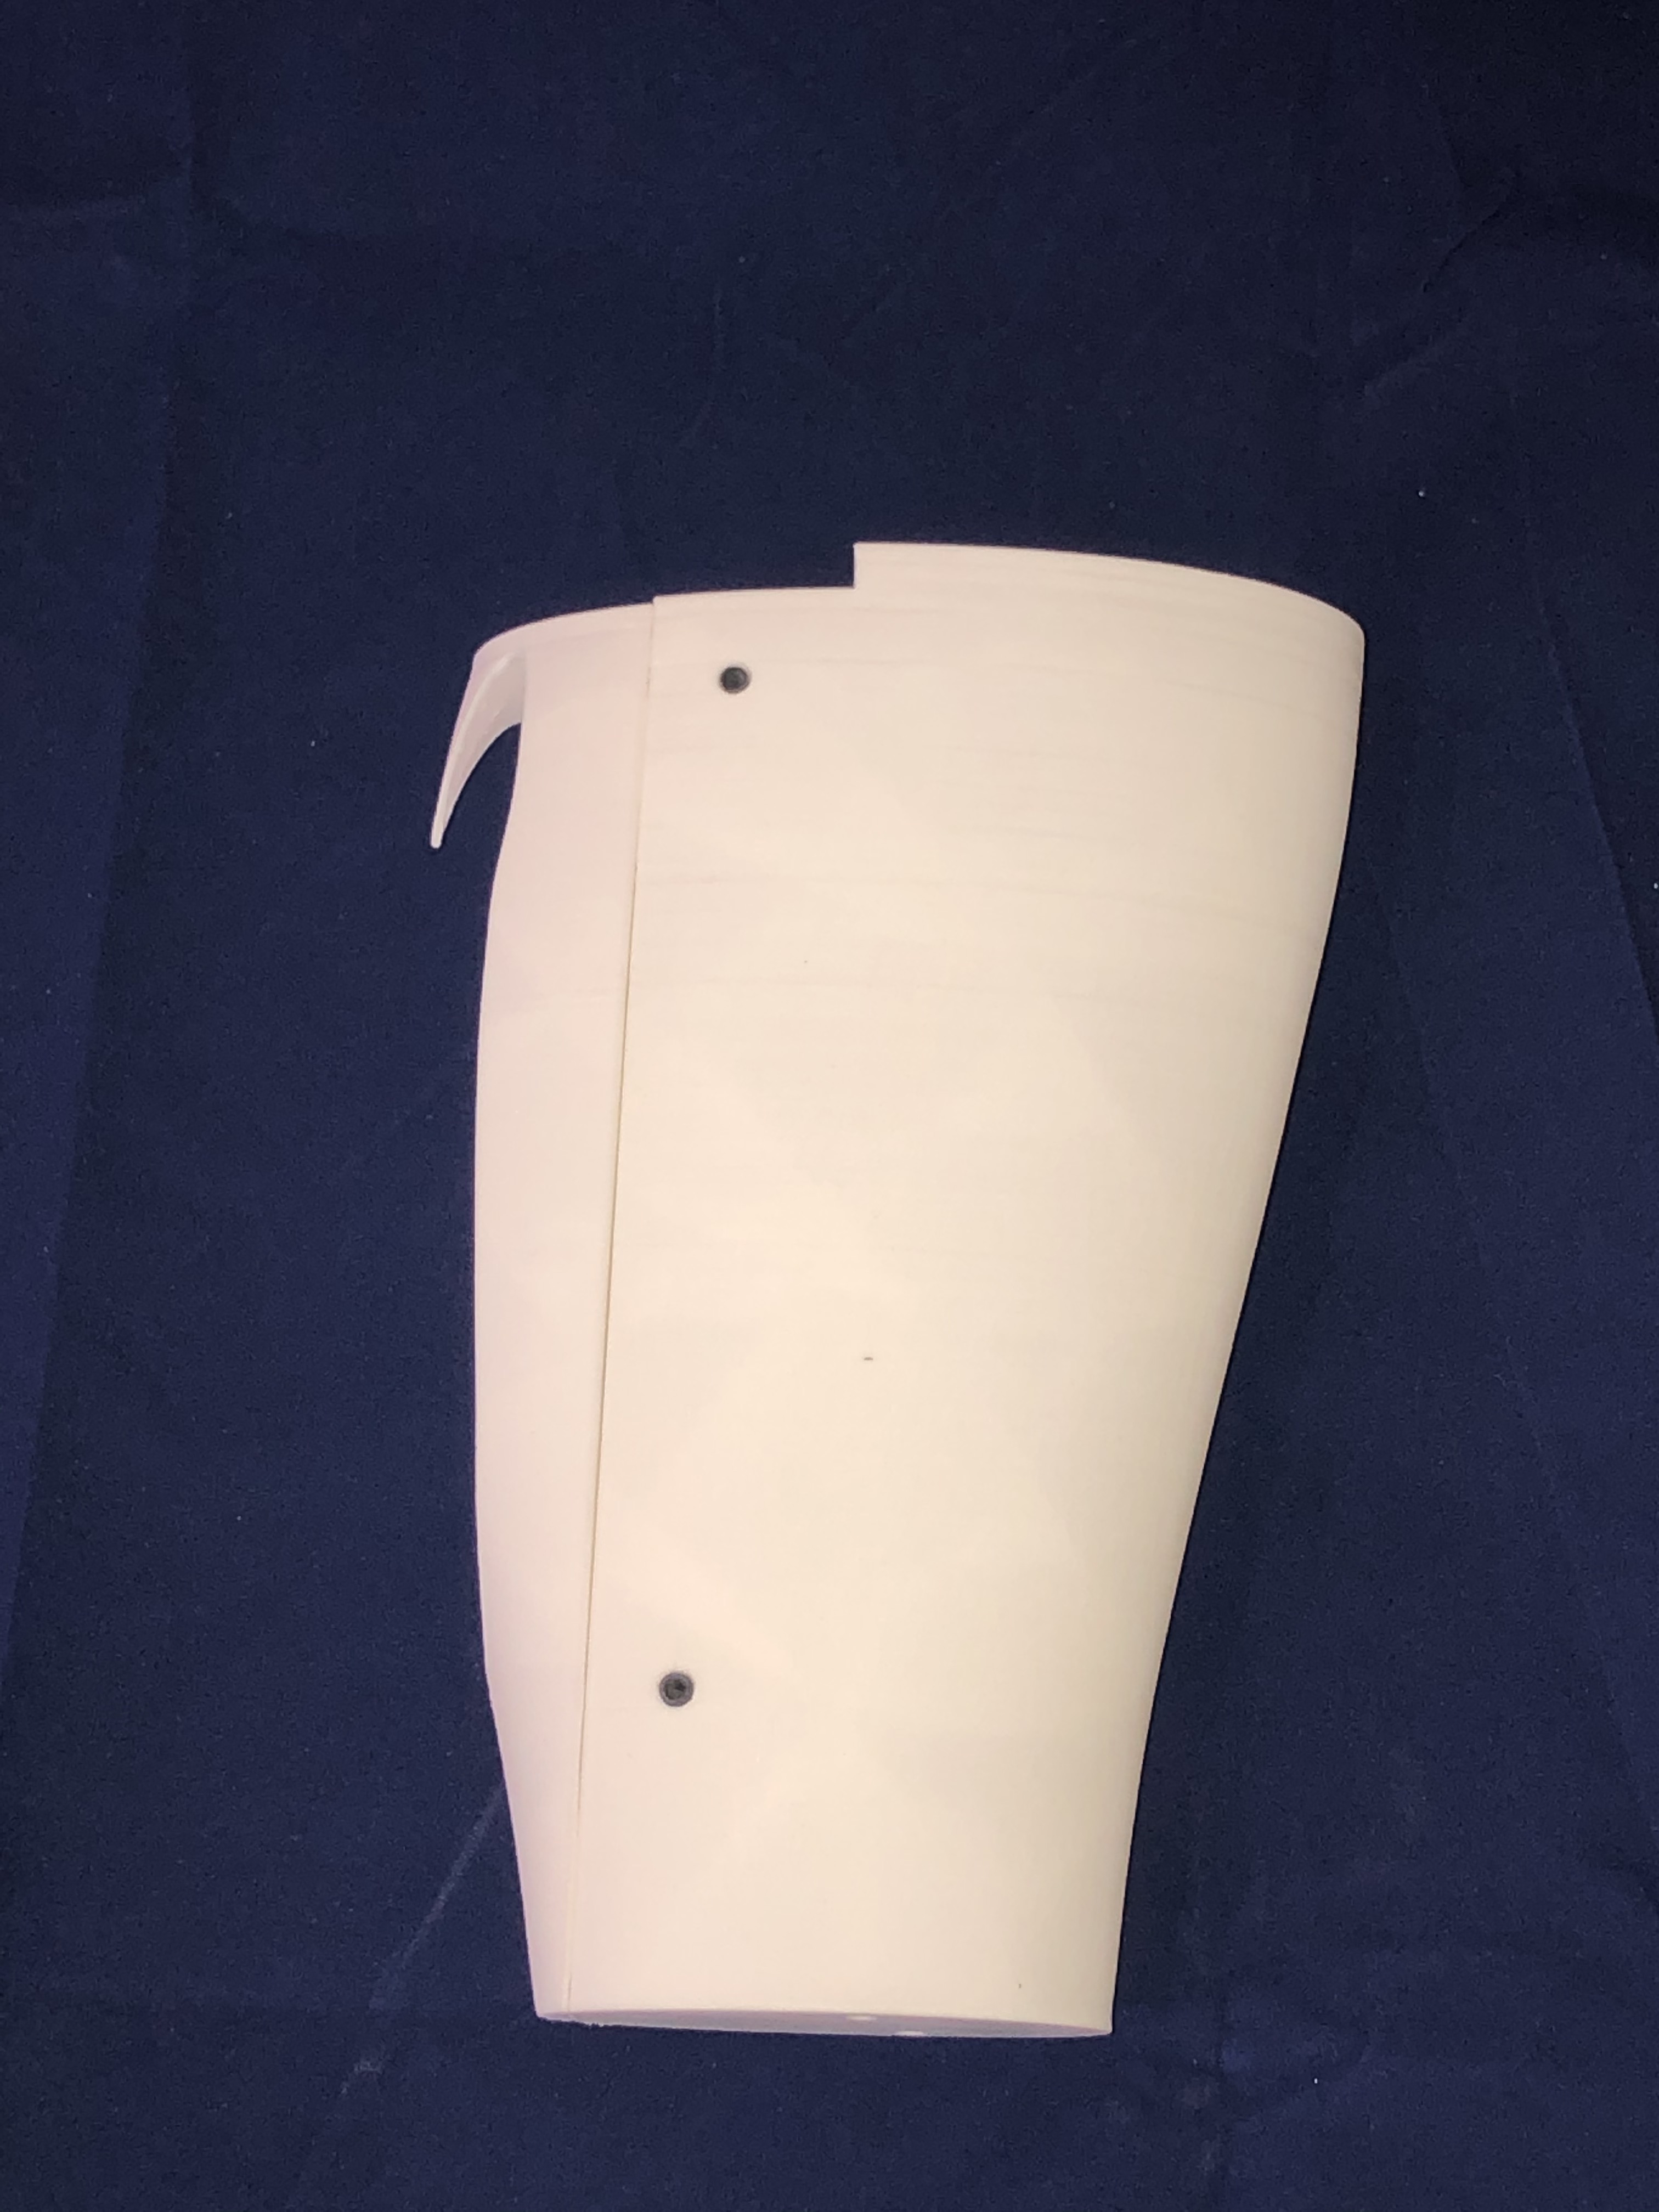
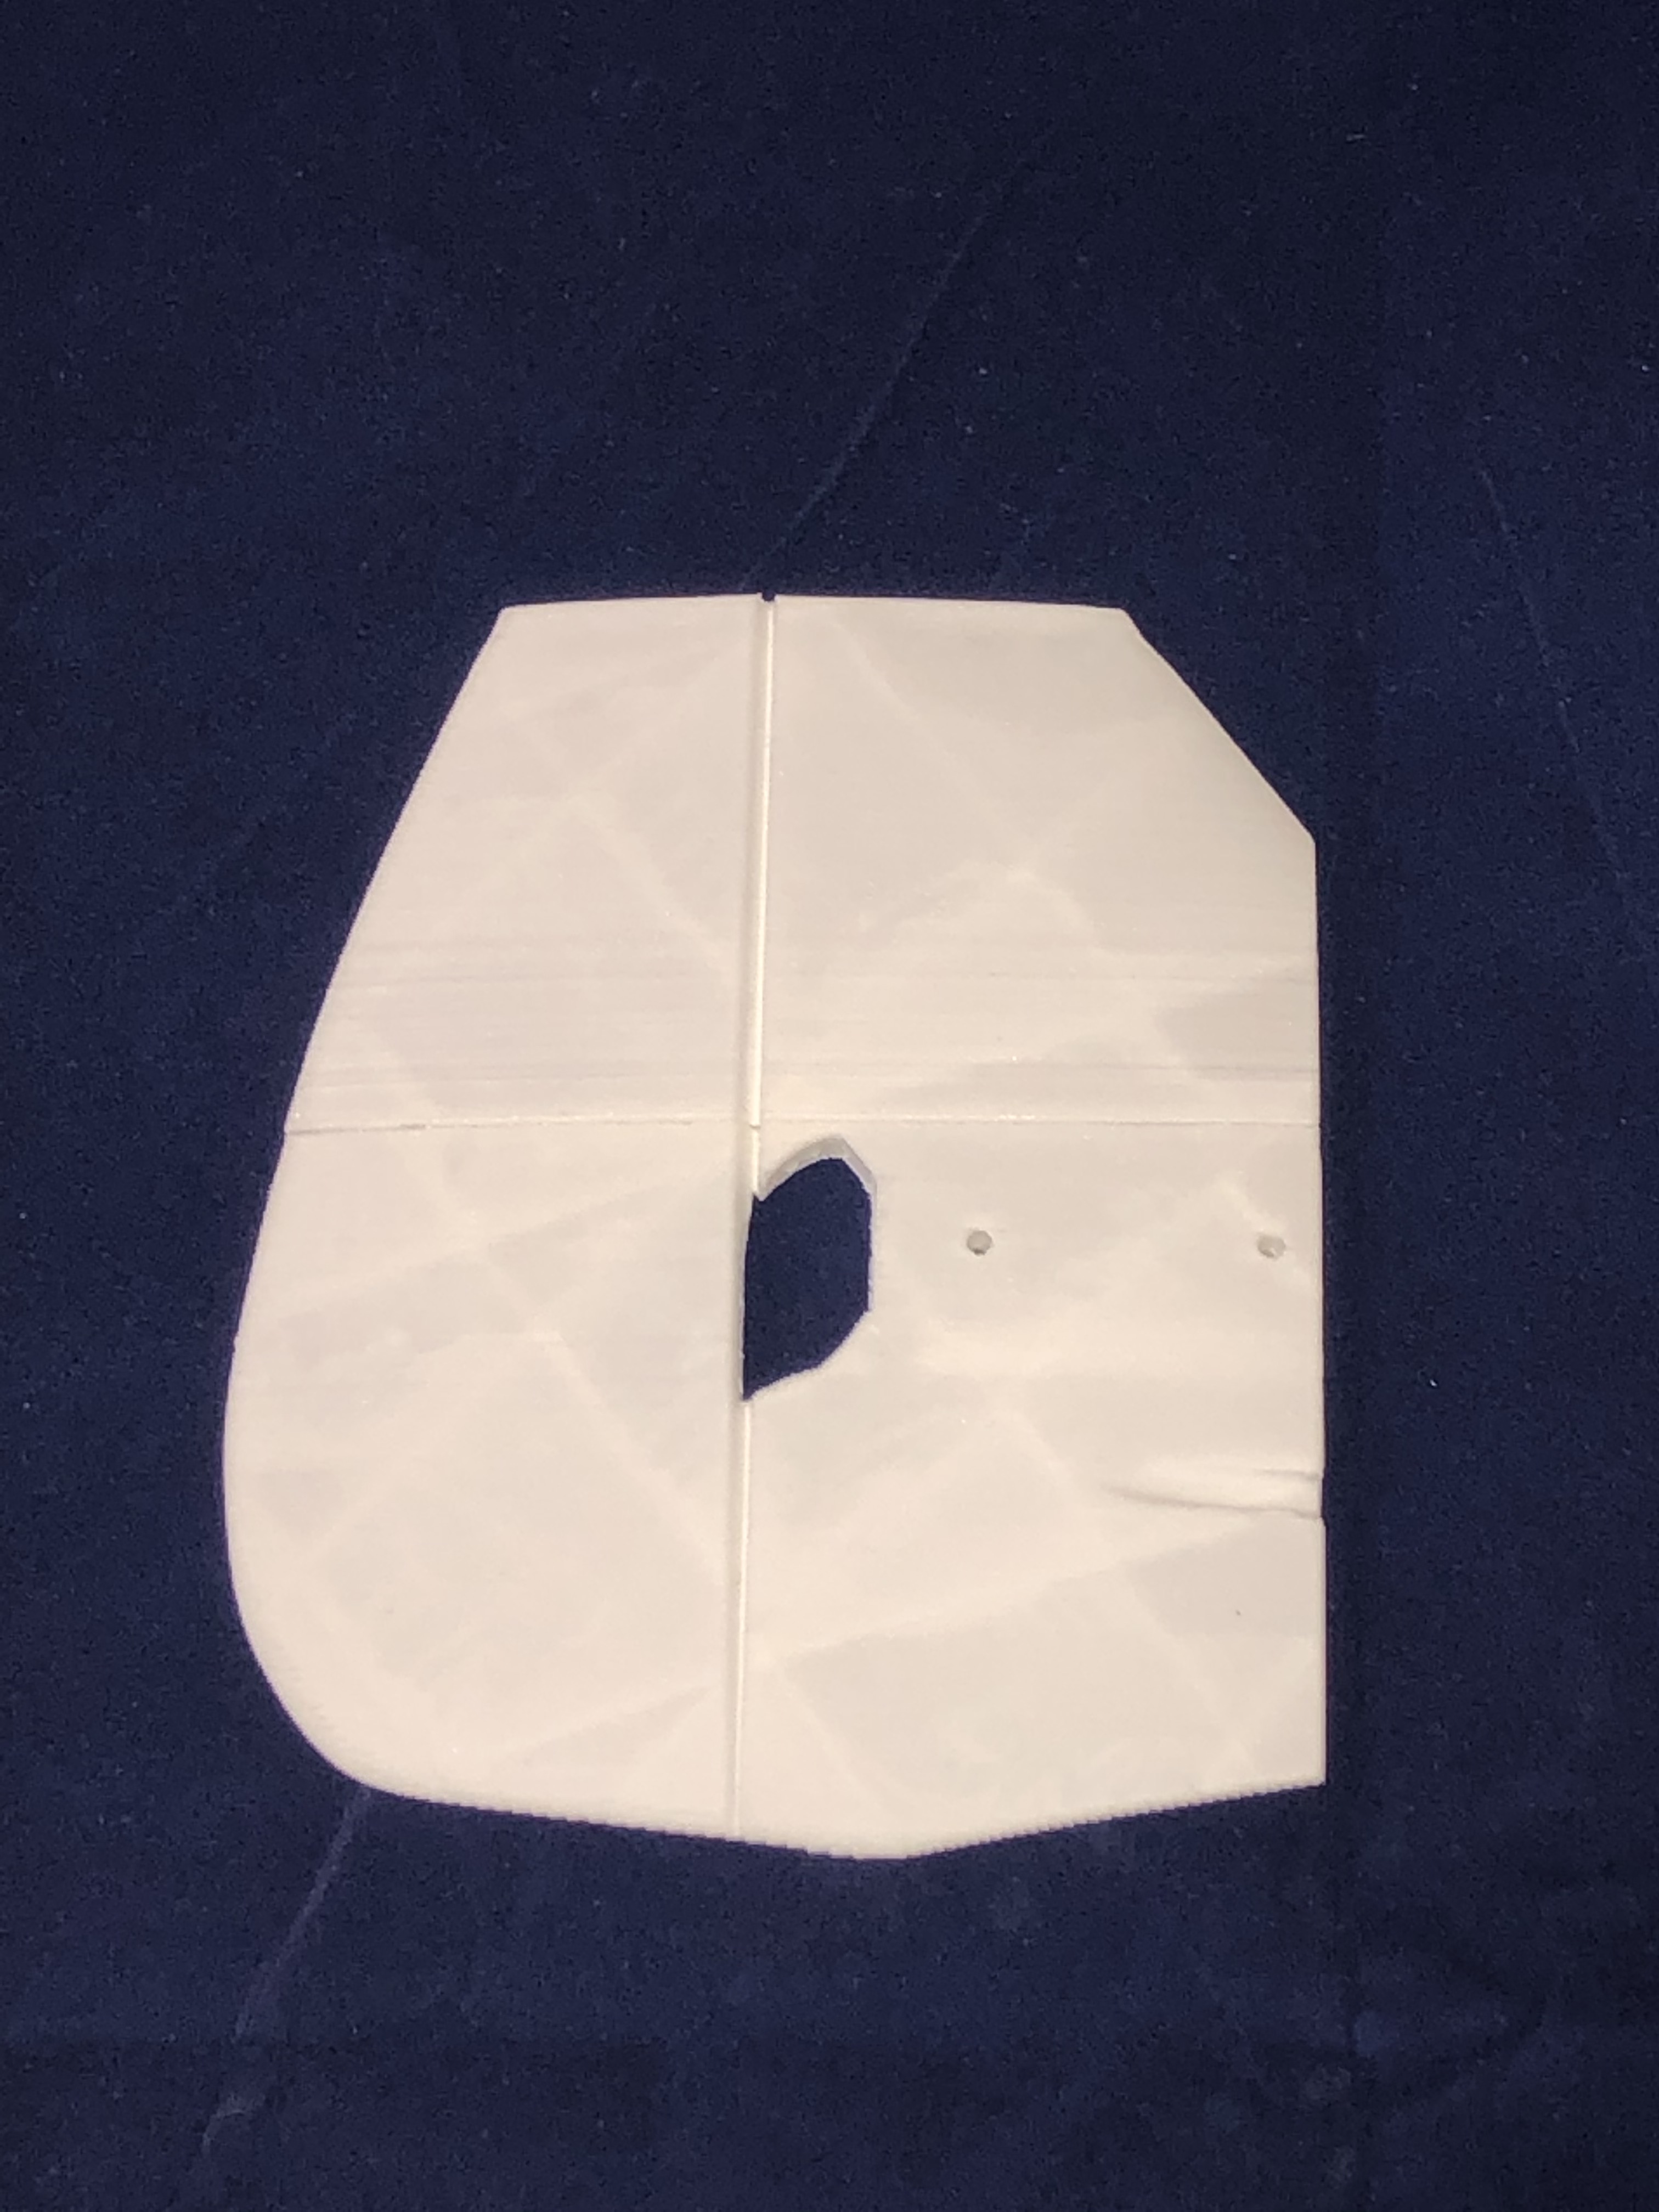
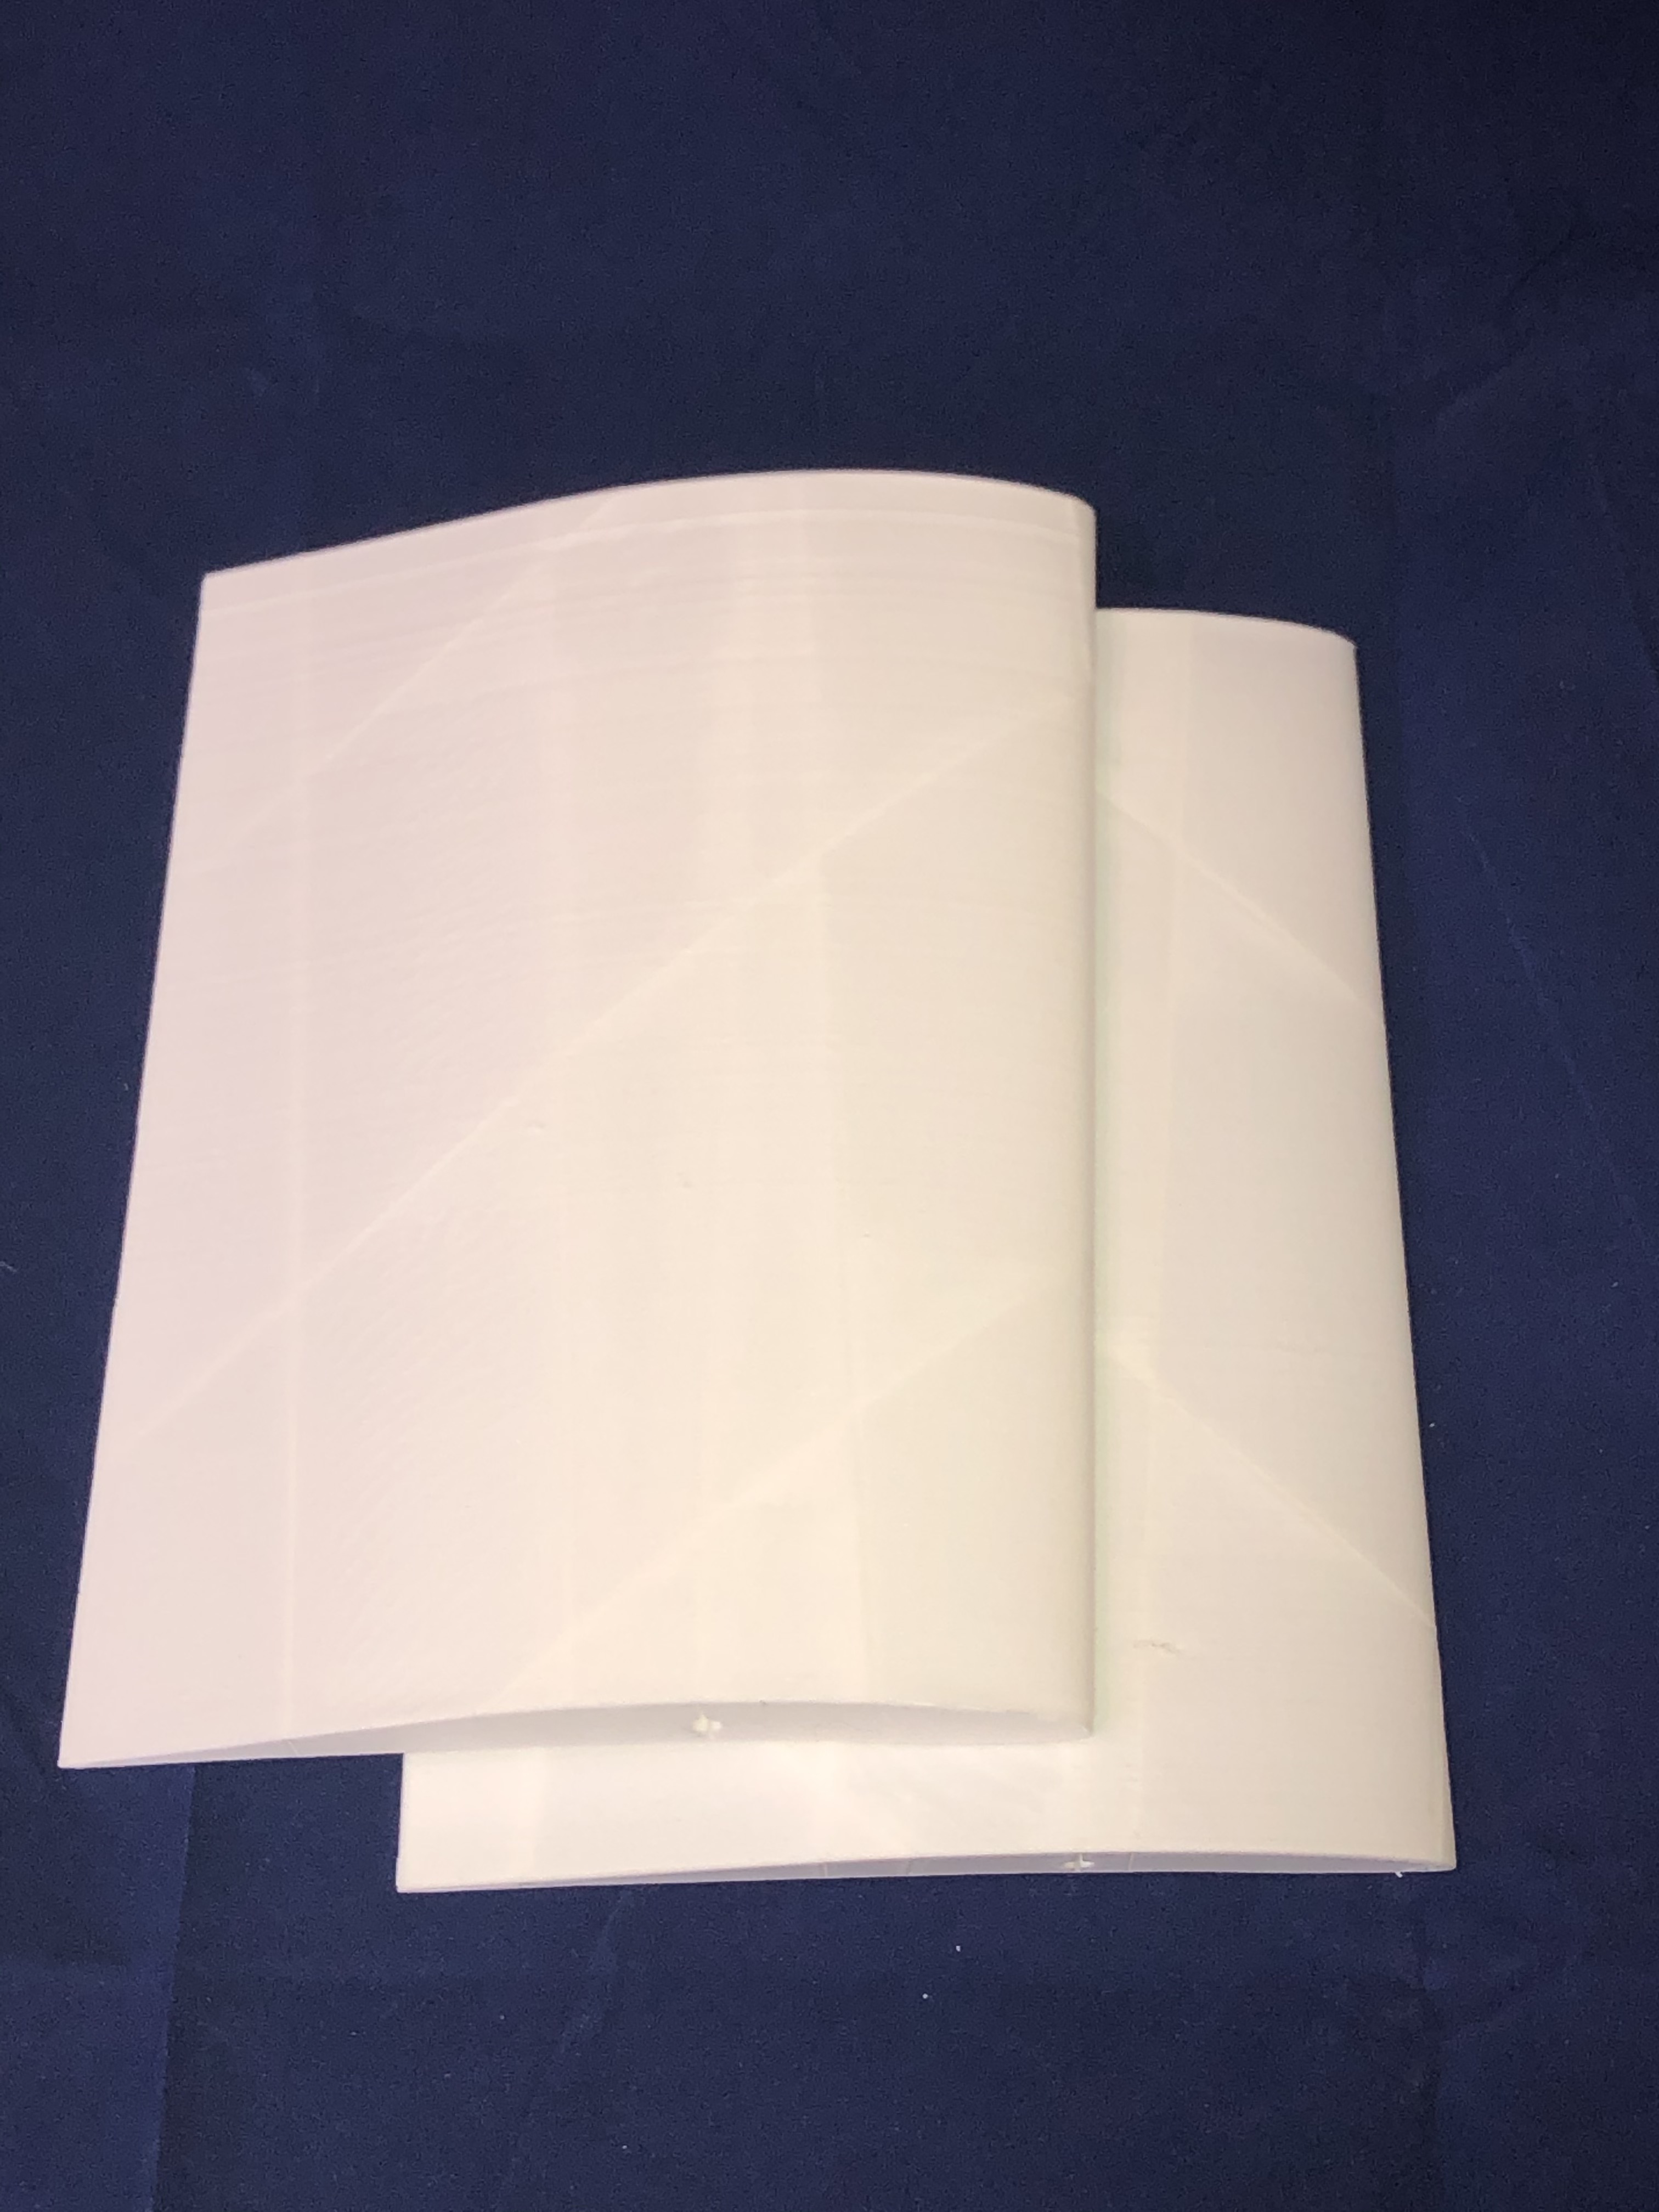
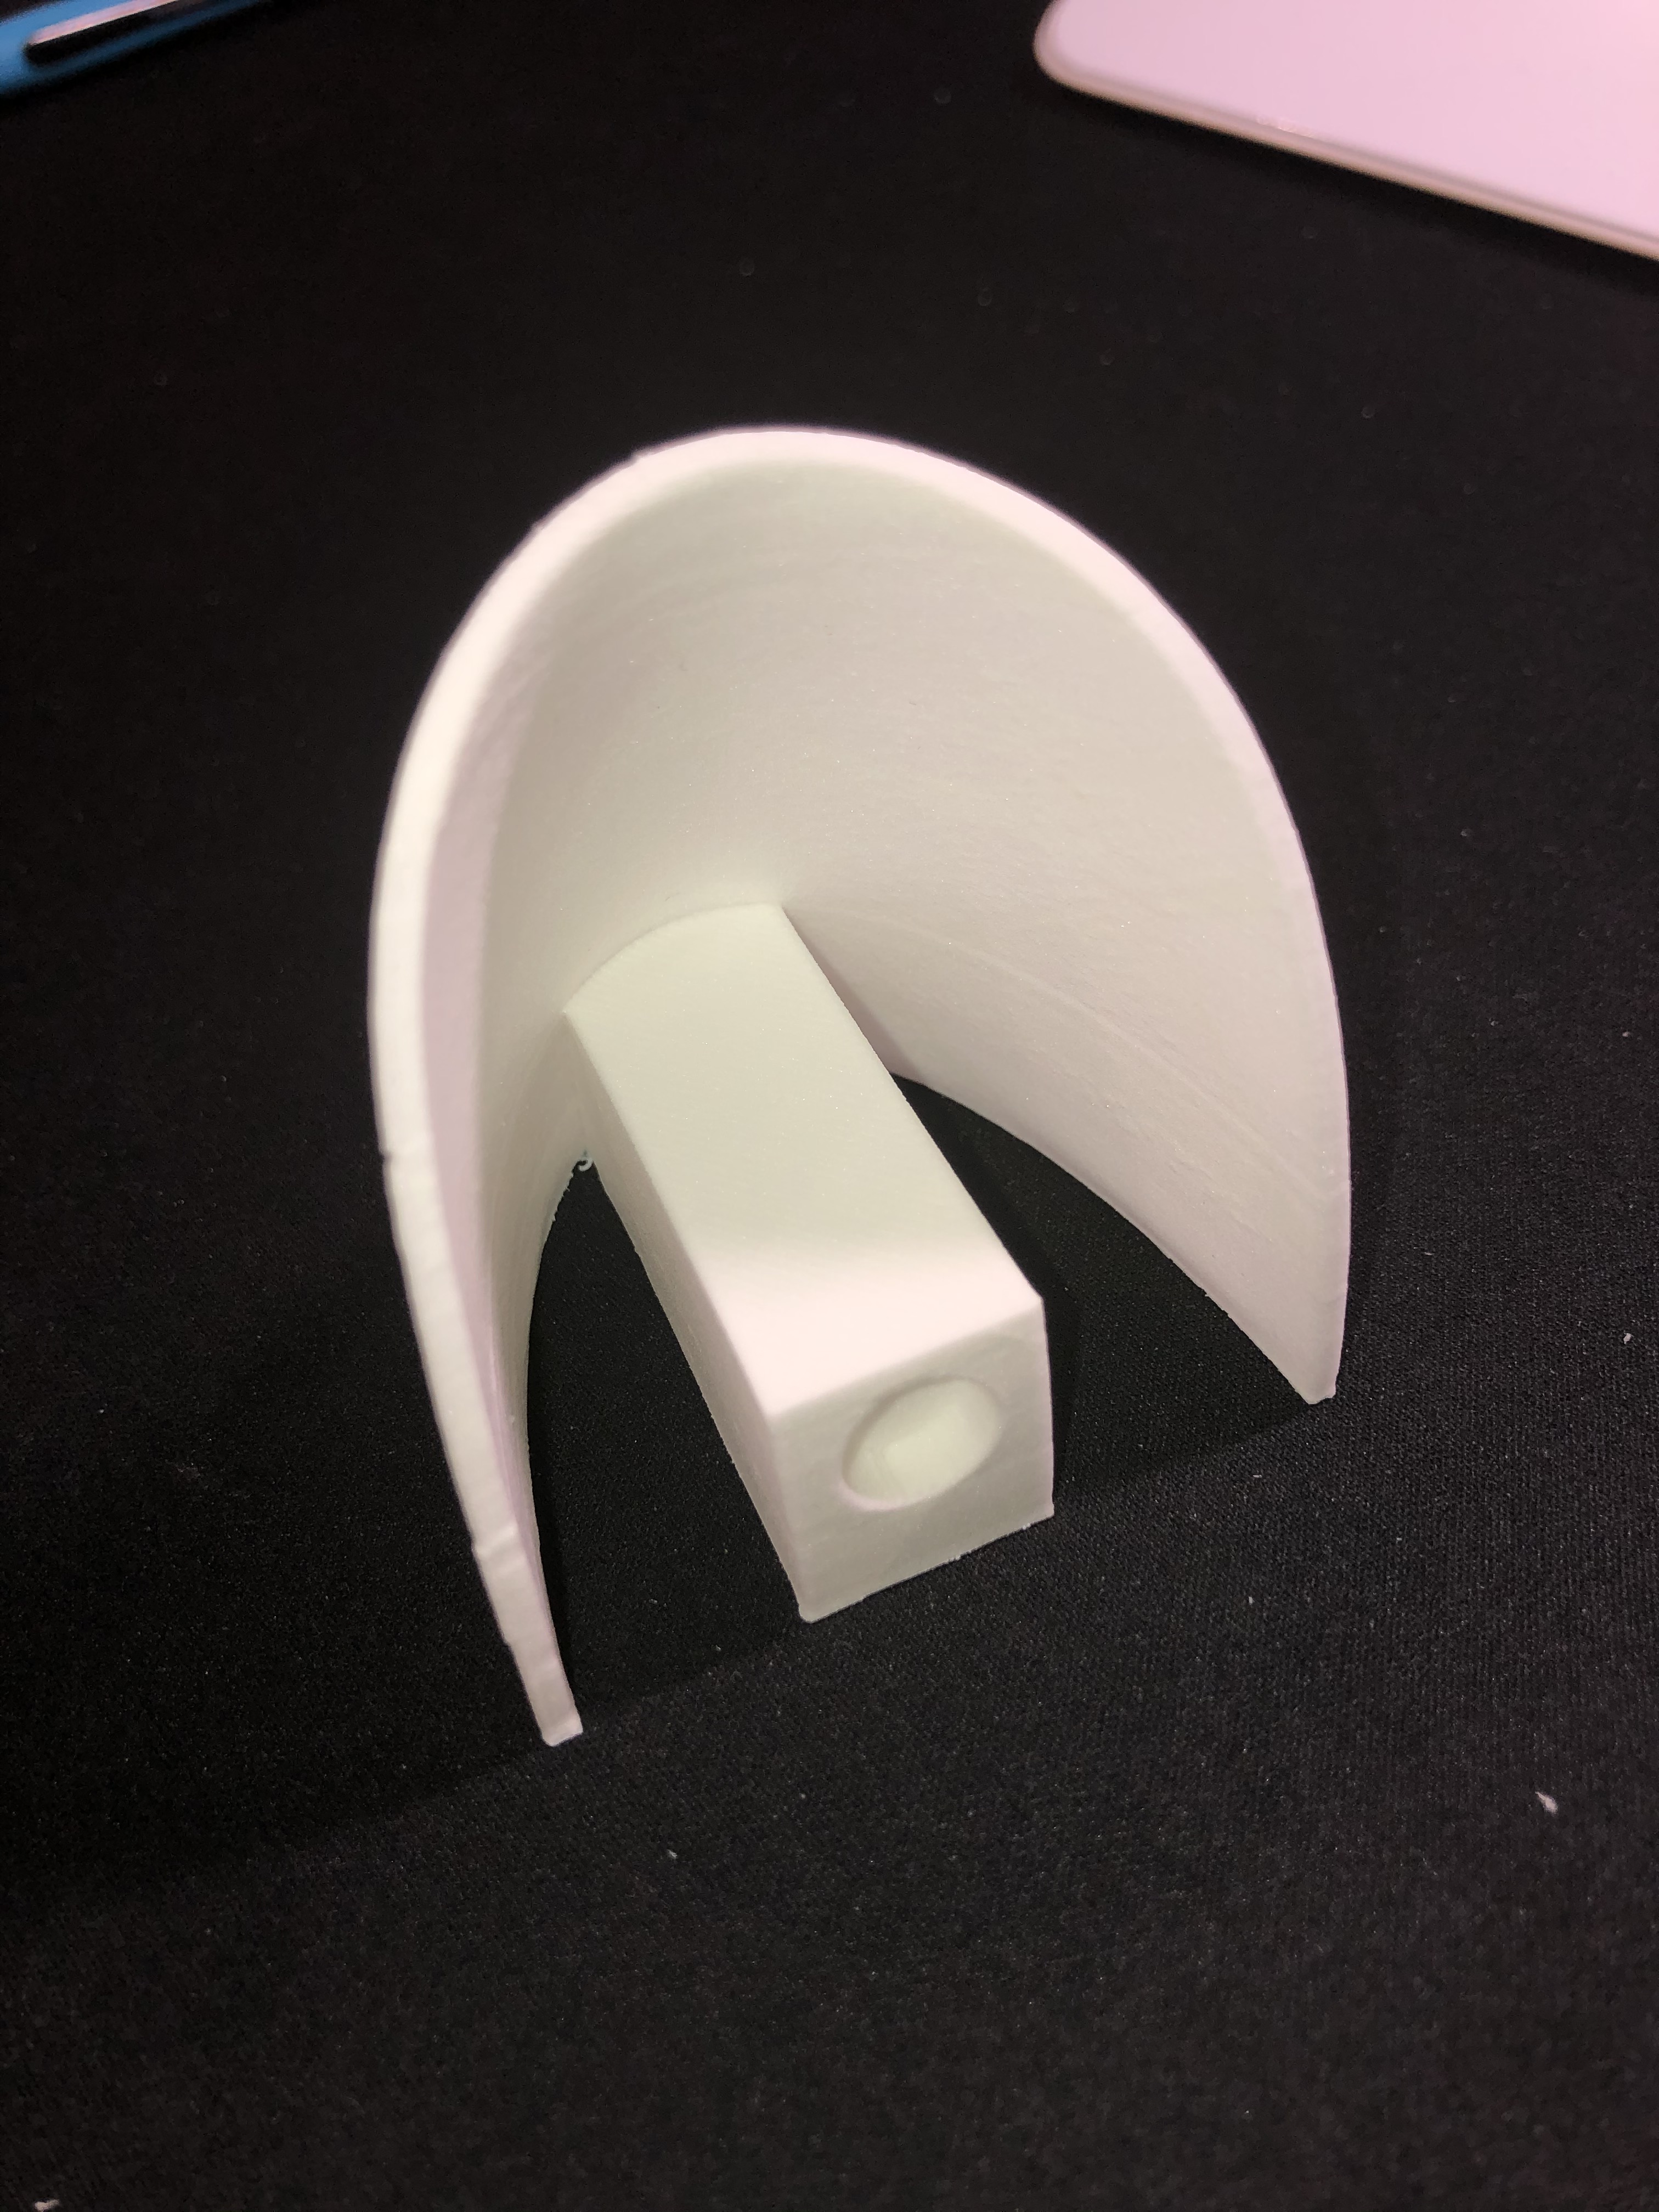
Voici la pièce réalisée :
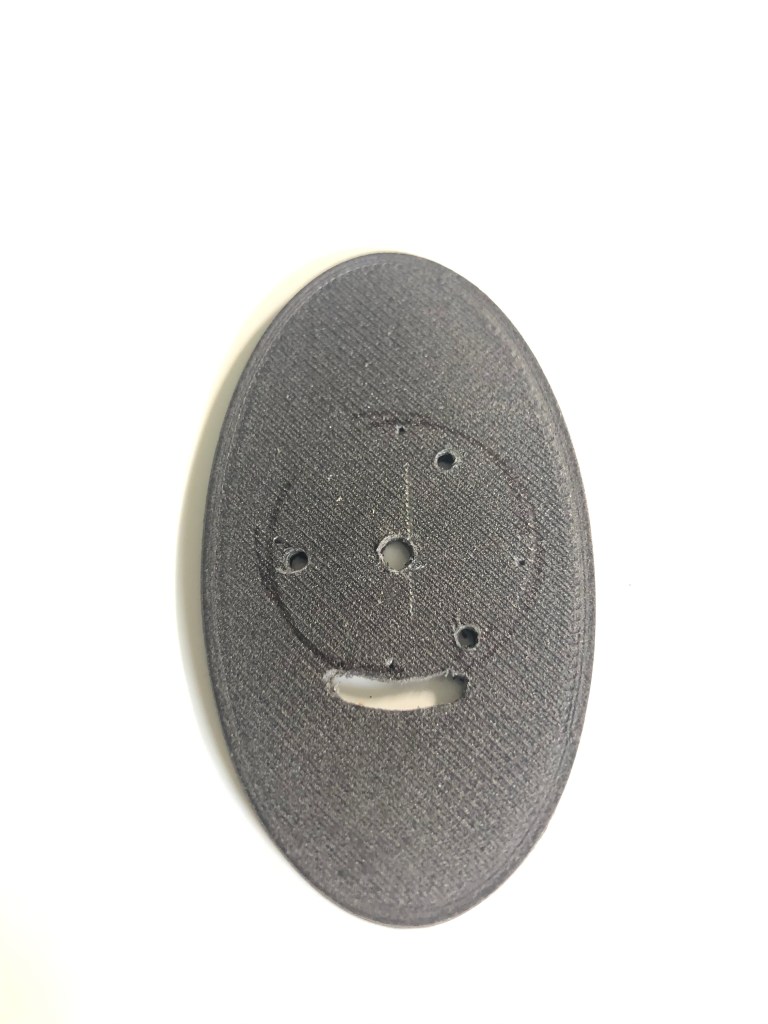
Le cache palonnier se positionne sur l’aile d’un avion R/C et permet de protéger le palonnier du servo relié au palonnier sur la partie mobile, l’aileron, par une commande rigide.

Les valeurs modifiables dans Fusion 360 sont la taille de la pièce, largeur et longueur, la longueur et la largeur du cache de la commande, ainsi que sa hauteur. L’épaisseur de toute la pièce est aussi un paramètre, en général environ 0,8mm, résistant mais pas trop épais.
Et il est possible de définir la position du cache de la commande sur la pièce en faisant varier la position latérale et frontale.
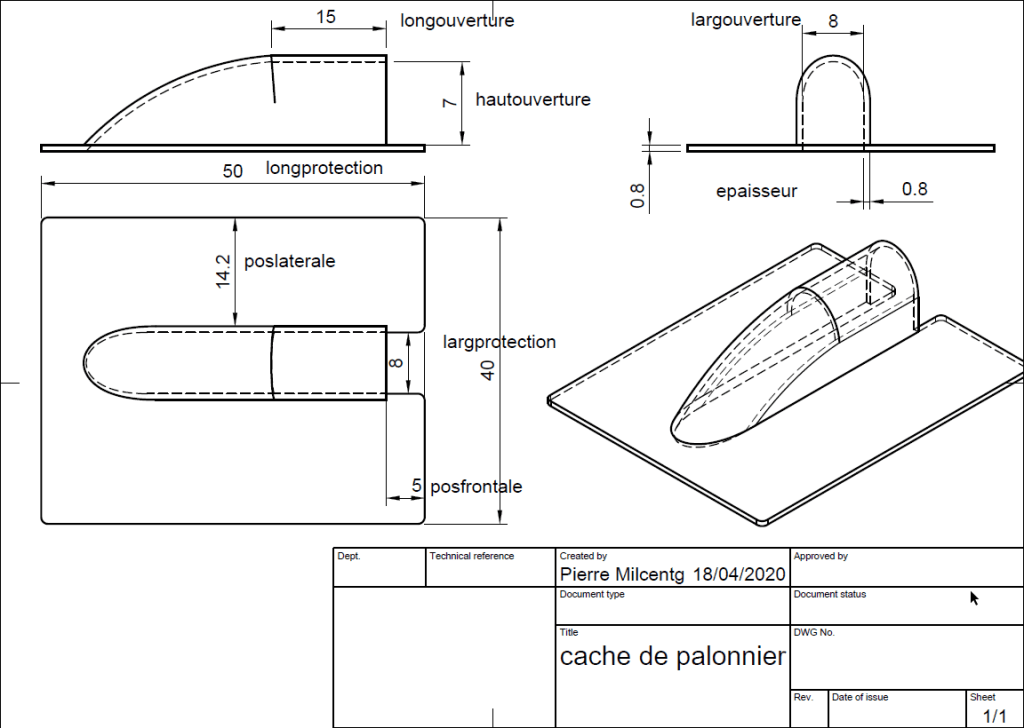
Il faut jouer avec les différents paramètres pour trouver un format qui convient à son besoin.
Voici où sont modifiées ces valeurs paramétrées dans Fusion 360 : option « Mofidy » puis « Change Parameters ». Les valeurs sont associées aux variables sur le schéma au dessus.

Les fichiers f3d et STL sont disponibles sur Thingiverse avec le lien suivant : https://www.thingiverse.com/thing:4296826
Merci de votre retour si cette pièce est pratique pour vous et bon usage de Fusion 360.